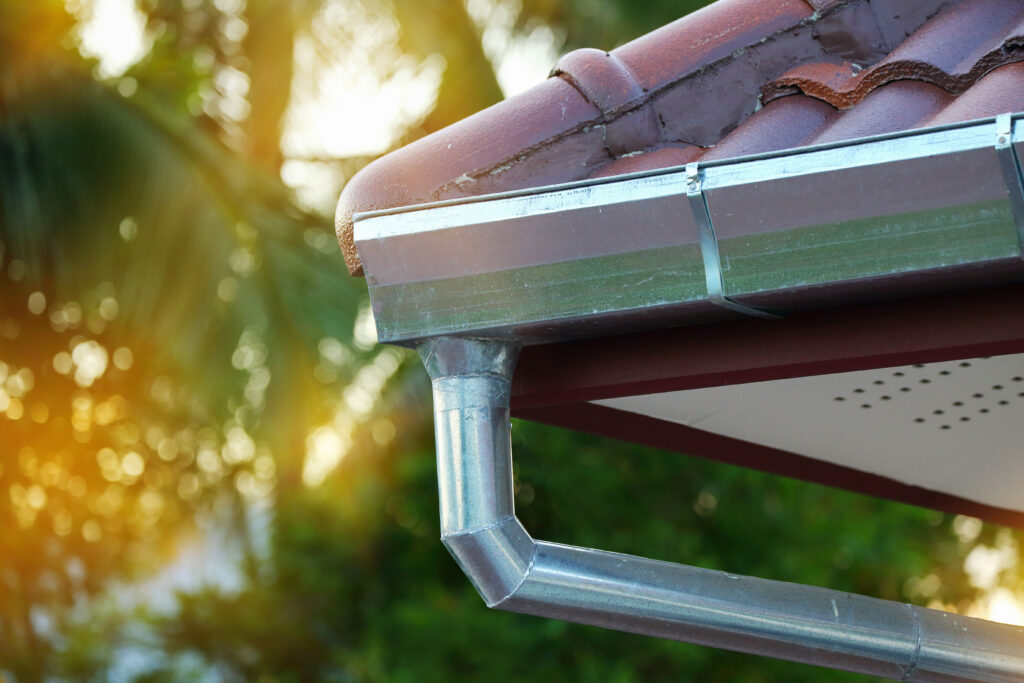
Protecting your home from water damage is crucial, and rain gutters play a vital role in this defense. These metal channels collect and divert rainwater away from your roof, foundation, and siding, which helps prevent leaks, erosion, and costly repairs. While hiring help for gutter installation is always a great option, some homeowners want to know how to install gutters as a DIY project.
This guide will walk you through the process of gutter installation (which can also be part of gutter replacement!), from gathering materials to putting the final touches on your new rainwater management system.
Project Overview
Before diving into the process of gutter installation or gutter replacement, take some time to get a bird’s-eye view of what this DIY project will entail.
- Estimated time: 4-8 hours (depending on your roof size and project complexity)
- Estimated cost: $200-500 (materials only)
- Expertise level: Intermediate (requires basic DIY skills and comfort with heights and working on a ladder)
- People required: 2 or more
Remember that these are just estimates! The actual time, cost, and difficulty may vary depending on your particular house and circumstances. If you’re unsure about tackling this project yourself, it’s always best to hire help.
Supplies Required
Below are lists of materials and tools you’ll need for gutter installation.
Materials
- Screws and rivets: You’ll want 1/4″ hex head screws (a.k.a. “zippers”), 1 1/4″ self-tapping hex head screws, 1/8-in. medium-length rivets, and flanged nuts.
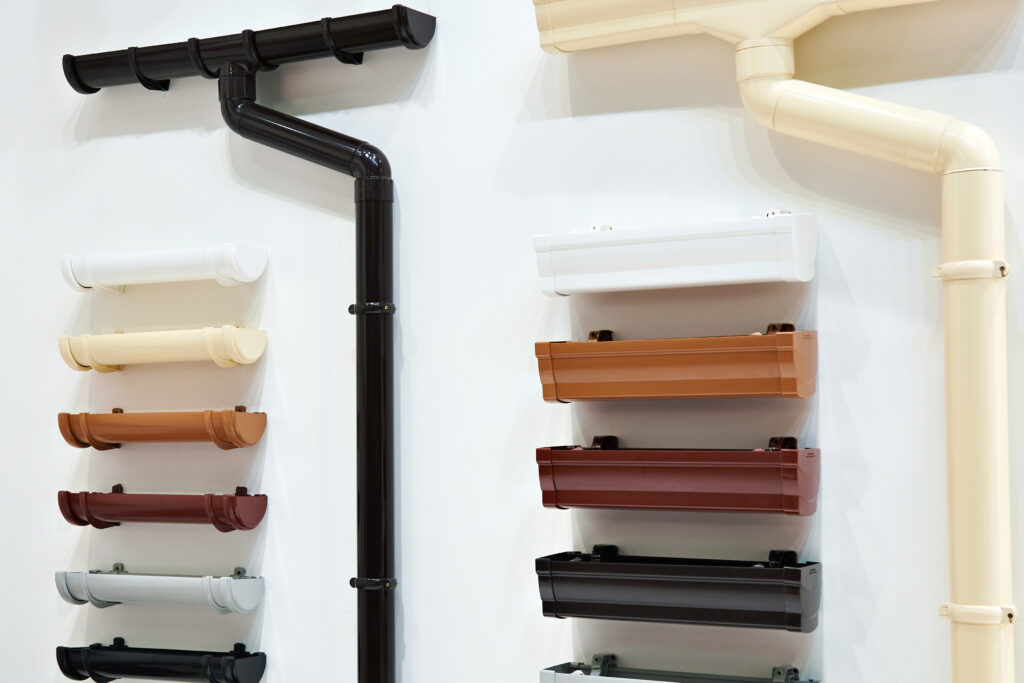
- Gutter sections: Choose the length and type of gutter (e.g. vinyl vs. aluminum) based on your roofline and desired drainage. These sections of gutter will vary in length once cut based on the shape of your house.
- Downspouts: Determine the number of downspouts and their locations based on your roofline and desired drainage. If your roofline is longer than 40 feet, ramp the gutters down from the middle of your roofline and position downspouts (and downspout outlets) on either end of the gutter run.
- Fascia brackets: These hangers will secure your new gutters to the fascia boards just under your roofline and above any rafter tails attached to your house.
- End caps: These allow you to seal the ends of your gutter sections.
- Strip miter. This material will allow you to make corner joints with your gutters.
- Downspout elbows and extensions: Connect these to your downspouts where needed to divert rain water to a section of your yard or deck with proper drainage.
- Pop rivets or sheet metal screws: These will help you secure your gutter components into place.
- Silicone or gutter sealant: Make sure this sealant is waterproof so it can seamlessly connect your gutter pieces.
- Caulk (optional): Use this to seal gaps around end caps and other openings.
- Chalk line: Use this to mark the gutter run angle and placement.
- Level: Use this to ensure a proper slope for water flow.
Tools
- Ladder: Make sure your ladder is sturdy and tall enough to reach your roof safely. Always have another person working with you in case the latter falls.
- Safety glasses and gloves: Always protect yourself from debris and cuts!
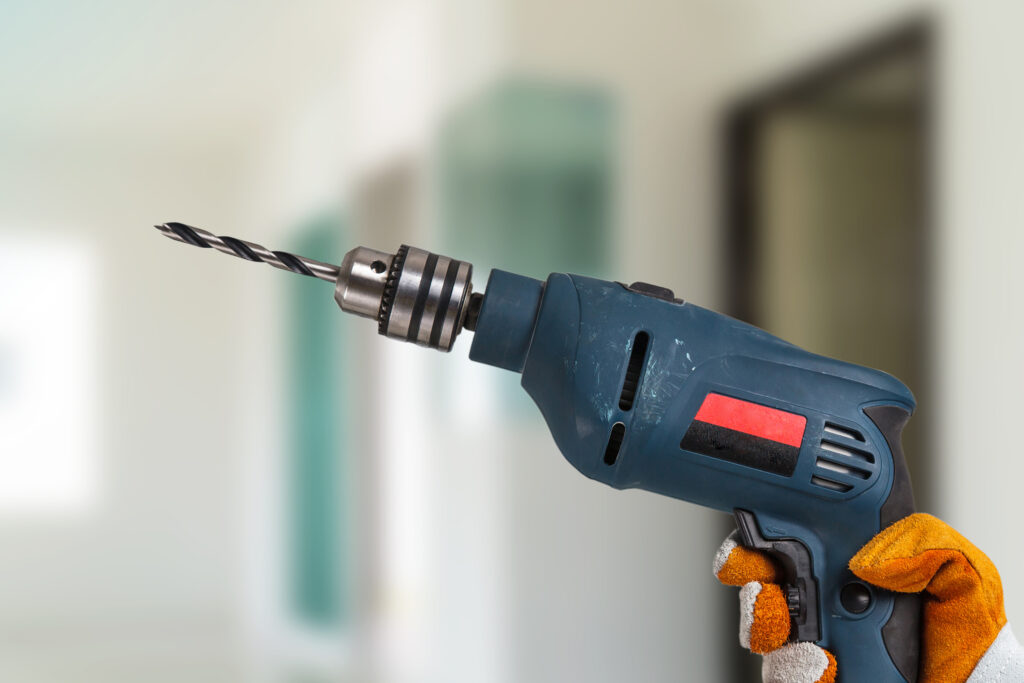
- Drill: Use this to drill holes for brackets and secure connections between gutter pieces. Also use it to secure connections between the gutter and your house.
- Tin snips or hacksaw: These will help you cut gutter sections and downspouts to size.
- Crimper: This will allow you to crimp the gutter end caps before sealing them.
- Pop rivet gun (optional): Make sure to have this if you’re using pop rivets for fastening.
- Tape measure: Measure gutter length and distances when drawing out your gutter-hanging plan and making calculations.
- Pliers: These will help you bend and manipulate metal components.
- Chisel (optional): This can help you remove old caulk or sealant when replacing your old gutters or hanging new ones.
Consider This Before Gutter Replacement
Before you learn how to install gutters, take a moment to consider these important factors.
- Safety first: Working on ladders can be dangerous in any situation. Make sure you have a stable ladder, a helper for spotting, and proper safety gear.
- Local regulations: Check if your area has any rules regarding gutter materials, installation, or permits.
- Roof access and complexity: Steep roofs or complex roof lines might require professional assistance, as they can complicate the gutter replacement process.
- Gutter material: Choose a material that suits your budget, climate, and aesthetic preferences. Vinyl gutters are affordable and easy to install, while aluminum gutters offer more durability and longevity.
- Existing gutters: If you’re replacing old gutters, ensure proper disposal and removal of your old system.
- Additional features: Will you need gutter guards? Always consider this to simplify cleaning and prevent debris buildup.
Rain Gutter Parts
Before attempting gutter installation or gutter replacement, familiarize yourself with the different parts of your gutter system before starting the actual job.
- Gutter: This is the main channel that lines your roof and collects rainwater.
- Fascia: This is the board at the edge of your roof under the shingles, where the gutters are attached.
- Fascia brackets: These secure the gutters to the fascia boards.
- Downspouts: These vertical pipes channel water away from your gutters.
- Corner joints: Use these to make angles between sections of your roof.
- End caps: When lined with caulking or sealant, these seal the ends of the gutter sections.
- Downspout elbows and extensions: These will help you direct water away from your house’s foundation.
- Pop rivets or sheet metal screws: Again, these secure your gutter sections and components.
- Silicone or gutter sealant: These allow you to waterproof your gutters’ joints and connections.
Steps for Rain Gutter Installation
Now it’s time to outline the actual steps for how to install rain gutters! These steps include roof gutter installation, downspout installation, and other important measures.
1. Measure the Roof’s Length
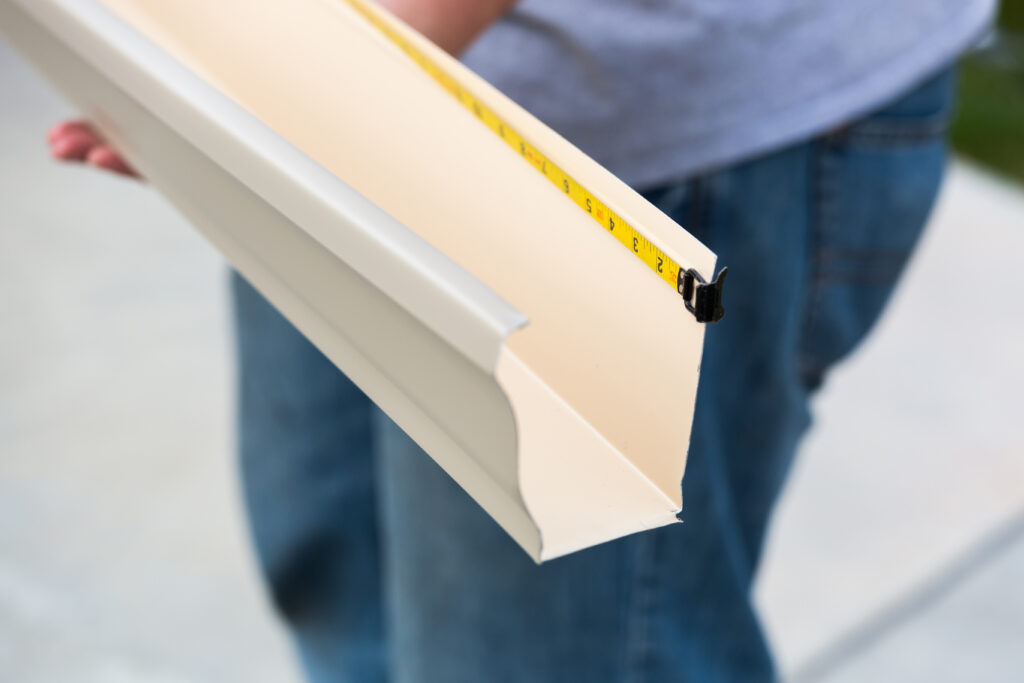
Accurately measure the length of each roofline where you’ll be installing gutters. Add a few inches for overlap for every area where you’ll be connecting gutter pieces, including end caps.
2. Draw a Gutter Placement Plan
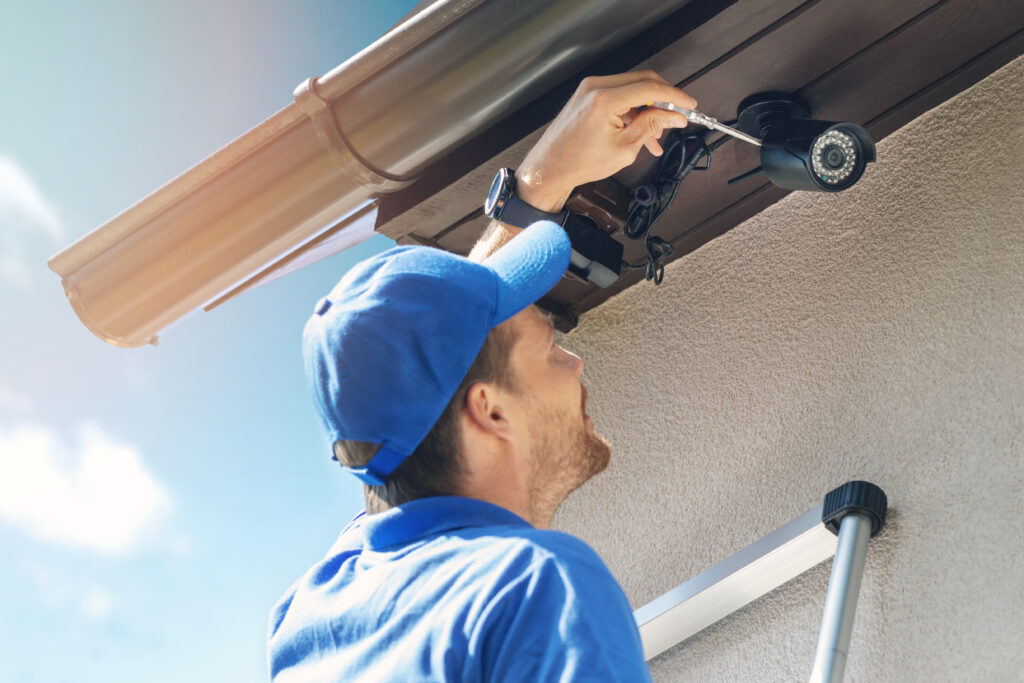
Once you’ve measured all parts of your roof in Step 1, draw up a plan to visualize how to lay out your new gutters and how long each one will need to be. Determine which gutters you’ll hang first, and make sure you know what order you’ll hang them in. If you plan to install security cameras along your roof, also account for this. Having a plan will allow you to execute your gutter installation in an organized, timely manner without having to stop midway through to figure out your next steps.
3. Determine Gutter’s End-Point
On whatever side of the house you’re working on, mark the lowest point where you want the gutter to drain—this will be the downspout location. Ensure a minimum slope of ⅛ inch per foot toward the downspout when deciding how much to tilt your gutter pieces.
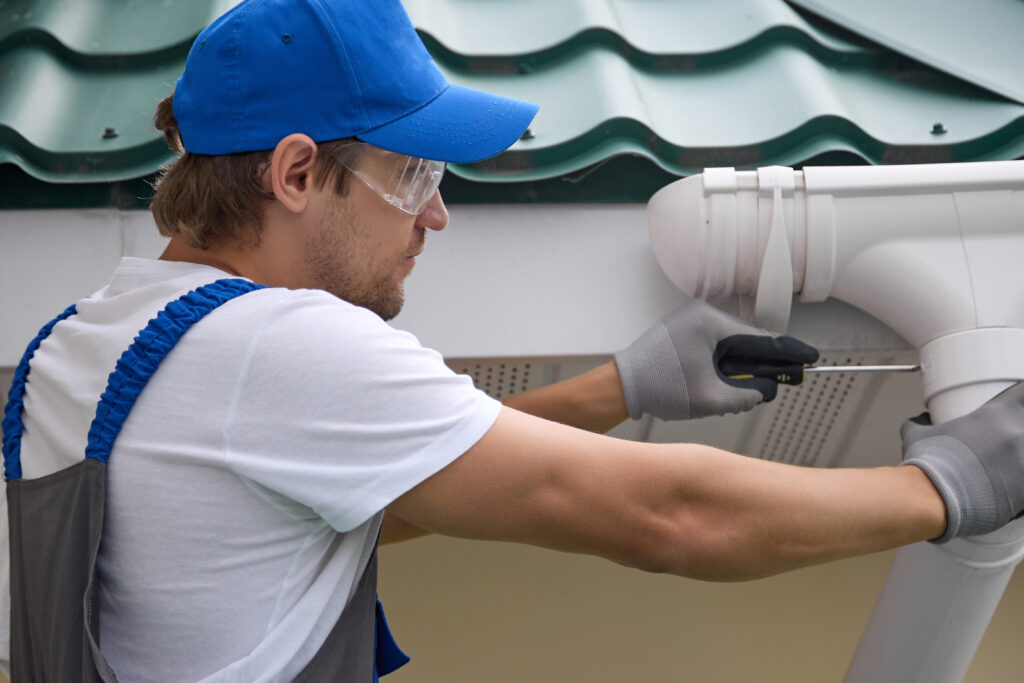
4. Attach Fascia Brackets

After inspecting your house’s fascia boards, space fascia brackets evenly along the section of the house you’re working on. These should usually be 18-24 inches apart. Use lag screws to securely fasten the brackets to the fascia board, ensuring they are level but positioned in a way that will allow the gutter to rest at a slight angle along the roofline to properly drain water.
5. Cut Gutter Sections

Using tin snips or a hacksaw, carefully cut the gutter sections to the measured lengths you specified in your gutter installation plan. Again, make sure to account for overlaps and end caps. Also, pre-drill holes in the spots where you’ll eventually attach the gutter end caps.
6. Attach Gutter End Caps
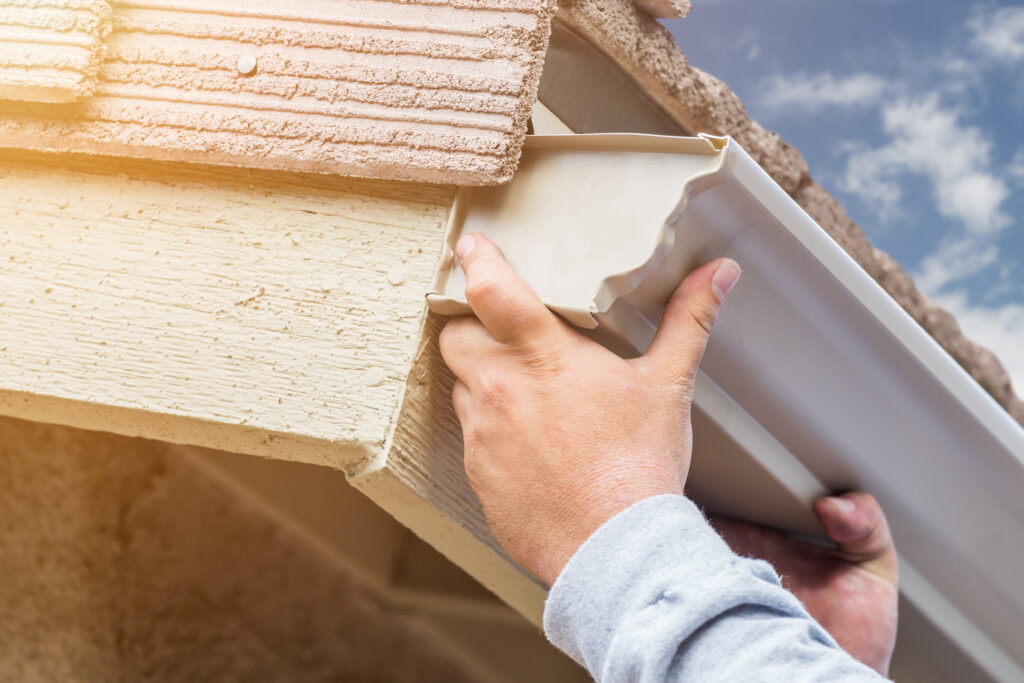
While the gutters are still on the ground—ideally in a flat location—attach the end caps by sliding them onto the gutter sections you’ve already cut. Overlap the ends by roughly two inches, and use pop rivets or sheet metal screws to secure the overlap. Use sealant to ensure that the gutter seams will be watertight. You always want seamless gutters!
7. Cut the Downspout Holes
Before attaching the gutters to your house, turn them upside down and cut the holes for your downspouts where the lower end of each gutter will be. Place a downspout channel on top of the gutter and trace the outline to cut the hole, then drill a hole through the center of your outline. Use a drill with a 4-inch hole saw bit to cut around the traced edge. This is where you’ll later attach your downspout.
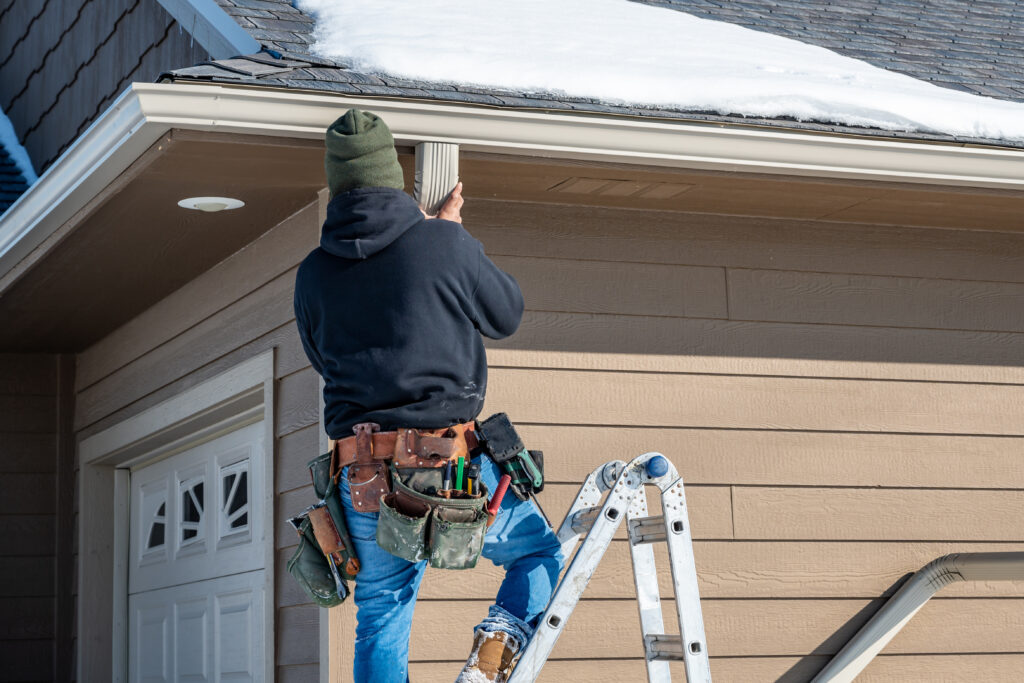
8. Mount the New Gutters to Your House

Set each gutter section next to your ladder in the order you’ll be installing them so your helper can hand you each piece individually. Lay the sides of the gutter into the fascia brackets that you attached to the house in Step 4. Turn the gutter so that you can slip its rear edge into the hooks at the top of each bracket. Make sure the highest point of the gutter is mounted on the opposite side of where the downspout will eventually be.
When the gutters are in their final location, drill holes through the gutters and the screw mounting hole in the bracket. Use stainless steel screws and flanged nuts to secure the gutter to the bracket, and then run gutter sealant along any seams to make sure water won’t slip through.
9. Add Strip Miter Joints at Each Corner

You’ll need connectors to join two separate gutters that meet at every corner, but thankfully, strip miter can serve this purpose. Wherever your gutters meet, shape a length of strip miter into a form that matches the corner contours of your gutter. Hook the back side of the strip up through the rear edge of your corner gutter joint, then attach the corner-shaped strip to the front of each gutter with screws.
10. Install Your Gutter Downspout

Once your central gutters are attached and sealed, it’s time to install your gutter downspout. When starting the downspout installation step, use U-shaped elbow brackets to attach the cut downspout piece to the corner of your house. Make sure to attach a drainpipe to the bottom so that water is carried away from your house’s foundation. As a last step, fasten each part of the downspout together with pop rivets and sealant.
11. Install Gutter Guards
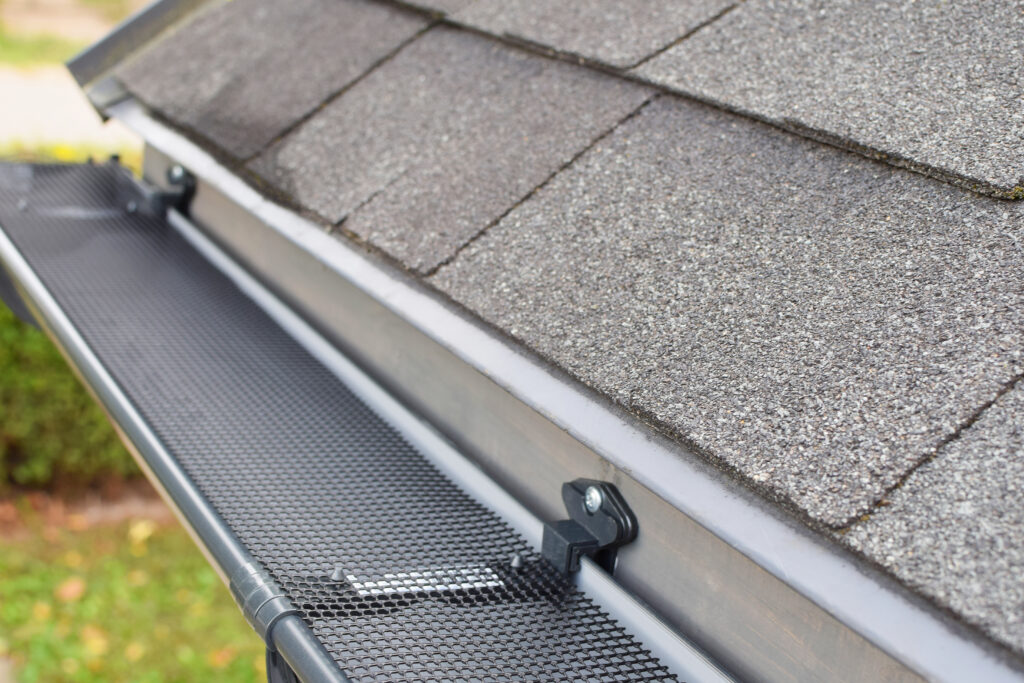
As a bonus step, you may want to install gutter guards, mesh-like strips that you lay on top of your gutters to prevent leaves and other debris from collecting at the base of the gutters. (Debris of this sort can cause clogs and water buildup inside the gutter, which can seep into your roof edge if it’s unsealed and cause water damage to your house). Because keeping the inside of the gutters clean is important, gutter guards are a great investment when you’re doing gutter installation!
Hire a Tasker to Clean Your Gutters
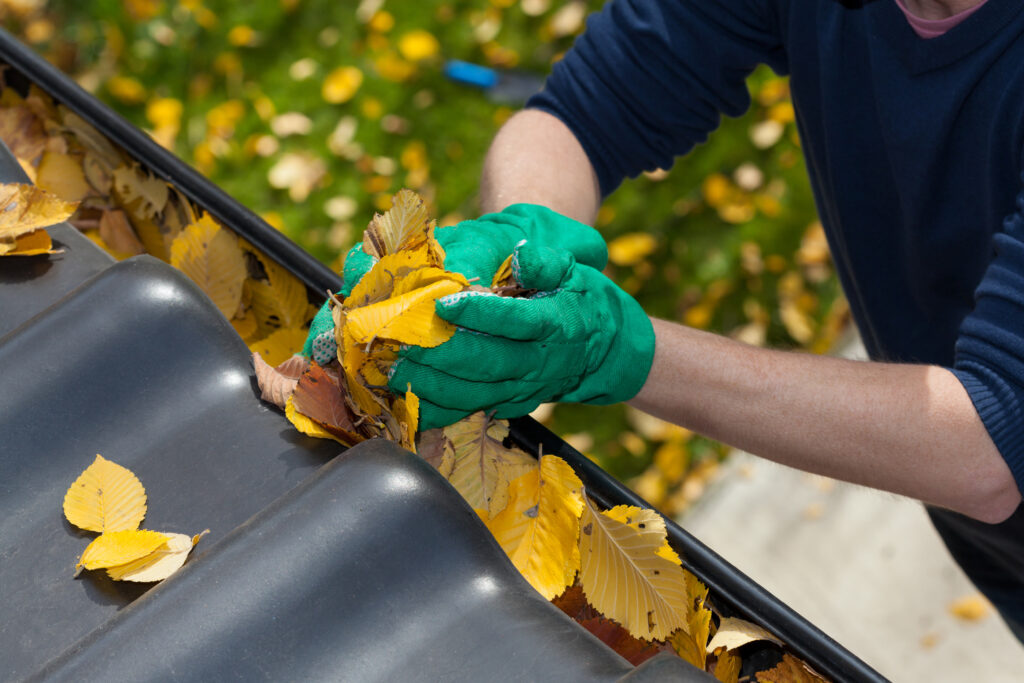
While installing gutters can be a rewarding DIY project, safety and skill considerations make it a clear task to hire help for. Taskrabbit can connect you with skilled Taskers who have experience with home improvement projects like gutter installation, gutter cleaning, and more.
Leave the tough jobs for a Tasker and enjoy peace of mind knowing that you have a well-functioning gutter system. Book a Tasker today!
Last updated on March 4, 2024 by Matt Beier