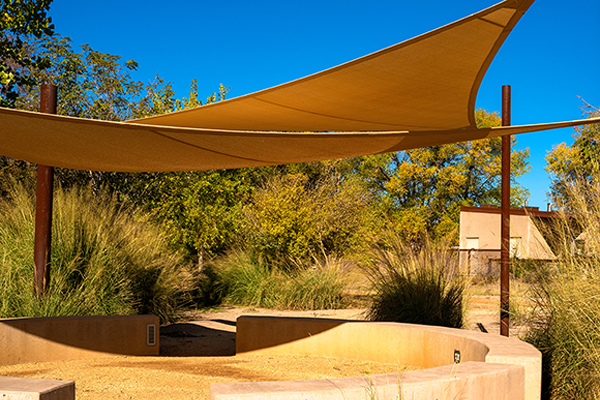
A shade sail is a stylish and functional outdoor structure designed to provide sun protection and enhance the aesthetic appeal of outdoor spaces. Usually made from a durable, UV-resistant fabric, these sails are propped between anchor points, creating a canopy that offers relief from the sun’s intensity.
With a palette of shapes, sizes, and colors, shade sails aren’t just sun protection; they’re outdoor fashion statements that grace your gardens and yards. Read on to learn all about shade sail installation!
Where to Install a Shade Sail?
Shade sails elevate outdoor environments by giving playgrounds, pool areas, and outdoor seating arrangements a blend of aesthetic appeal and practical sun protection. Some great places to install a shade sail include:
- Your backyard or patio
- Over a playground
- Above a pool
- High above a grill or outdoor cooking area
- Above your deck
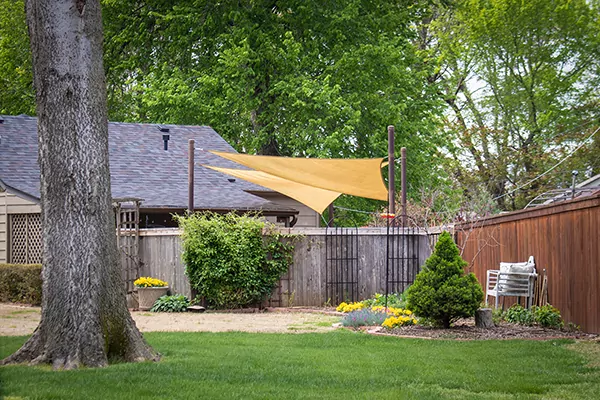
These are just a few of the practical applications for installing shade sails. A shade sail over your deck or patio is always a good move, but don’t be afraid to get creative!
Tools and Materials
Tools for installing shade sails:
- Tape measure
- Level
- Pencil
- Drill
- Wrench
- Ladder
- Ratchet
Materials for installing shade sails:
- Shade sail
- Support structures (posts)
- Concrete mix or anchor kits for securing posts
- Steel wire or cable
- Screws and bolts
- Eye Bolts or wall mounts
- Tensioning hardware (such as pulleys or cleats)
How to Install a Shade Sail
1. Choose the Location
Identify the best location for installing your shade sail by considering sun angles and the structural integrity of anchor points. Clearly mark selected points for reference during installation.
2. Attach Mounting Hardware
Attach mounting hardware, such as eye bolts or wall mounts, ensuring a secure fit to the anchor points. For ground installations, utilize concrete mix or anchor kits to guarantee stability. Confirm tight fastening and proper alignment to support the shade sail tension.
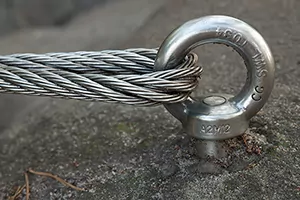
3. Attach Connecting Hardware
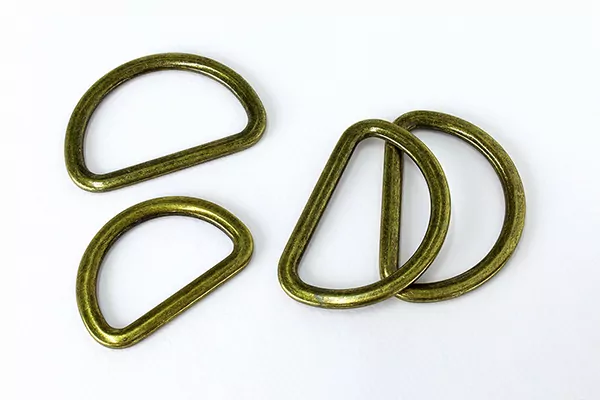
With mounting hardware in place, connect the shade sail to anchor points using suitable hardware, whether D-shackles or steel wire, based on the sail design and anchor choices.
4. Hang the Sail Shade
Carefully hang the shade sail on the mounted hardware, ideally with assistance for a controlled installation. Verify even tension, ensuring the sail hangs smoothly without twists or tangles.
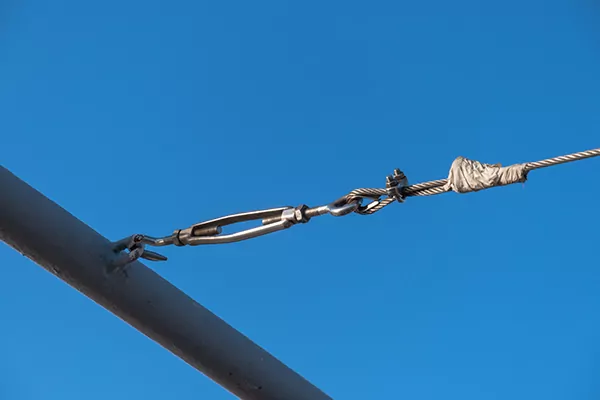
5. Tighten Turnbuckles
To achieve the desired tension and a taut appearance, use turnbuckles judiciously. Begin with a moderate tension level, making adjustments as necessary. Avoid over-tightening to prevent strain on the fabric and supporting structures.

Tips for Installing Shade Sails
- Strategic placement: Identify an ideal outdoor location based on sun angles, use, and anchor stability. You may also want to consider how windy your area gets and whether the shade sail will stay in place during heavy gusts.
- Secure mounting hardware: Ensure tight securing and proper alignment.
- Precision Connection: Use suitable connecting hardware based on sail design and anchor points.
- Gentle hang, fine tune: Don’t be afraid to tweak your shade sail placement and find the perfect spot.
Do Less Hanging and More Hanging Out With Taskers
Instead of wasting your weekend installing your shade sail, hire a Tasker to do it for you, and get back to spending time the way you want it. Book a Tasker today!