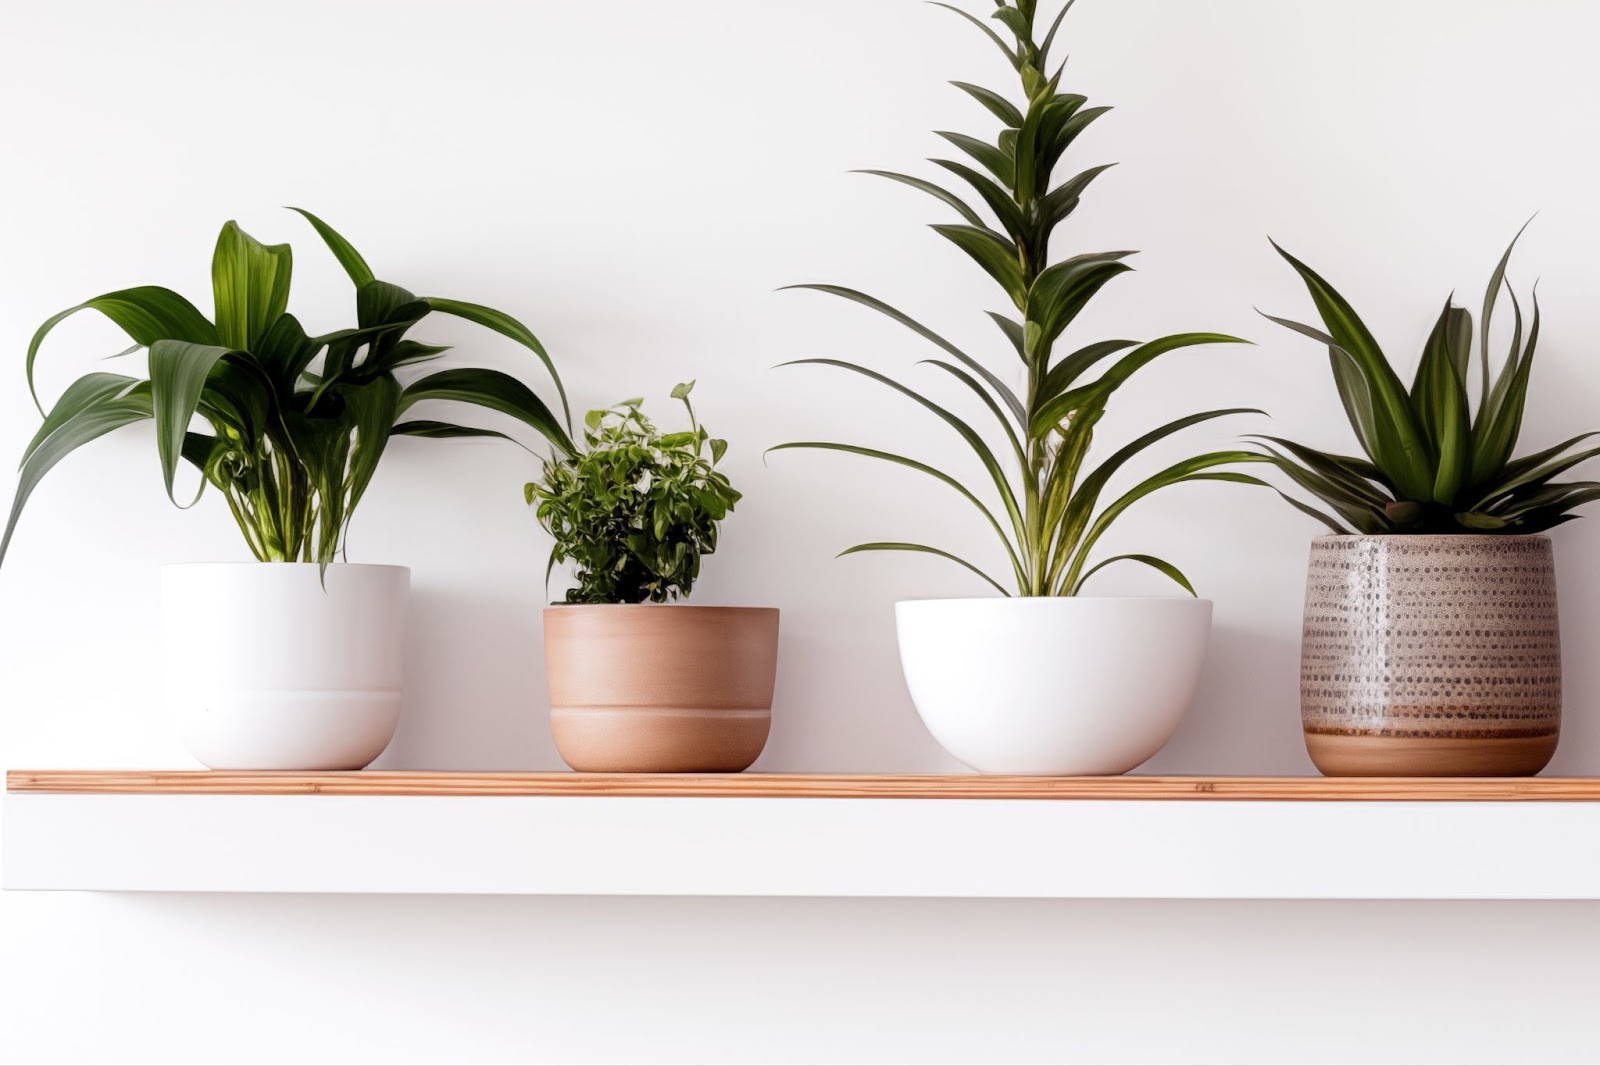
How to Repot a Plant in 8 Steps
Do you ever wonder why some indoor potted plants thrive while others seem to wither away despite your best efforts? The secret to nurturing flourishing greenery lies in understanding the importance of repotting in fresh potting soil. How often do you need to repot plants, you ask? Young house plants typically need repotting every six to 12 months, whereas older plants can benefit from a fresh pot every few years. In this blog post, you’ll learn the essential steps of how to repot a plant, ensuring your plant care game stays in tip-top shape. Whether you’re a seasoned plant parent or consider yourself a beginner, learning the correct techniques for repotting can make all the difference in transforming your plants from surviving to thriving.
When to Repot Plants
Wondering when it’s time to give your plants a new home? Keep an eye out for these common signs that indicate when to repot plants:
- Roots Outgrowing the Pot: When you notice roots growing out of the drainage holes or circling the surface of the soil, it’s a clear indication that your plant has outgrown its current container. Overcrowded roots can hinder water and nutrient absorption, leading to poor growth.
- Slow Growth or Stunted Development: If your plant’s growth has significantly slowed down or it seems stunted, it may be struggling to find adequate space and nutrients within its existing pot. Repotting can provide the room needed for new growth.
- Frequent Watering and Dry Soil: When you find yourself watering your plant more frequently than usual, and the soil dries out rapidly, it may be a sign that the root system has become too large for the pot. Overcrowded roots can lead to reduced water retention in the soil.
- Leaning or Toppling Over: A plant that leans or topples over in its pot is likely top-heavy due to an imbalanced root-to-shoot ratio. Repotting into a larger container can help stabilize the plant and promote more even growth.
- Root Bound Appearance: If you carefully remove the plant from its pot and notice a mass of tangled, tightly packed roots encircling the root ball, it’s a clear sign of root bound plants. Repotting allows you to untangle and spread out the roots for better nutrient and water absorption.
By recognizing these signs, you can ensure your plants have the space and resources they need to continue thriving and bringing greenery into your living space.
Supplies Needed for Plant Repotting
Even if you think you know how to pot a plant, it’s important to double-check your list of supplies. Here’s what you need to successfully repot your plants:
- New Pot: Choose a pot that is slightly larger than the current one to provide ample space for the plant’s growth.
- Potting Mix: Use a high-quality soil mix appropriate for your specific plant type, such as cactus mix, succulent mix, or general-purpose potting soil.
- Plant: The plant you intend to repot.
- Trowel or Garden Spade: To help with digging and loosening the plant from its current pot.
- Pruning Shears: For trimming any dead or damaged roots and pruning overgrown foliage if necessary.
- Watering Can or Spray Bottle: To water the plant after repotting.
- Gardening Gloves: Protect your hands from soil and potential irritants.
- Newspaper: To minimize mess and make cleanup easier.
- Stakes or Supports (If Needed): For larger plants that may require additional support once repotted.
- Label or Marker (Optional): To label the new pot with the plant’s name or date of repotting for reference.
Having these supplies ready before you begin the repotting process will make the task more efficient and help ensure the health and success of your plant in its new home!
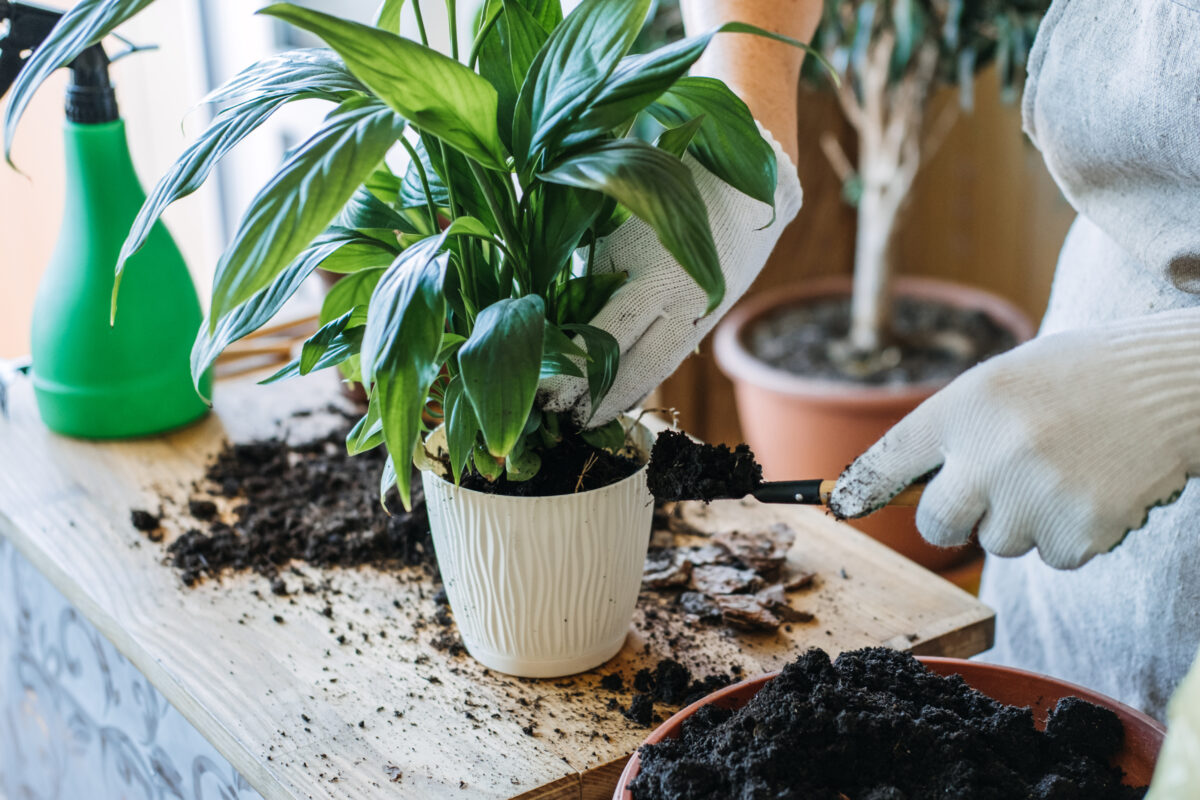
Steps for Repotting Plants
Potting a new plant is simple. Repotting? Don’t worry, it’s also a straightforward process, but it’s important to follow the right steps to ensure a smooth transition for your green friends. Here’s how to pot a plant in 8 simple steps.
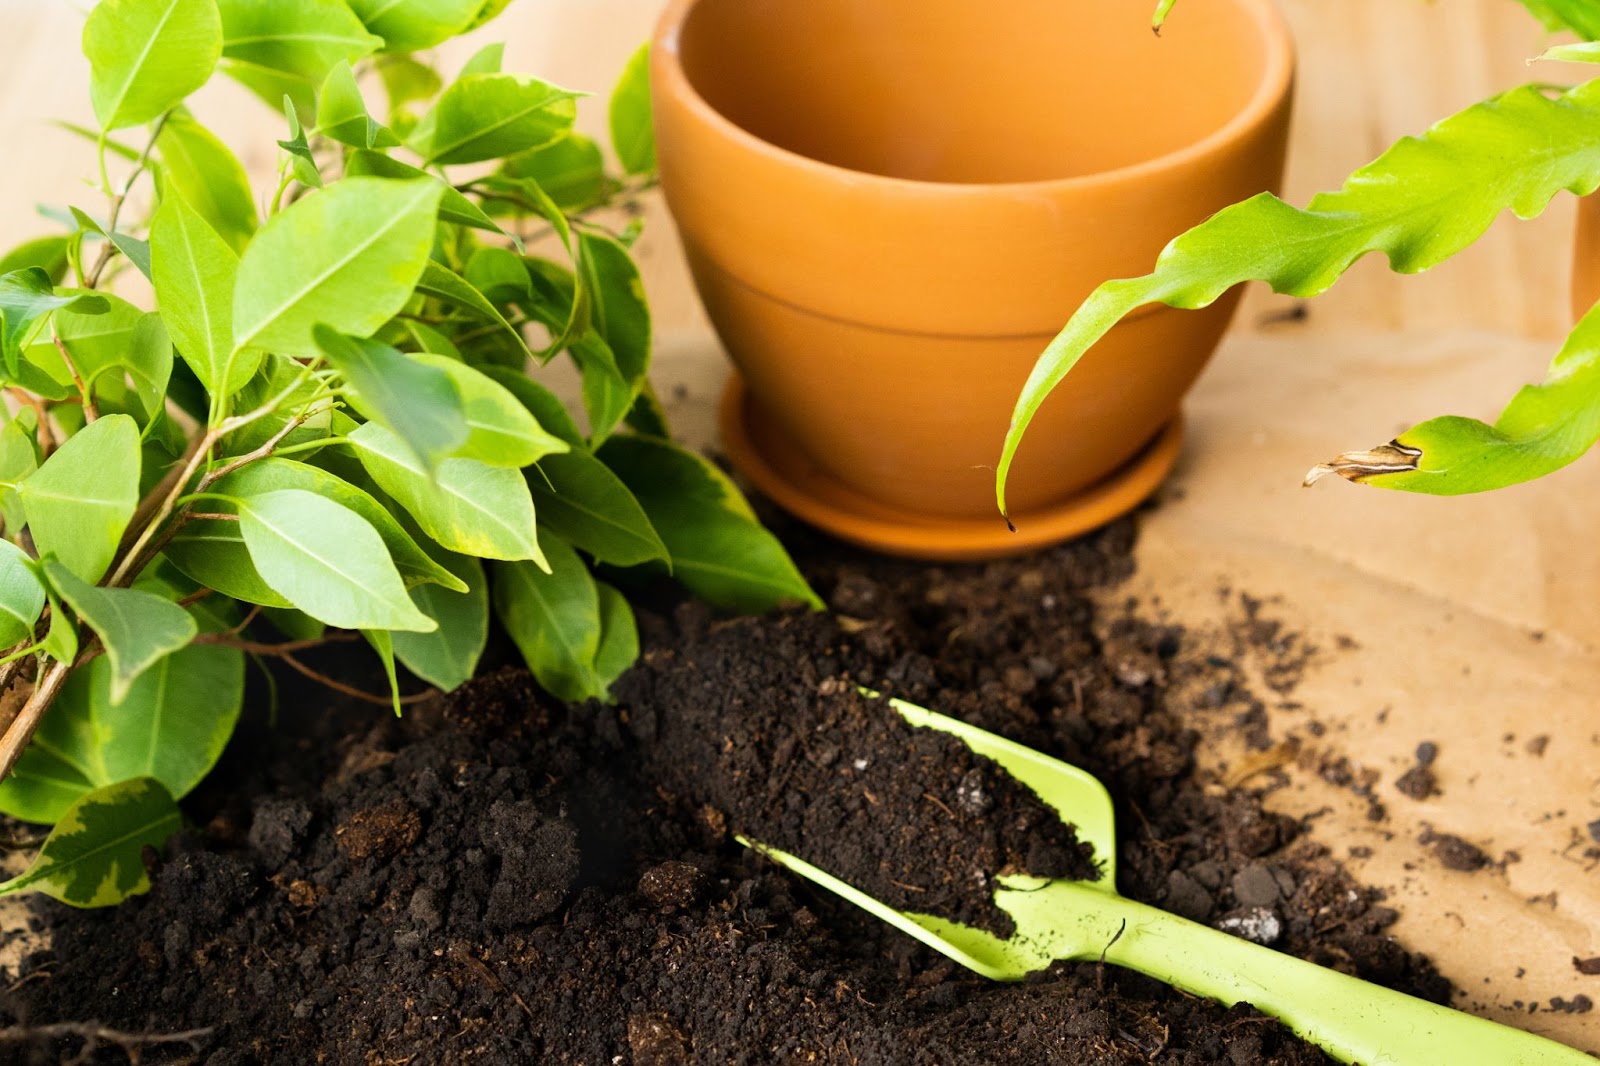
1. Select a New Pot
Opt for a clean, slightly larger pot with good drainage holes. Ensure the new container is appropriate for your plant’s size and type.
2. Prepare the Pot
Place a small amount of fresh potting mix at the bottom of the pot to provide a base for the plant.
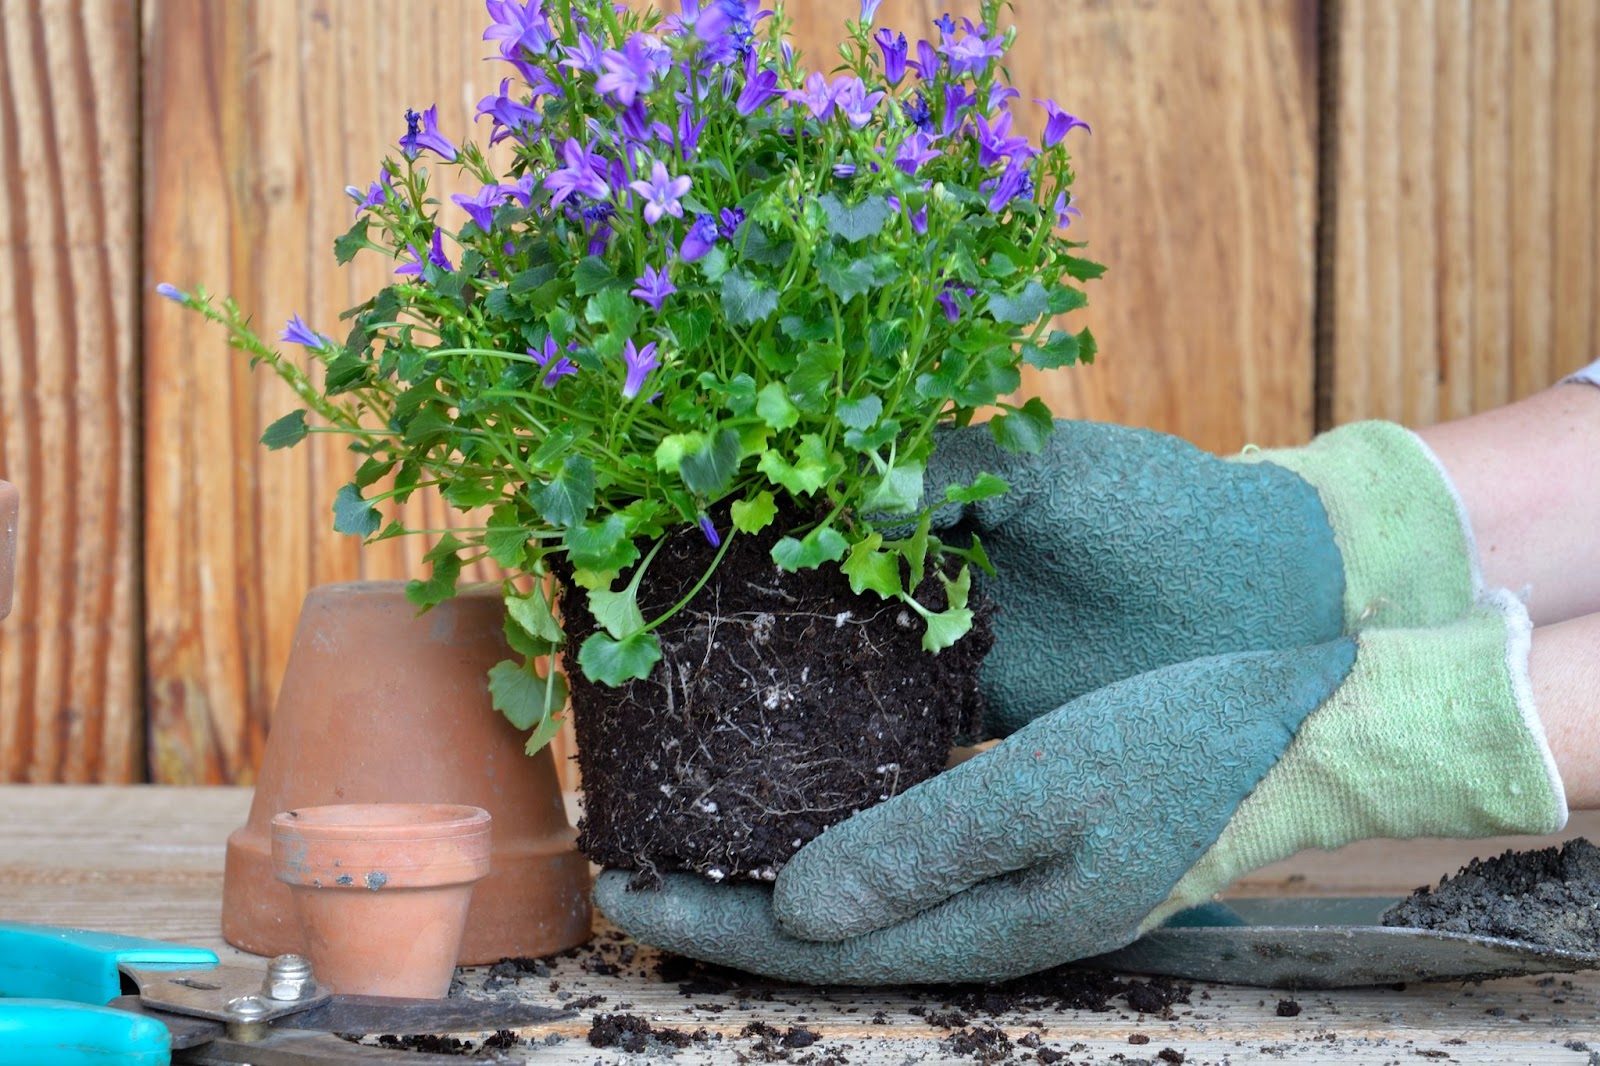
3. Slide the Plant Out of the Old Pot
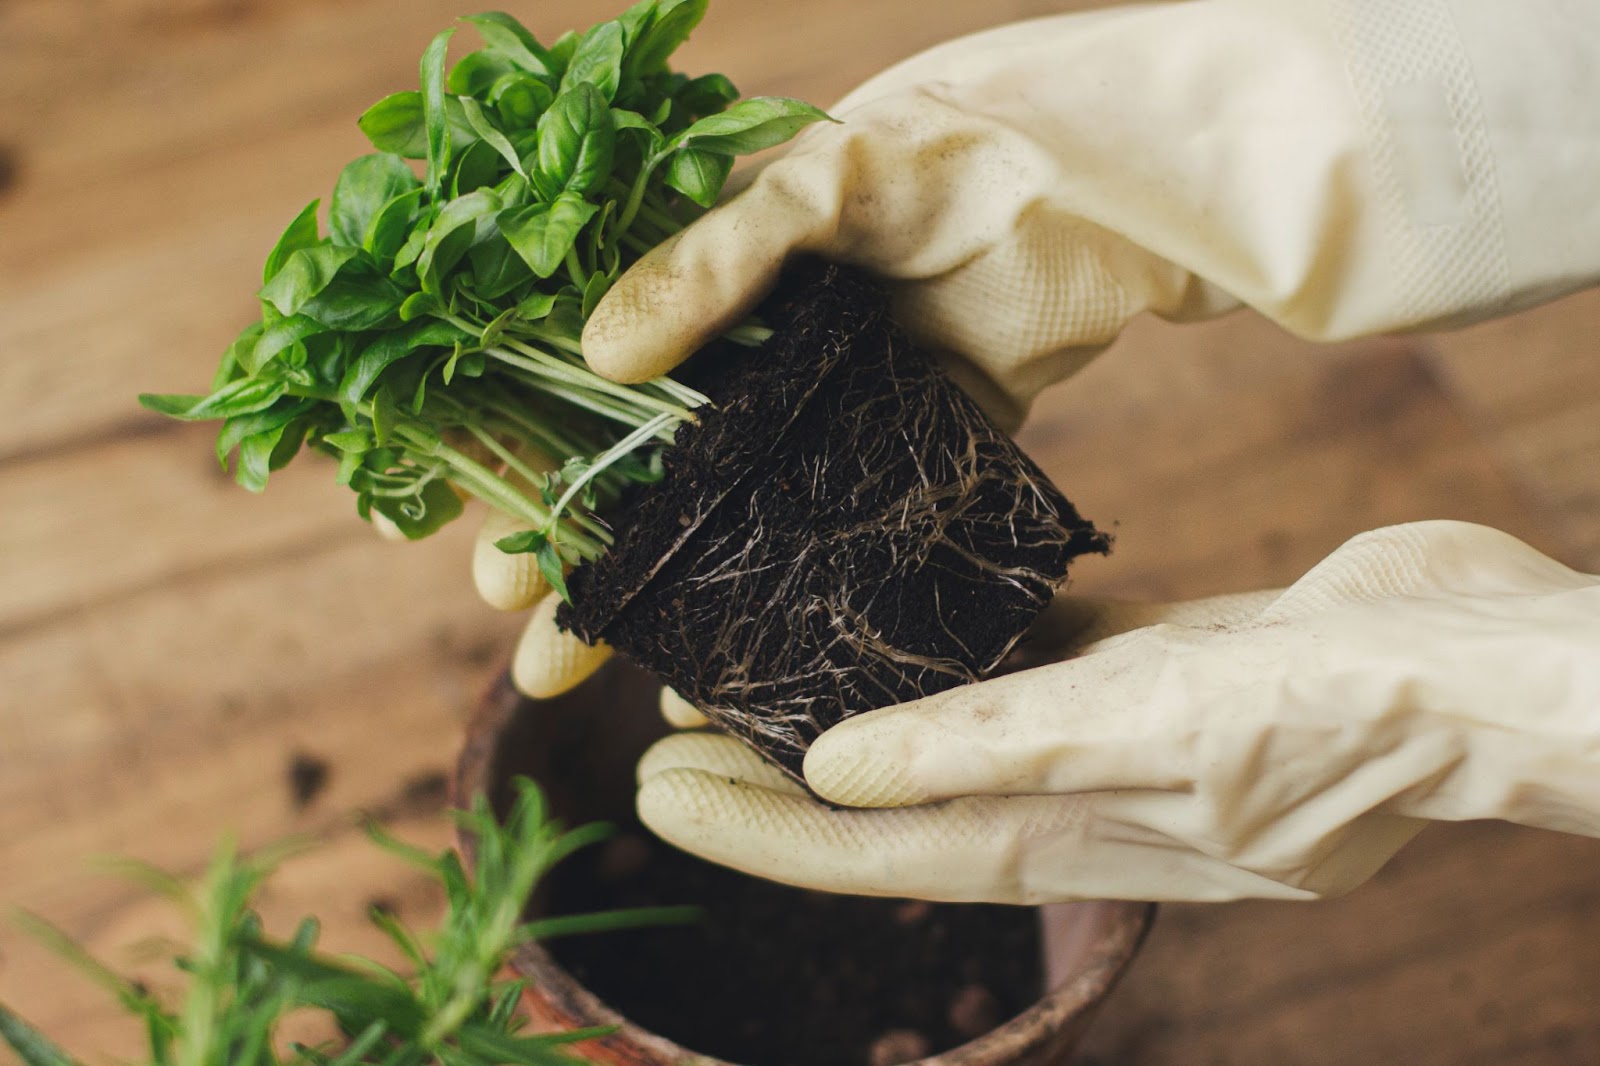
Gently tap or squeeze the sides of the old pot to loosen the plant. Turn the pot upside down while supporting the plant’s stem and slide it out.
4. Remove Old Soil
Carefully shake off the old soil from the roots. Prune any damaged or excessively long roots with clean pruning shears.
5. Cut the Roots
Now, it’s time to create some small incisions at the base of the root system to provide your plant with adequate breathing space. Oxygen is an essential element for plants, as crucial as water and the nutrients found in the soil. You can achieve this by using either a serrated knife or a pair of gardening shears to make the cuts. If the roots are pliable and easily separated, gently pull them apart by hand.
6. Place the Plant into the New Pot
Position the plant in a pot of your choosing and add fresh potting mix around it, ensuring the plant is at the same depth as it was in the previous pot. Put newspaper under the pot to catch any excess dirt that falls through the drainage holes during this process.
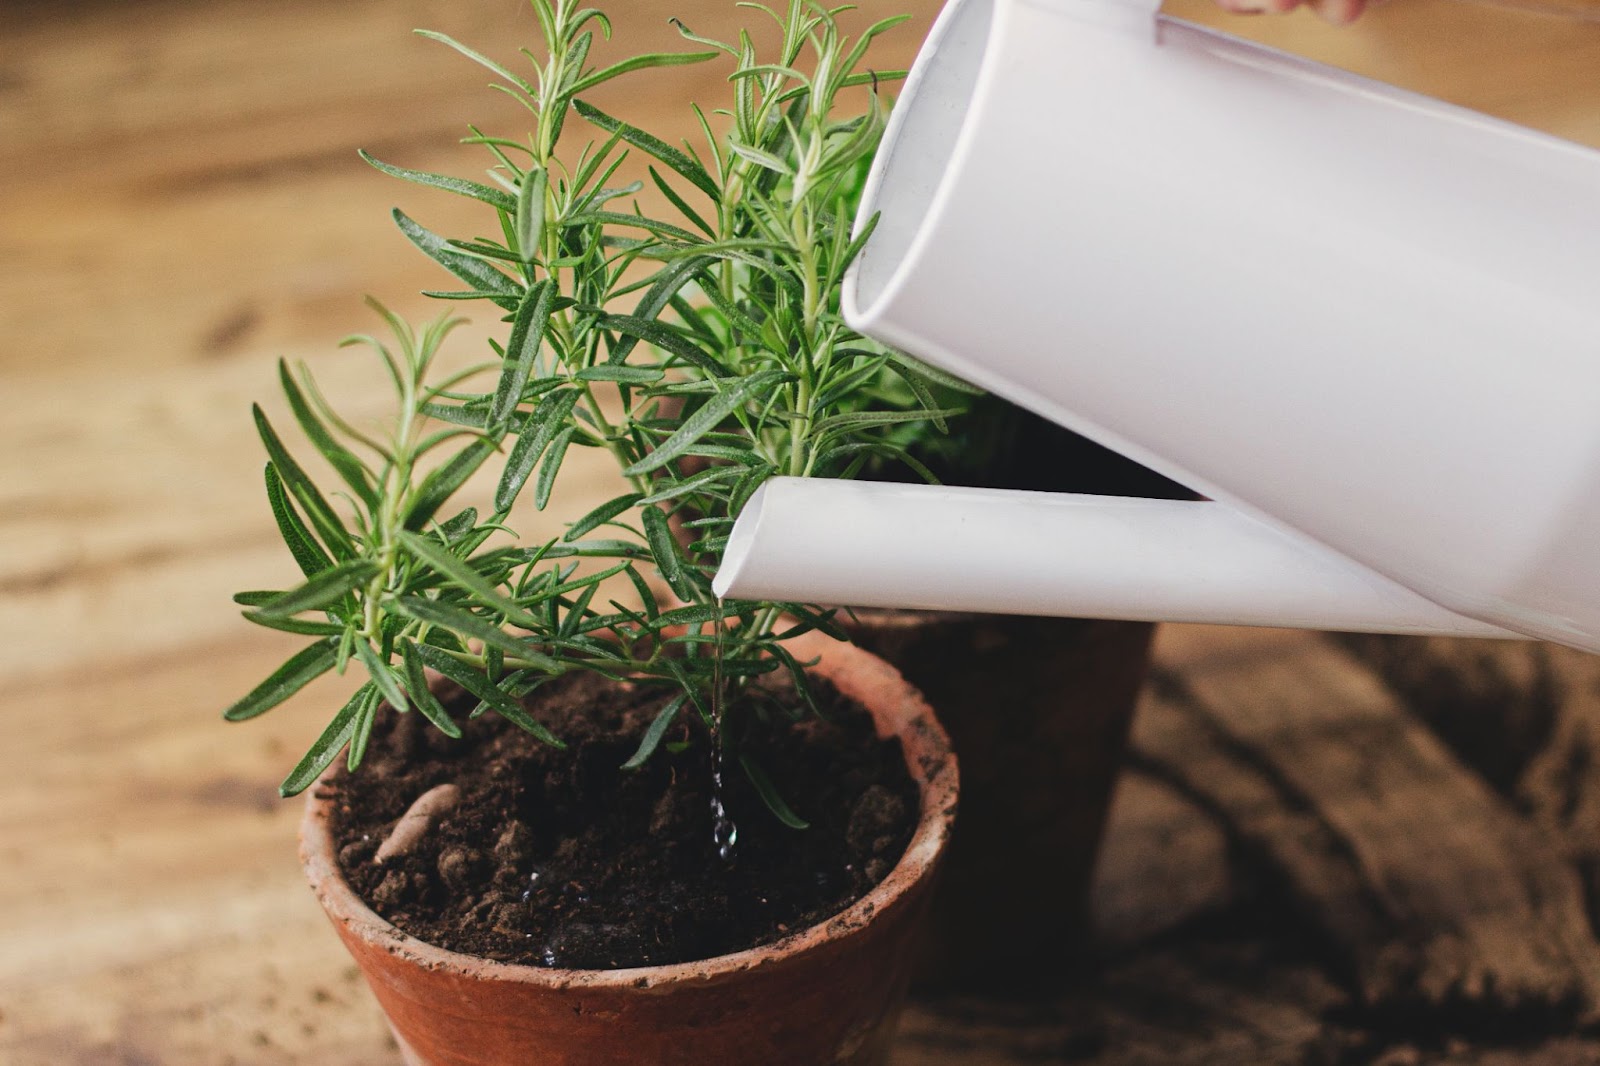
7. Pack and Water
Gently pack the soil down to eliminate air pockets and water the plant thoroughly. Allow excess water to drain, and place the pot in an appropriate location based on your plant’s light requirements.
8. Monitor and Care
Keep an eye on your repotted plant for a few weeks to ensure it adjusts well to its new home. Resume your regular care routine, including watering and fertilizing as needed.
Repotting House Plants FAQs
Does repotting hurt plants?
Repotting can be stressful for plants, but it is generally beneficial in the long run. As long as you take care not to damage the roots or disturb the plant excessively, repotting can help improve a plant’s health and vitality.
Why should roots be broken up when repotting?
Breaking up the roots, especially if they’ve become circling or densely packed, encourages them to spread out and establish in the new soil. This promotes better nutrient absorption and overall plant health.
What not to do when repotting plants?
Avoid repotting during the dormant season or when your plant is stressed from other factors. The best time to repot plants is typically during the spring or early summer, which is the active growing season for most plants. Don’t choose a pot that is excessively large, as this can lead to overwatering and root rot. Lastly, resist the urge to over-fertilize immediately after repotting, as it can shock the plant’s sensitive root system.
Need Help Repotting?
Not confident in your green thumb? Have the skills but not the time? Or maybe you want to hang your plants from the ceiling. Experienced Taskers are here to help repot anything from your snake plant to your monstera!
Last updated on October 15, 2024 by Meghan Lalonde