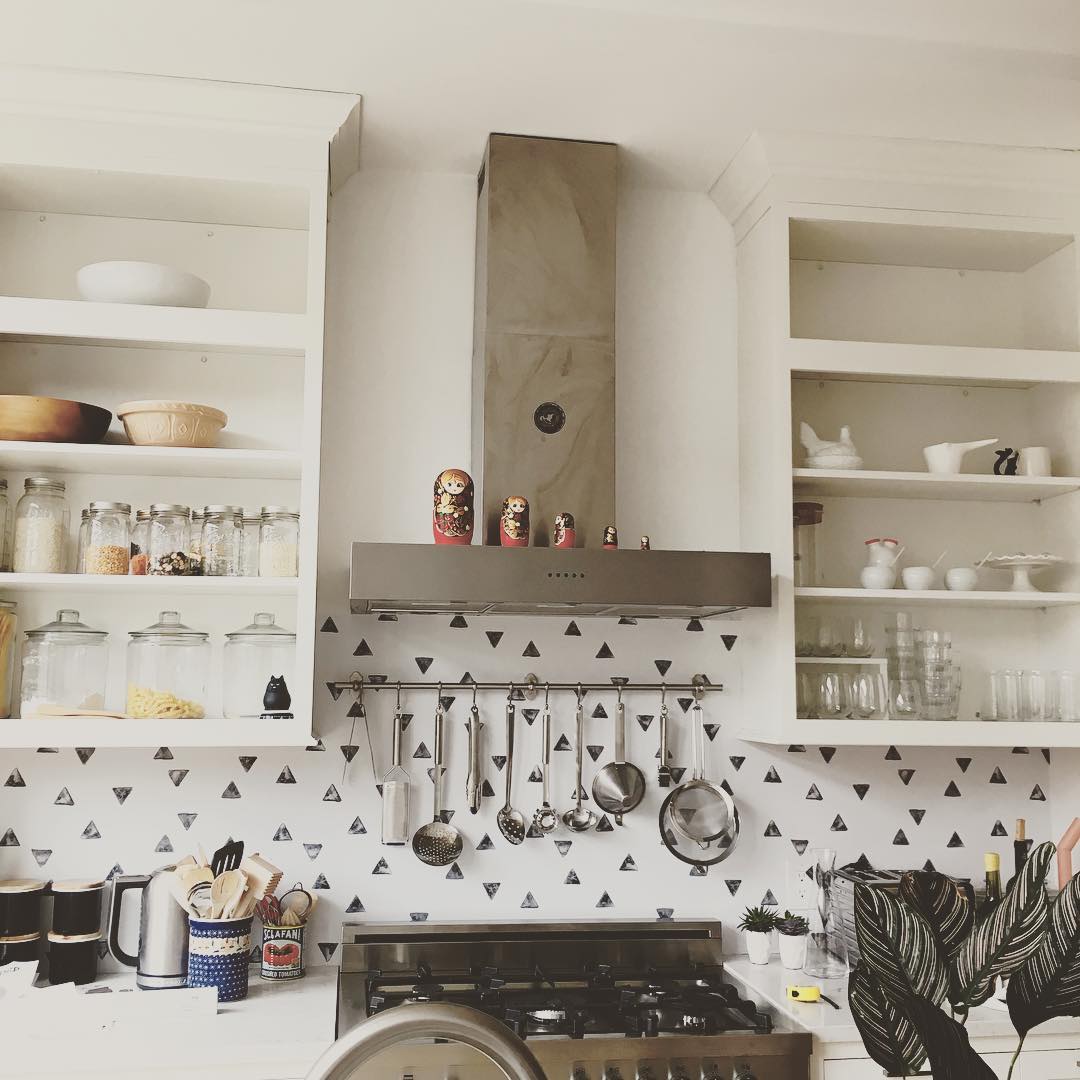
A backsplash is one of the most impactful upgrades you can make to your home. It transforms a functional wall into a design centerpiece while protecting surfaces from moisture and stains. While the process requires precision, learning how to install tile backsplash is a project you can successfully tackle with a solid plan and the right tools.
While most commonly associated with the kitchen, backsplashes are “feature-ready” additions for several areas of the home, including:
- Kitchens: Protecting the wall behind stoves and sinks.
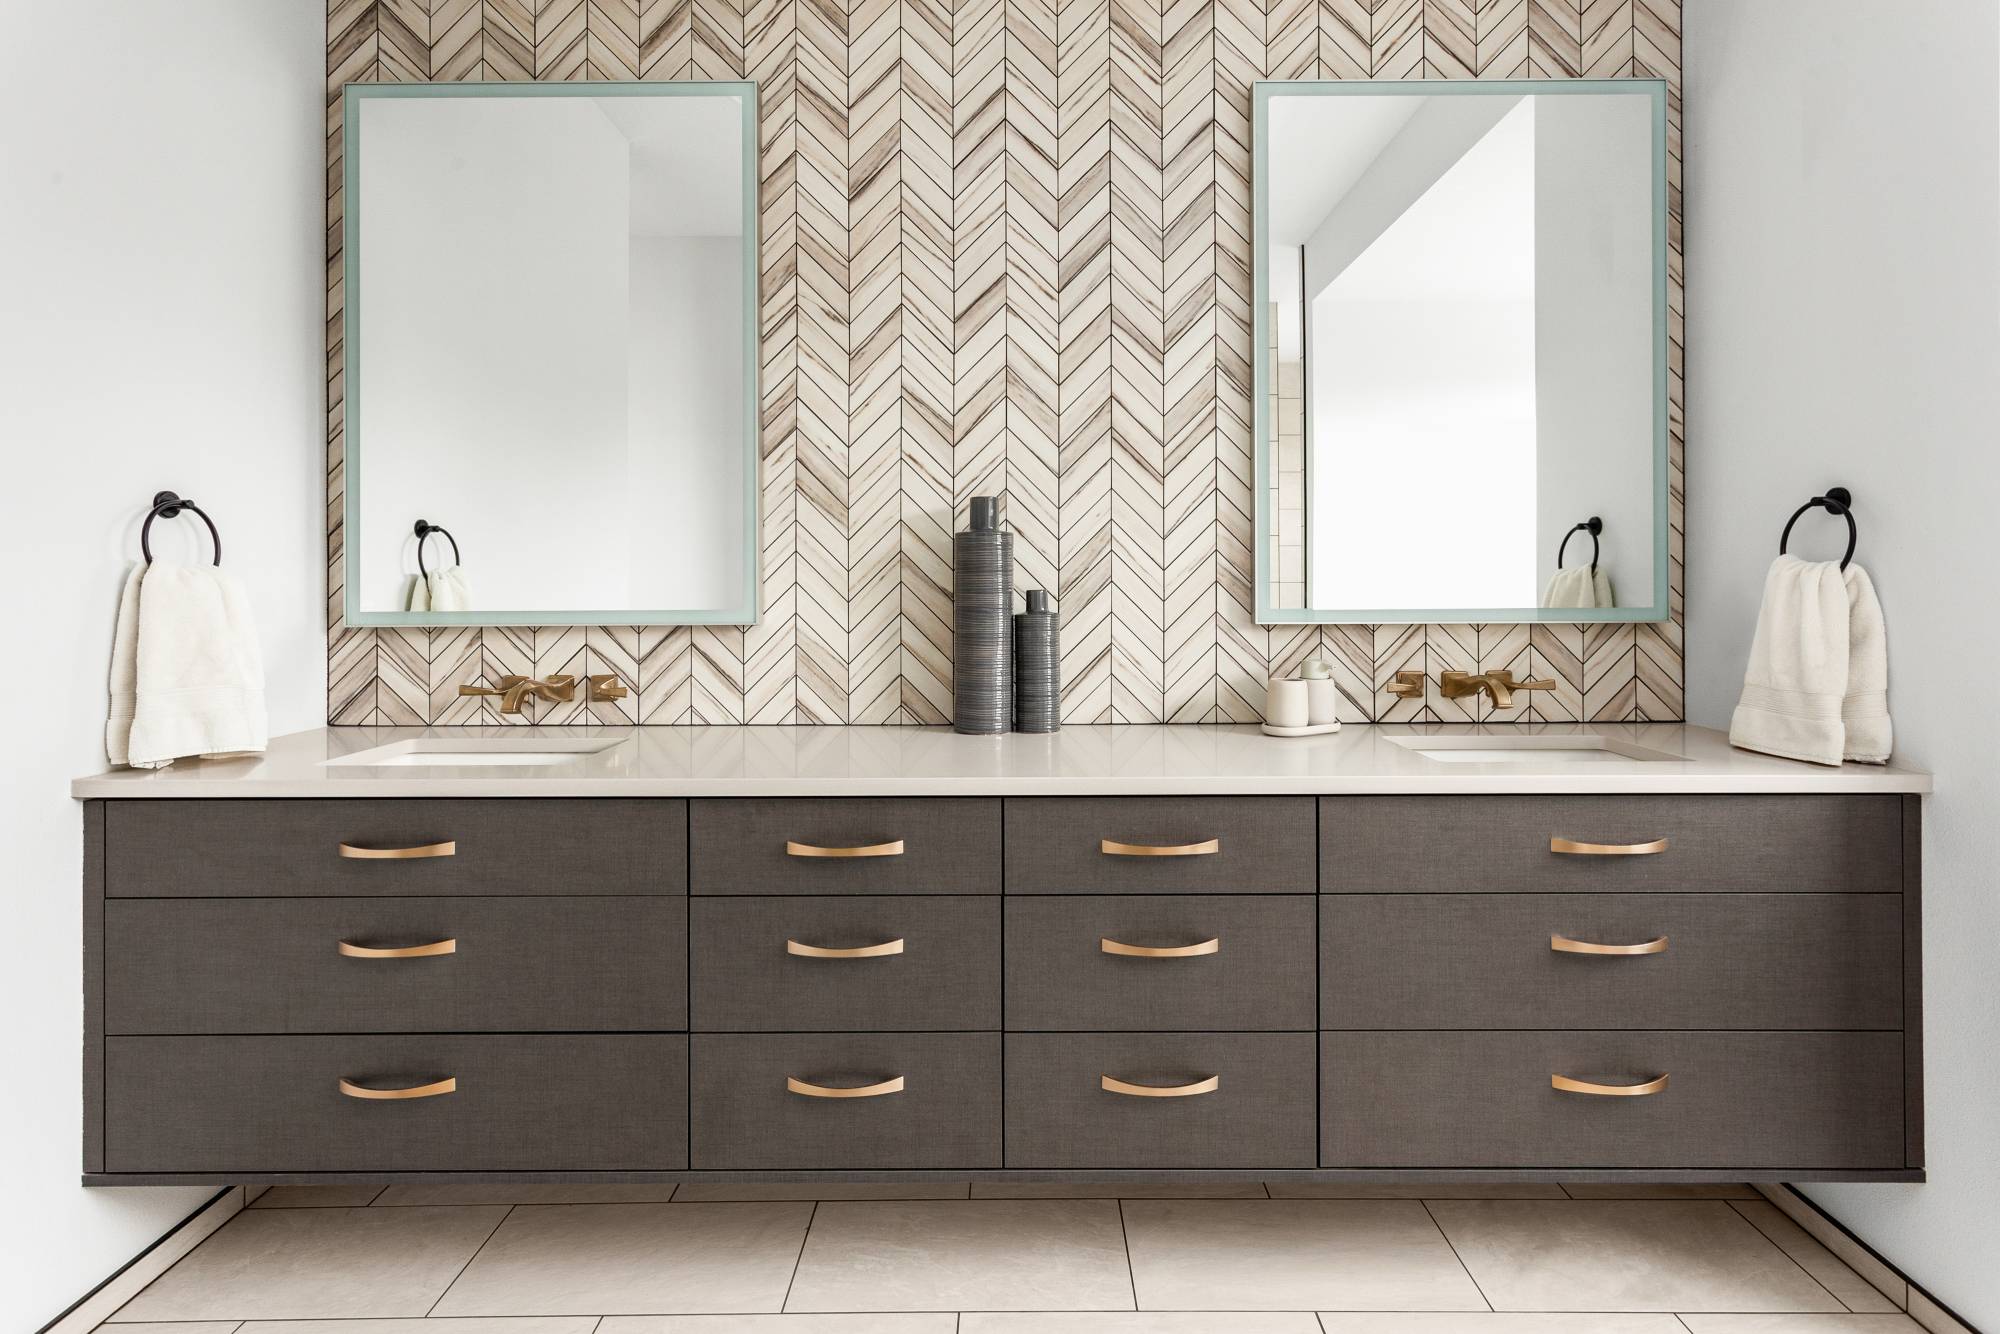
- Bathrooms: Adding a decorative touch behind vanities.
- Laundry rooms: Creating a water-resistant barrier behind washers and utility sinks.
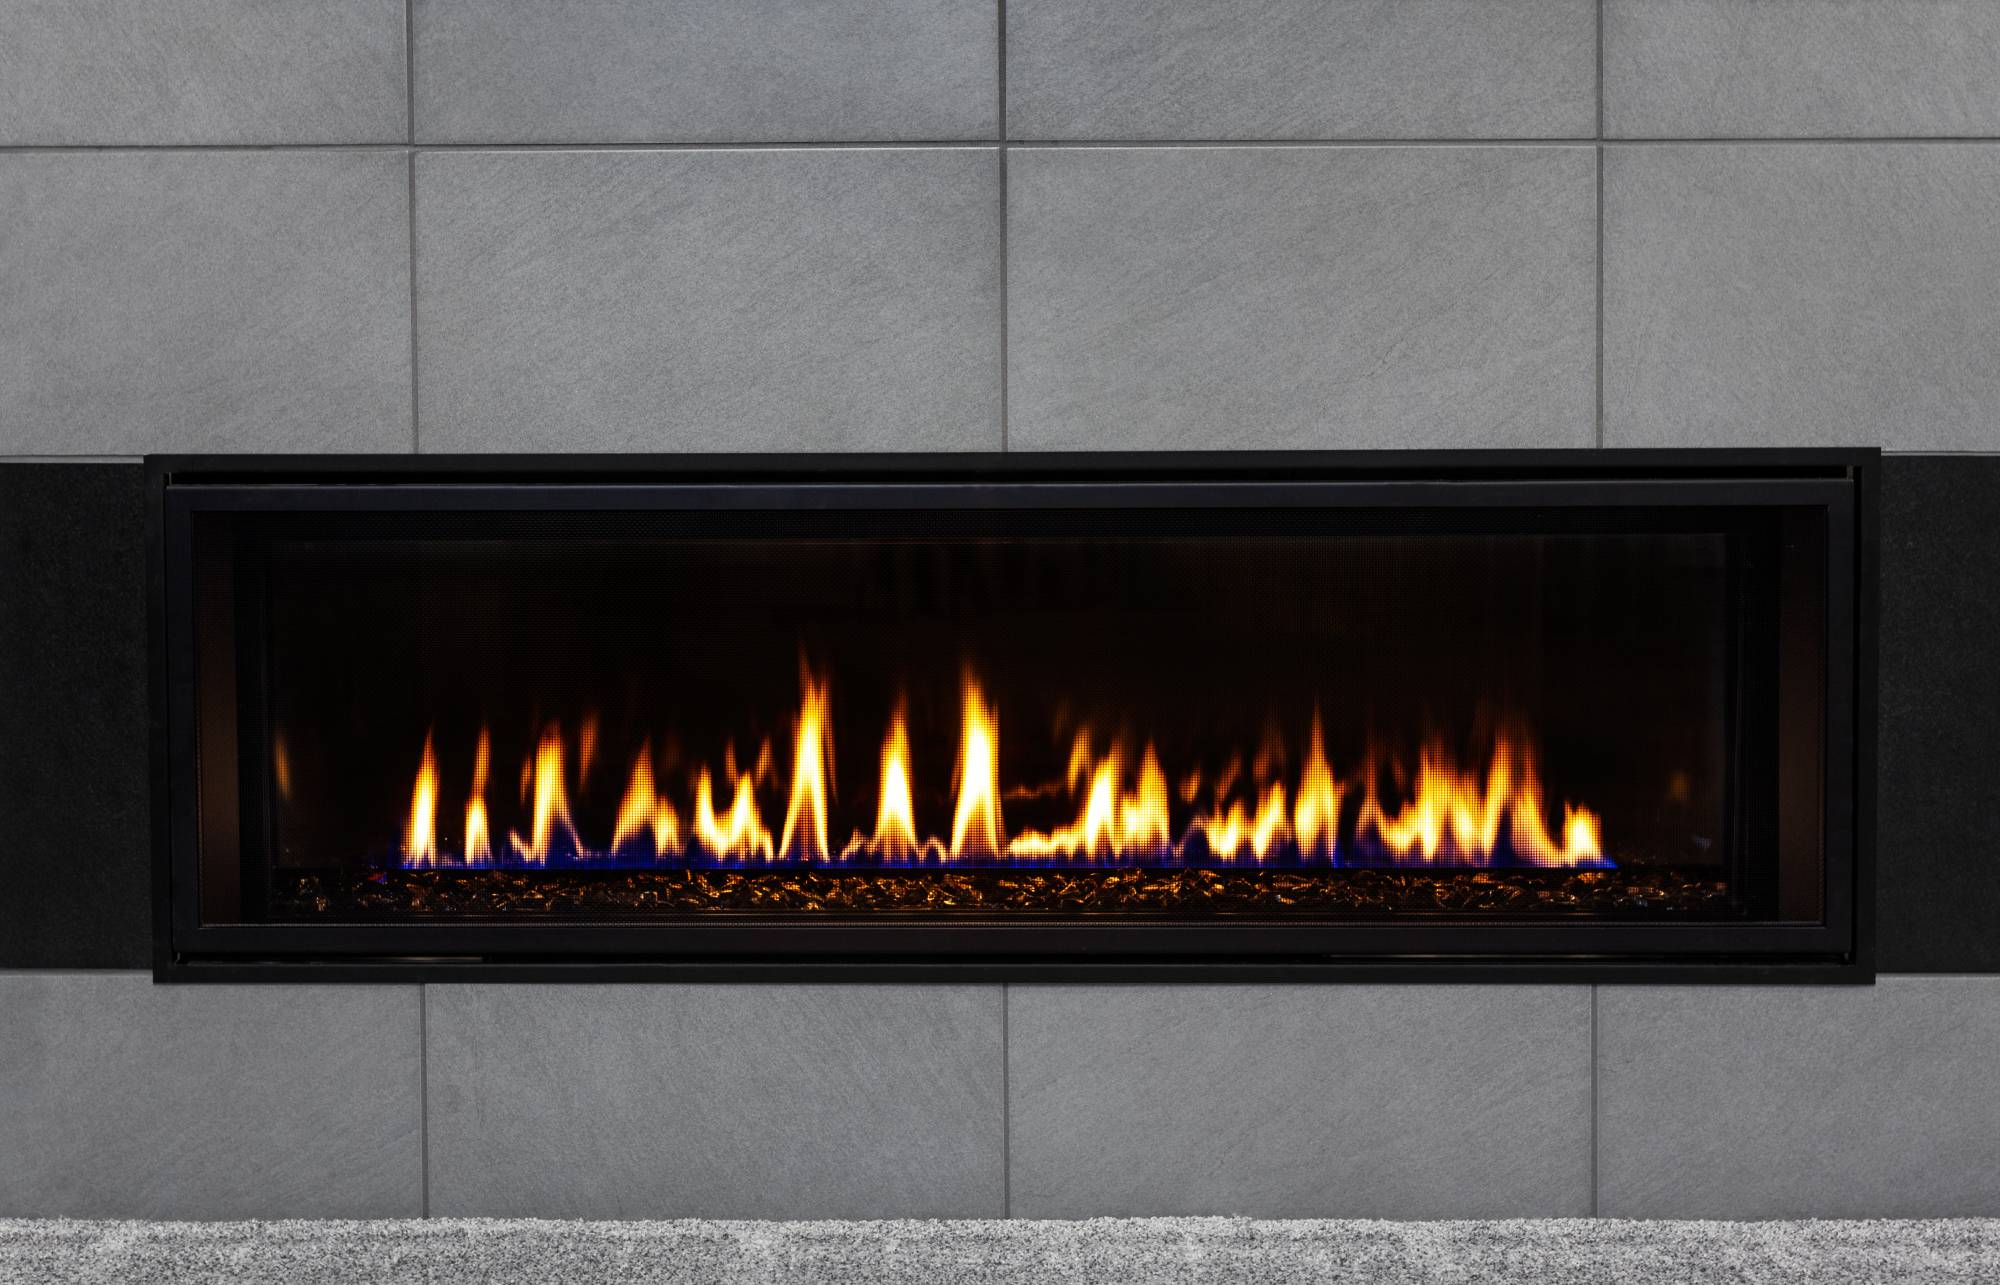
- Wet bars: Enhancing the aesthetic of home entertainment areas.
If you are looking to save time or need a hand with a complex layout, you can always find expert flooring and tiling help from a trusted Tasker. Whether you choose to DIY or enlist a pro, this guide provides the technical specificity needed to navigate the project from the first measurement to the final seal.
What Tools and Materials Are Needed for Tiling a Backsplash?
Before you begin, ensure you have gathered all the necessary equipment. Having the right tools on hand prevents mid-project delays and ensures a professional-grade finish.
Core Materials
- Tile: Choose a style that fits your aesthetic, from classic ceramic to modern stainless steel.
- Thinset mortar: This serves as your primary adhesive.
- Grout and sealer: Essential for filling gaps and preventing long-term moisture damage.
- Tile spacers: These ensure your tiles remain perfectly aligned.
- Painter’s tape and drop cloths: To protect your countertops and adjacent surfaces.
Essential Tools
- Masonry hammer: For precision demolition of your existing backsplash (if needed).
- Measuring tape: To accurately calculate square footage.
- Notched trowel: For applying mortar with consistent ridges.
- Tile cutter or wet saw: Depending on the material (natural stone typically requires a wet saw).
- Rubber grout float: For smooth grout application.
- Level: To keep your rows perfectly horizontal.
- Masonry hammer: For precision demolition of your existing backsplash (if needed).
- Eye protection: To guard against sharp shards during removal and cutting.
- Drop cloth: To keep your surfaces spotless and scratch-free.
Pro tip: Always purchase 10% more tile than your measurements suggest. This “waste factor” covers accidental breaks and complex cuts around outlets.
To save your resources, consider enlisting help from a handyman who already has the tools and materials needed if you think you won’t be using some of these tools again.
How to Install a Backsplash in 10 steps
1. Clear the Workplace
Clear everything off your countertops and move the range away from the wall. Lay down your drop cloths and use painter’s tape to protect the edges of your cabinets and counters. Most importantly, disconnect the power to any outlets near your workstation at the breaker and remove all faceplates.
2. Prep the Wall
If you have an existing backsplash, use your masonry hammer and chisel to chip it away carefully. Once the old tile is gone, scrape away the remaining adhesive. Patch any significant holes with spackling paste and sand the wall until it is flat and smooth. If you are tiling over painted drywall, scuff the surface with coarse sandpaper to help the mortar bond.
To prepare a bare wall, patch up any holes with spackling paste and then wash the wall with soap and water or tri-sodium phosphate, so it’s thoroughly clean. Glossy surfaces, including painted walls, should be sanded. Optionally, you can consider installing a backer board to the walls for the most durable tiling results.
3. Calculate Your Starting Center Point
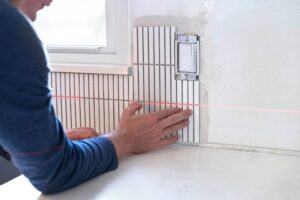
For a symmetrical, professional look, you must find the center of the wall or the main focal point (usually behind the stove or sink). Use a measuring tape to find the midpoint of that horizontal area and mark it with a vertical line using a level. This is where you will begin placing your first tiles, working outward toward the corners so that any cut tiles end up being equal in size on both ends.
4. Pre-Lay and Cut Tiles
Before opening your mortar, lay your tiles out on the counter or against the wall. This allows you to visualize the pattern and confirm that your center point math is correct. Check for “slivers”—tiny bits of tile that are hard to cut and look messy. If you see them, adjust your starting line slightly to ensure the end pieces are at least half a tile wide.
At this step, you can also use a tile cutter to customize the size to fit your backsplash as needed.
5. Mix and Apply the Thinset Mortar
Mix your chosen tile adhesive—we recommend thinset mortar—according to the package’s directions. Prepare small batches at a time to prevent the mortar from skinning over.
Using the flat side of a notched trowel, spread a thin layer over a 2-foot section of the wall at a 45-degree angle.
Then, use the notched edge to comb even ridges in a single direction. This creates the vacuum seal needed to hold the tile in place.
6. Set the Tiles and Spacers
Press the first tile at your center point mark with a slight rocking motion to collapse the mortar ridges. Flatten the tile with a rubber grout float and use tile spacers at the corners to maintain even gaps. Use your level frequently to ensure the rows remain perfectly horizontal as you work your way toward the edges.
7. Cut and Install Custom Pieces for Outlets and Corners
Once the field tiles are set, measure the remaining gaps around electrical outlets and under cabinets. Use a wet saw or tile nippers for these precision cuts. By cutting these pieces last, you account for any minor shifts in your spacers, ensuring a snug fit.
Once cut, apply a small amount of mortar directly to the back of the tile (back-buttering) and press it firmly into place on the wall. Ensure these pieces are level with the surrounding tiles and maintain a 1/8-inch expansion gap at the countertop line.
8. Grout the Joints
Wait at least 24 hours for the mortar to cure. Remove the spacers and mix your grout. Using a rubber grout float at a 45-degree angle, push the grout deep into the joints. After about 10 minutes, wipe the tiles with a damp (not dripping) sponge in a circular motion to remove excess haze and shape the grout lines.
9. Seal the Grout
Once the grout has cured (usually 24–72 hours), apply a grout sealer to protect against grease, moisture, and stains. Fill the expansion gap at the countertop with flexible silicone caulk rather than rigid grout.
10. Replace Outlets and Switch Covers
To bring the switches and outlets level with your new backsplash, add box extenders to them. Replace the covers of your outlets and switches.
Congrats, you’re done! Now you’re ready to put everything back into place and enjoy your beautiful new backsplash.
What Should You Avoid When Installing Backsplash Tile?
Even the most straightforward DIY projects have their quirks. To ensure your transformation goes smoothly, keep these common “lessons learned” in mind to achieve a professional-grade result.
- Ignoring the “dry run:” One of the biggest mistakes is applying mortar before testing the layout. Always do a dry lay of your tiles on the counter to check where your cuts will fall.
- Using the wrong trowel size: If your trowel notches are too small, the tile won’t stick; too large, and mortar will ooze through the grout lines. Check your tile manufacturer’s recommendations for a perfect bond.
- Rushing the grout phase: It is tempting to finish quickly, but applying grout before the adhesive has fully cured can trap moisture and cause tiles to shift.
- Forgetting expansion gaps: Surfaces expand and contract with temperature changes. Always leave a small gap where the tile meets the countertop and fill it with flexible caulk rather than rigid grout.
How Do You Maintain a Backsplash?
To keep your tiles looking their best for years, follow these simple maintenance steps:
- Routine cleaning: Wipe down tiles with mild soap and warm water regularly to prevent grease buildup.
- Annual sealing: Re-apply grout sealer once a year, especially in high-moisture areas near the sink.
- Caulk inspection: Check the caulk line along the countertop occasionally; if it cracks, remove it and apply a fresh bead of silicone caulk.
Interested in upgrading or changing up your backsplash? Check out our guide on painting backsplash tiles.

How Long Does It Take To Install A Backsplash?
The backsplash installation process can take anywhere from a day to a week depending on the size of your wall and the type of tile you choose.
A professional installer usually takes two to three days to install a medium-sized backsplash area; if you are doing it yourself, it will likely take longer as you overcome the learning curve!
When Should You Call a Professional For Backsplash Installation?
While DIY tiling is a rewarding way to improve your home, it can be time-consuming for a novice. If you are dealing with expensive natural stone, complex patterns, or have a tight deadline, enlisting a trusted, background-checked Tasker can save you from costly mistakes.
Taskers bring their own tools and clever thinking to get the job done right the first time. Whether you need help with the full tile installation or just the tricky cuts, help is on the way.
Last updated on January 20, 2026 by Grace Branscome