
Whether you’re mounting a TV, installing shelves, or hanging a heavy mirror, finding the studs behind your wall can help you determine where and how to attach your item.
An electronic stud finder is usually the quickest option, but it isn’t the only one. You can also use a strong magnet and clues around the room to narrow down where a stud may be.
Read on to learn the different methods you can use to find studs in your walls, and when it may be worth getting help.
Rather see a stud finder in action? Watch our step-by-step vide on how to find studs with and without an electronic stud finder.
What Is a Wall Stud?
Studs are part of the structural framing behind the wall. They can provide a stronger place to attach heavier items like shelves, cabinets, mirrors, and TVs.
Before you get started, check the instructions for whatever you’re hanging. The appropriate mounting method will depend on the item and wall type.
How to Find a Stud With an Electronic Stud Finder

Electronic stud finders scan the wall to help locate framing behind the surface. Some models identify the edges of a stud, while others point you toward its center. You may also see different settings for deeper scans, metal, or electrical wiring.
Because the buttons, settings, and signals vary by model, check your stud finder’s instructions before you start scanning.
What You’ll Need
- Electronic stud finder
- Painter’s tape or pencil
- Tape measure
- Strong magnet, optional
1. Calibrate the Stud Finder
Start around the area where you want to hang the item.
Set the stud finder flat against the wall, turn it on, and wait for it to calibrate. Keep the tool against the wall while it’s calibrating. Most models will use a light or sound to let you know when they’re ready.
If you get an error right away, you may have started directly over a stud. Move the finder a few inches to the side, place it flat against the wall again, and recalibrate.
Still having trouble? Check the battery and make sure you’re using the appropriate setting for the wall.
2. Scan Slowly Across the Wall
Once the stud finder is ready, slide it slowly across the wall.
Keep it flat and use even pressure as you move. Lifting one side or tilting the tool away from the wall can lead to an inaccurate reading, and moving too quickly can make it easier to miss a stud.
3. Mark the Stud
When the finder alerts you, stop and mark the location with painter’s tape or a pencil.
Exactly what you mark depends on your stud finder. Some models are designed to alert you when they reach the edge of a stud, while others indicate the center. Check your model’s instructions so you know what its lights, sounds, or other signals mean.
If your stud finder indicates the center, mark that location. If it detects the edges, mark the first edge, then scan toward the same stud from the opposite direction to find and mark the other edge. The center of the stud should be about halfway between those two marks.
Before drilling, make sure the location also works with the mounting instructions for your item and hardware.
4. Double-Check the Reading
Before moving on, make sure the reading makes sense.
Move a little higher or lower on the wall and scan again. A stud should continue vertically behind the wall. If the finder repeatedly detects something along that same line, that’s a better indication that you’ve located the framing.
5. Use Stud Spacing as Another Clue
Once you’ve located one stud, you can measure over to get an idea of where another may be.
Studs are often spaced 16 or 24 inches apart, measured from center to center. However, spacing can vary, especially around doors, windows, corners, and remodeled areas.
Use the measurement to narrow down where to look, then scan the wall to confirm the location rather than relying on spacing alone.
Why Is My Stud Finder Giving Different Readings?
Getting inconsistent readings? A few things can affect how your stud finder responds:
- Scanning too quickly: Move the finder slowly across the wall so you don’t miss a stud.
- Holding the finder unevenly: Keep it flat against the wall and use even pressure as you scan.
- Starting over a stud: If the finder gives you an error when calibrating, move a few inches to the side and try again.
- Moving before calibration finishes: Keep the finder still and against the wall until it’s ready.
- Using the wrong scan mode: Check your model’s instructions to make sure you’re using the appropriate setting for the wall.
- Scanning a difficult surface: Plaster, tile, heavy texture, thick wall coverings, and multiple layers of material can affect the tool. Understanding what type of wall you’re working with can help you troubleshoot your next step.
If the reading seems unusually wide or keeps moving, don’t assume you’ve found a stud. There could be metal, electrical wiring, plumbing, or something else behind the wall.
If you keep getting unclear results, check whether your model has a deeper scan setting or is designed for that type of wall. If you still aren’t confident about what you’ve found, don’t guess.
How to Find a Stud Without a Stud Finder
Don’t have an electronic stud finder? You can use a magnet and other clues to narrow down where a stud may be.
When possible, use more than one clue to check what you find.
Use a Strong Magnet
A strong magnet is usually a good place to start if you don’t have an electronic stud finder.
Move the magnet slowly across the wall until you feel it pull toward a hidden screw or nail.
Mark that location, then check above and below it. If you find more fasteners along the same vertical line, there’s probably a stud behind them.
Check Around Outlets and Switches

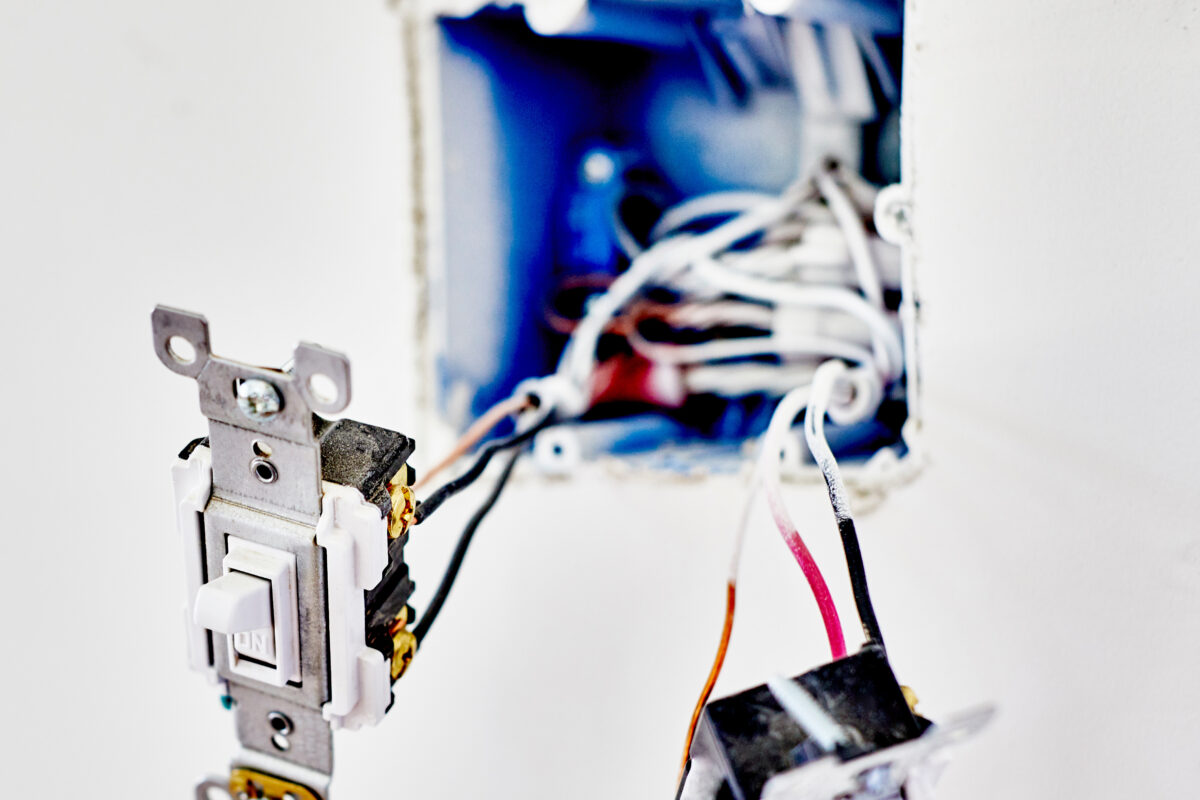
Electrical outlets and switches are often installed next to a stud, although that isn’t true in every home.
Their locations won’t tell you the exact center of a stud, but they can help you decide where to check next with a stud finder, magnet, or another clue.
Look Around Doors, Windows, and Trim
Doors and windows have framing around them, which can give you another clue about where studs may be located.
You may also be able to spot small nail marks along the baseboard or trim. These clues won’t identify the exact center of a stud by themselves, but they can help you determine where to check next.
Tap or Knock on the Wall and Listen
You can also try tapping across the wall.
The open space between studs may sound more hollow, while the area over a stud may sound a little firmer.
This isn’t an exact method, especially when a wall has insulation or a different type of construction. Instead, use the sound to narrow down the area before checking that location with a magnet, stud spacing, or another clue.
Measure Common Stud Spacing

If you’ve identified a likely stud location, measuring from it can help narrow down your search for the next one.
Studs are often spaced 16 or 24 inches apart from center to center, but those measurements aren’t guaranteed. Spacing can vary around windows, doors, corners, and remodeled areas.
Use the measurement as a clue, then check the location rather than assuming there’s a stud there.
When to Get Help With Your Mounting Project
For a small, straightforward project like hanging a shelf, finding the studs may be enough to move forward.
TVs, cabinets, heavy shelves, and large mirrors can be more involved. They may require exact placement, more than one mounting point, specific hardware, or another person to help lift and level the item.
If your wall is plaster, tile, or masonry, or your stud finder readings just aren’t making sense, it may be worth bringing in help.
Whether you handle the project yourself or bring in help, take your time, check the stud location more than once, and make sure the full mounting plan works before you drill.
Can’t Find Your Wall’s Studs? We Got You
You may be having some trouble finding studs, but you can hire a Tasker within minutes. If you need help with stud finding for mounting, hanging, or installation, book a Tasker through Taskrabbit today.
Last updated on October 12, 2026 by Grace Branscome