When you’re not necessarily a “handy” person, you may not know how to install a shower head. Whether you’re upgrading your bathroom completely or simply needing to replace a shower head, it never hurts to learn the basics!
In this post, we’ll walk you through every step of the process and cover everything you need to know, including what tools are required, frequently asked questions, and step-by-step tips for installing and replacing a shower head. We’ll also explore when it’s best to tackle this task yourself and when it’s best to seek help. Let’s dive in!
Tools Needed to Change a Shower Head
To replace a shower head, you’ll need a few basic tools, including:
- New shower head
- New shower arm
- A properly fitting escutcheon (the small metal part that fits over the shower arm and against the wall)
- Teflon thread-sealing tape: Creates a watertight seal between connections
- Flashlight
- Crescent wrench or channel lock pliers: Grips and turns the shower head without scratching
- A rag or towel: Protects metal surfaces from tool marks
Optional tools include:
- Liquid remover (for silicone)
- Utility razor
- A small brush (e.g., an old toothbrush)
How to Replace a Shower Head: 7 Steps
Now that you’re ready to learn how to replace a shower head, the great news is that it isn’t all that difficult! Below, we’ll go through all the steps necessary to replace your shower head and enjoy a new type of water flow in your bathroom.
1. Assess What Type of Shower Head You Want

There are a few different types of shower heads out there, including:
- Fixed shower heads: These screw directly into the shower arm pipe that fits through your wall.
- Handheld: These have a mount that holds a removable handheld spout. You can always replace a shower head with a handheld option.
- Combined fixed and handheld: These have a fixed head and a handheld spout, giving you the most flexibility. When you’re looking to replace a shower head with handheld pieces, however, there may be a few more steps to connect all the pieces.
- Rain shower head: These often fall from a horizontal spout directly above you and mimic the feel of rain. Consider hiring help if installing a shower head like this will require more in-depth plumbing work.
2. Make Sure the Water Faucet Is Off

Before you replace your shower head, make sure that your water supply is off. You can usually do this by closing the water valve located near the shower or in your home’s main water supply area.
3. Remove the Existing Shower Head
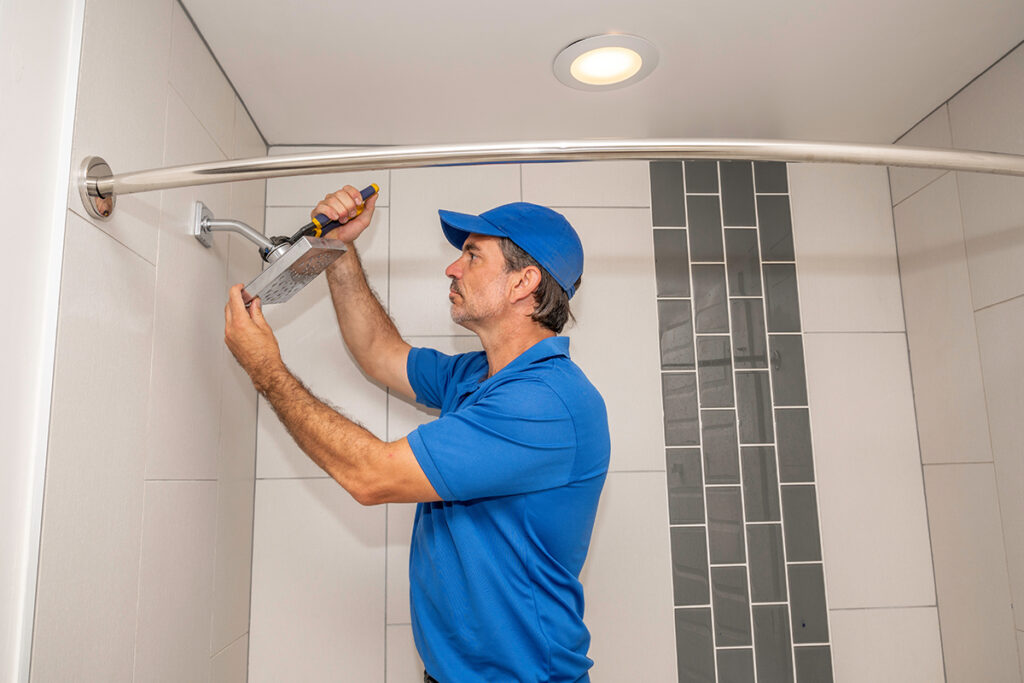
If you’re wondering how to remove an old shower head, rest assured that it’s actually quite simple:
- Protect the finish: Wrap a rag or towel around the shower head fitting, then secure your crescent wrench or channel-lock pliers around it. This prevents scratching the metal.
- Loosen the connection: Grip the tool around the rag and turn counterclockwise to loosen the screw-on piece that fastens the shower head to the shower arm pipe.
- Remove the shower head: Once loosened, unscrew the shower head completely to remove it.
4. Clean the Shower Arm
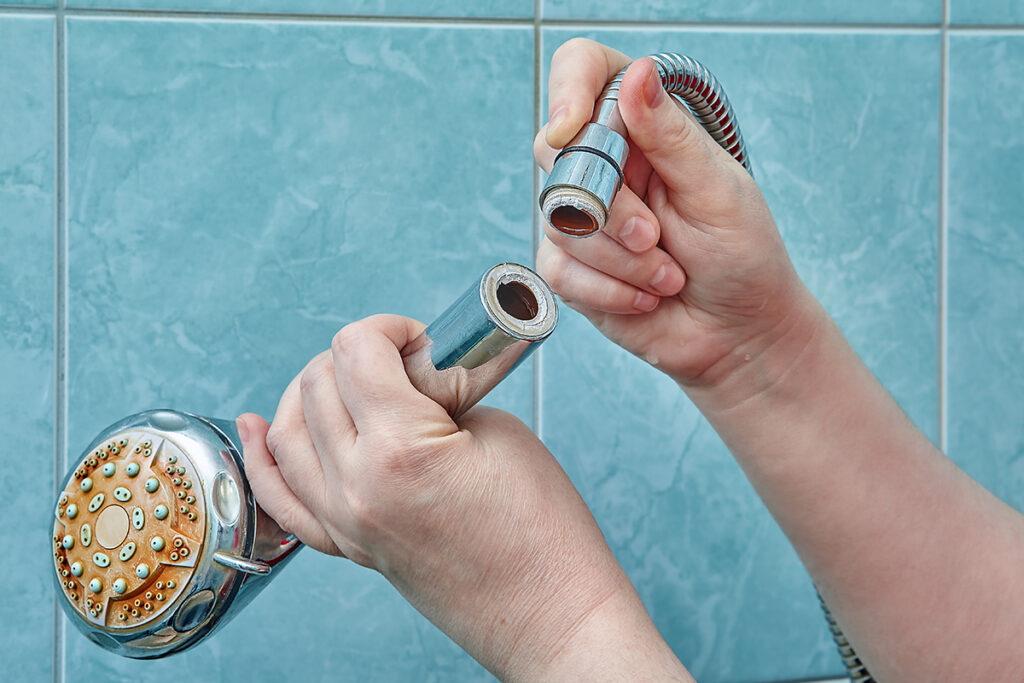
Before you start your new shower head assembly, it’s often helpful to clean the pipe fitting on the shower arm with an old toothbrush. This can remove any buildup or old bits of pipe tape that could get in the way of securely screwing on a new shower head.
5. Wrap Teflon Thread-Sealing Tape Around the Threads

Once your shower arm fitting has been scrubbed clean of grime, wrap the threads with three loops of teflon thread sealing tape. If done properly, this will provide a tight and leak-proof connection when you screw on the new shower head.
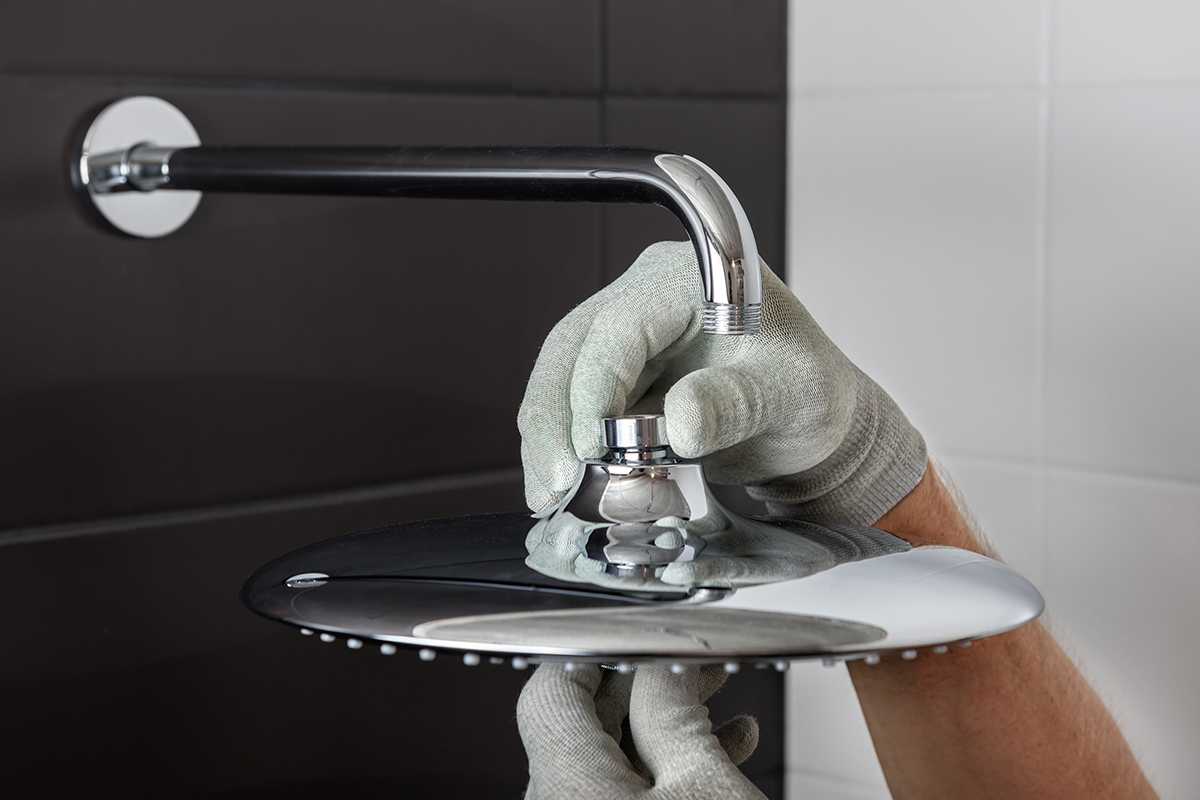
6. Position the Replacement Shower Head

For fixed shower heads, it’s usually quite simple to install a replacement. Just screw it on over the teflon thread sealing tape, and make sure the connection is snug. That’s it!
For handheld shower heads, screw the handheld shower mount onto the shower arm over the new layer of tape. Then connect the flexible hose to the mount and to the handheld spout. Adjust these steps as needed for combination shower heads, according to the manufacturer’s instructions.
7. Check for Leaks

Finally, turn on both the hot and cold water, and adjust the angle of your shower head as the water is coming out. If there are no leaks, you’re all set!
If you see a leak, however, it means the connection isn’t fully sealed. If your shower head came with a rubber washer, make sure that is in place. Otherwise, check to make sure the thread sealing tape is wrapped correctly around the shower arm connector.
Tips to Install a Shower Head
Keep these essential tips in mind for a successful installation:
- Read manufacturer instructions: Every shower head has specific requirements that can save you troubleshooting time.
- Check measurements: Most are standard size, but verify compatibility with your existing setup.
- Use rubber washers when provided: These can eliminate the need for Teflon tape entirely.
- Consider height and angle: Ensure your chosen head works well in your specific shower space.
- Never force pipes: This can cause expensive damage. Use tools for stability instead.
Need some help? Hire a Tasker
Not as handy as you’d like to be when it comes to upgrading your bathroom? Try hiring a Tasker to install your shower head today!
Frequently Asked Questions About Replacing Shower Heads
Do I need to shut water off before changing my shower head?
No, you don’t need to shut off your home’s main water supply. Simply ensure the shower faucet handle is turned completely off.
Do all shower heads fit every shower?
Most shower heads use standard 1/2-inch pipe threading in the U.S., so they’ll fit existing plumbing. Always verify compatibility for unique designs.
Can I just replace my shower head myself?
Yes, it’s one of the easiest DIY upgrades requiring only basic tools. If you’d prefer professional help, a Tasker is ready to assist.
How long do shower heads typically last?
Shower heads typically last 5-10 years, though mineral buildup from hard water may require earlier replacement. Try a vinegar soak first, but persistent clogs usually mean it’s time for a new one.
Last updated on July 27, 2026 by Grace Branscome