Can you install a bathroom sink yourself? The answer is yes, though not everyone wants to take on that type of DIY responsibility. After all, when you’re dealing with water lines in your house—and possible flooding or other types of water damage—mistakes aren’t an option.
If you’re ready to learn how to install a bathroom sink, however, you’re in the right place. In this article, top Taskers will cover everything you need to know, whether you’re trying to figure out how to install a pedestal sink, how to change a bathroom sink faucet, or how to attach a sink to a bathroom vanity.
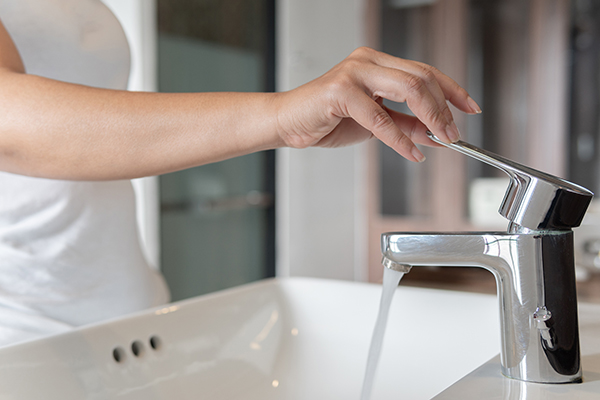
When to Replace a Bathroom Sink?
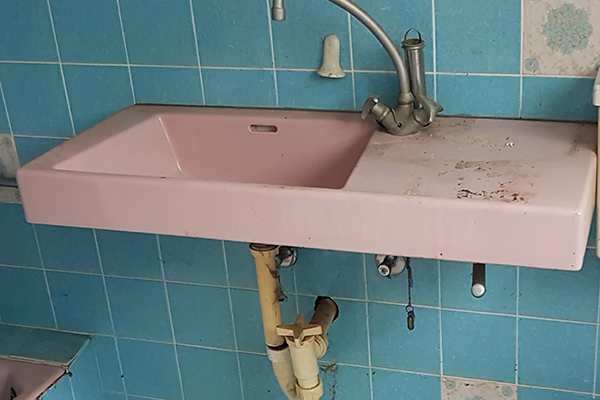
Is it time to bid farewell to your old bathroom sink? Here are some common signs to consider when determining if it’s time for a sink replacement:
- Rust or Corrosion: If you notice rust or corrosion on your sink, especially around the bathroom faucet or drain area, it’s a strong indicator that the sink is past its prime. These issues can lead to leaks and further damage.
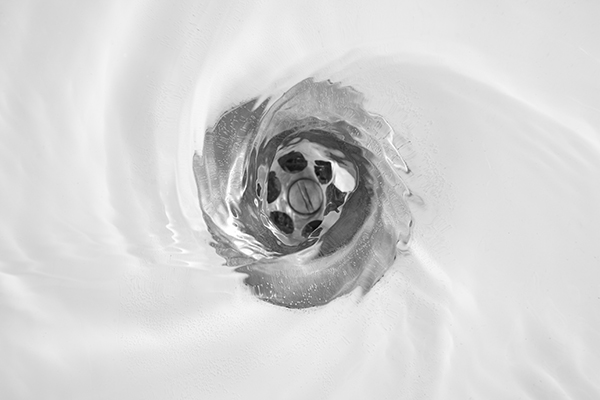
- Drainage Problems: Slow or consistently clogged drains can be a frustrating issue. If you’ve tried everything to unclog them but they persist, it might be time for a new sink with improved drainage.
- Outdated Appearance: An outdated or unappealing sink can drag down the entire look of your bathroom, even with updated countertops or other features. If your sink style feels stuck in a bygone era, consider an upgrade to modernize your space.
These signs are just a few indicators that it might be time to replace your bathroom sink. Don’t hesitate to invest in a new sink that not only functions better but also enhances the aesthetics of your bathroom.
How Much Does a Sink Repair Cost?
According to HomeGuide, a bathroom sink installation can cost anywhere between $380 – $1,200, depending on where you live, the type of materials you need to purchase, and the scope of your project. The cost includes:
Materials: $50 – $550
Labor fees: $230 – $650
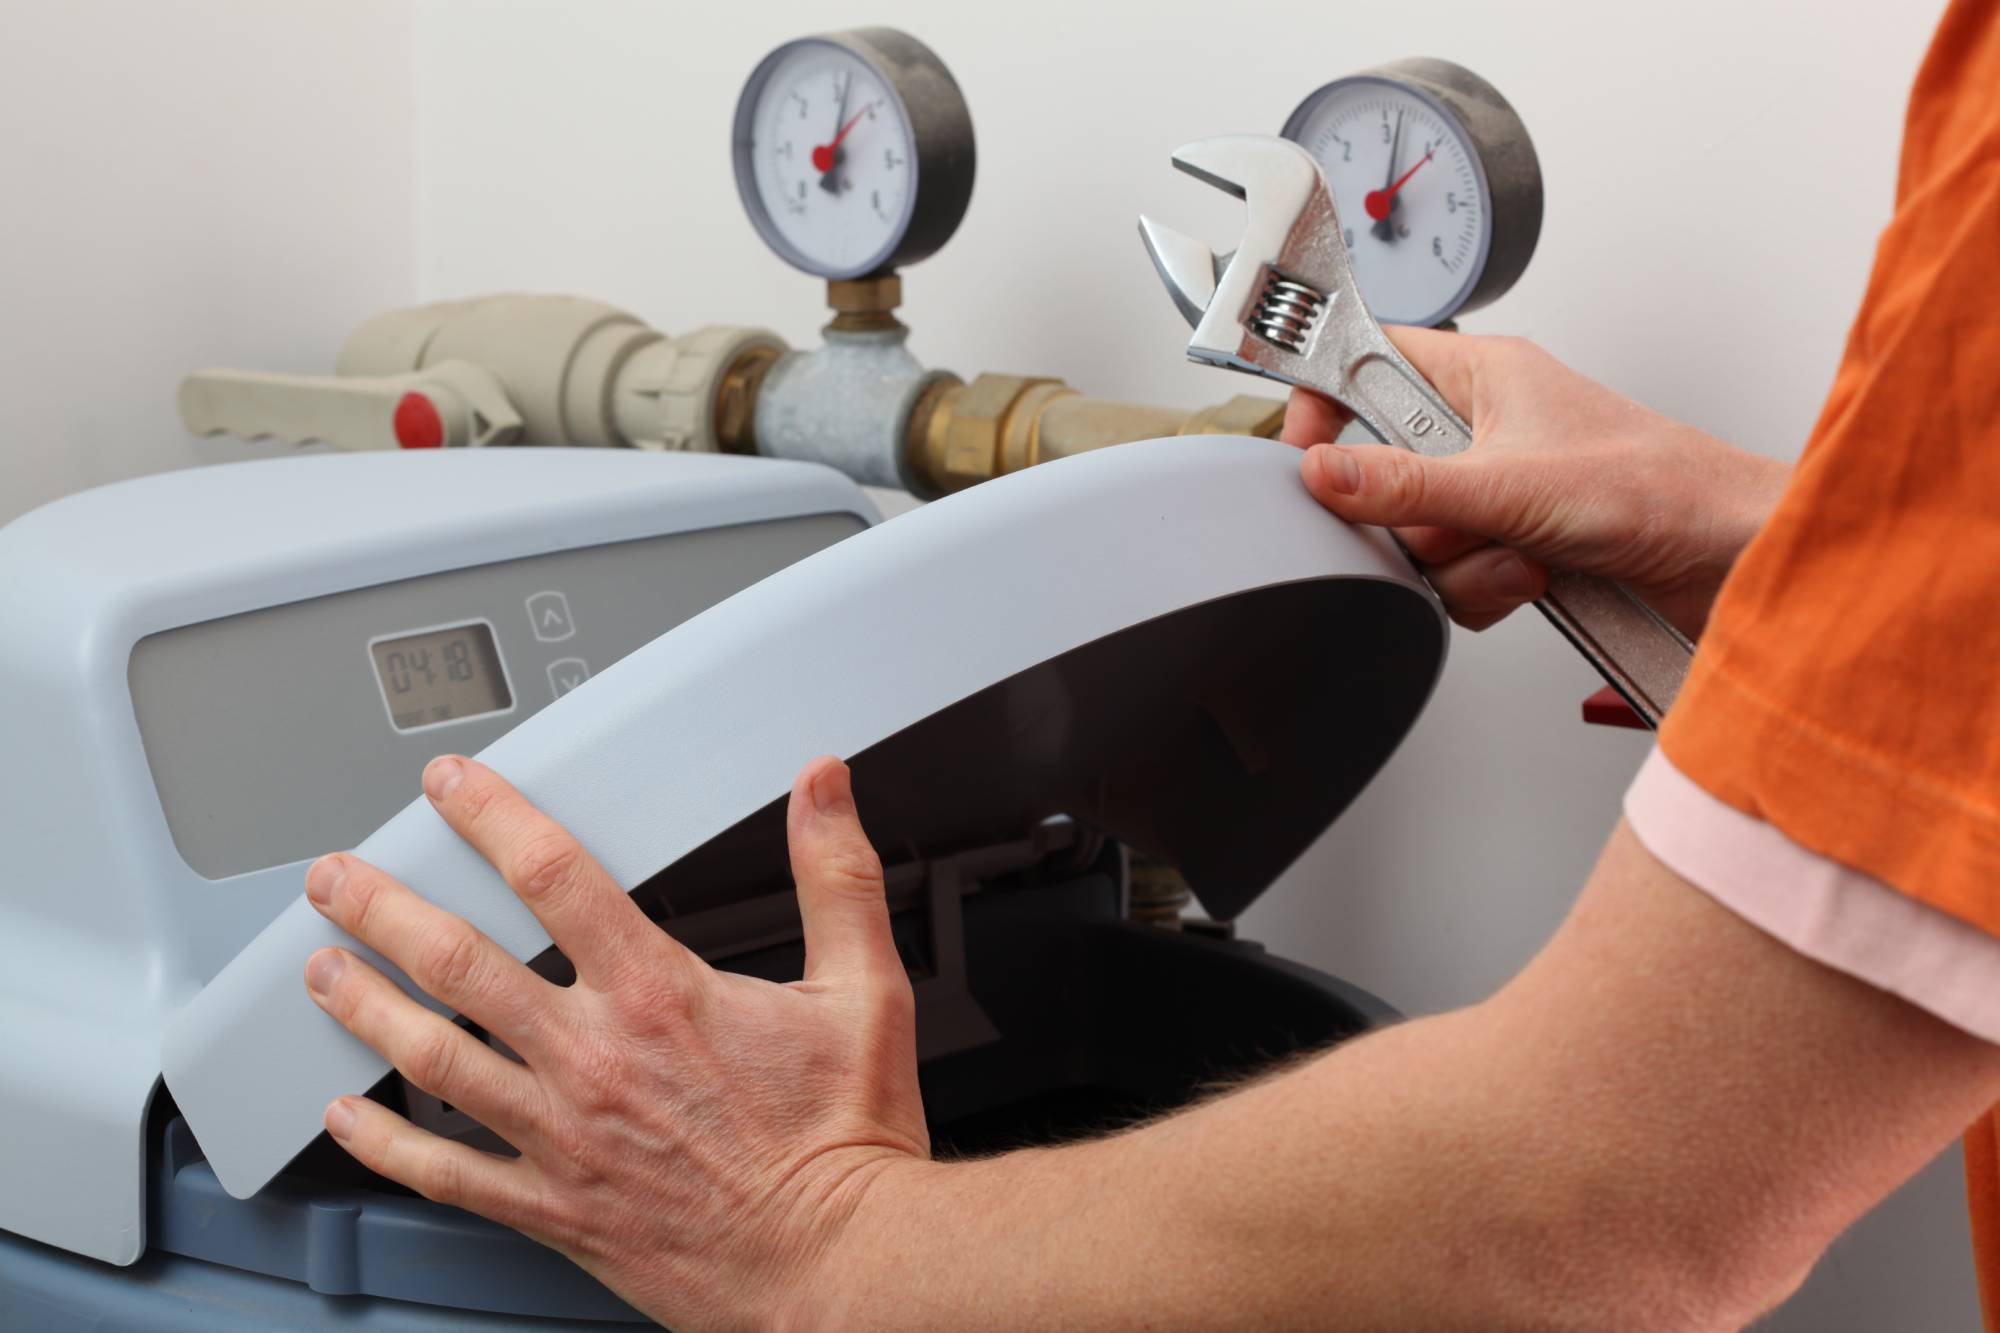
You can definitely save on labor costs by making sink installation a DIY project, but you’ll need to understand basic plumbing, the space you’re working with, and any limitations it might present before you start this home improvement project. If you’re not the handy type, hiring help might be a safer option and save you time in the long run.
How much time, you ask? Well, it can take 4 to 5 hours for a professional to swap out a sink or replace a bathroom vanity and sink. If you don’t know what you’re doing, you can expect it to take much longer. Hiring an experienced Tasker will definitely relieve you of that headache!
What Tools and Materials Do I Need To Install a Sink?
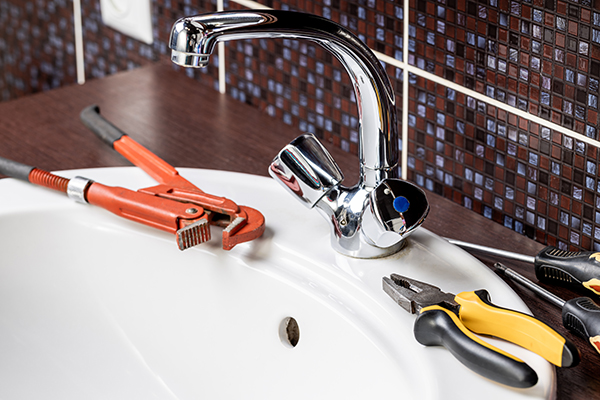
Before you set out to install your sink, you’ll need the following tools and supplies:
Tools
- Bucket
- Utility knife
- Putty knife
- Rags
- Channel lock pliers
- Pipe wrench
Supplies
- New sink unit
- Set of plumbing sockets
- Plumber’s putty
- Silicone caulking
You’ll also want to make sure you have an extra set of hands if you’re choosing to DIY a sink installation. You’ll likely need help lifting and placing the sink and/or vanity. This is especially true for undermount sinks, which are attached underneath a hole in the countertop or vanity top vs. hanging through a hole from above.
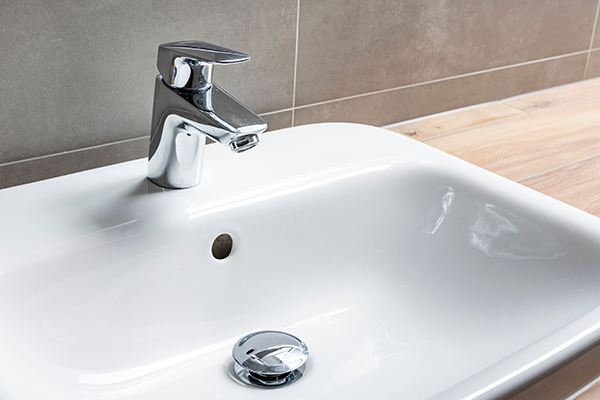
How to Replace and Install a Bathroom Sink
When you’re ready to install your new bathroom sink, you’ll want to take a step-by-step approach. There are two main types of sinks to think about: pedestal sinks and vanity sinks. These steps should work for both.
Step 1: Shut Off the Water Supply
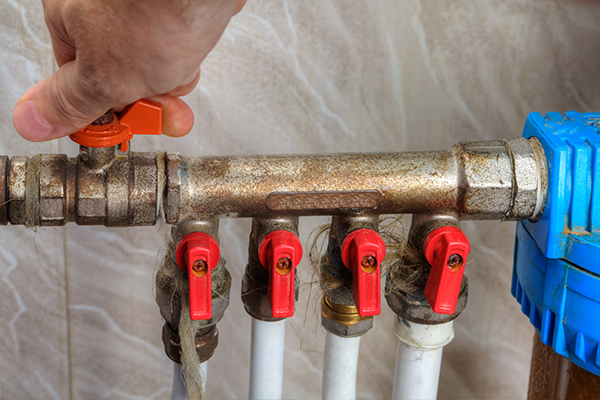
To begin the installation process for your vanity sink, follow these steps:
- Locate the water supply knobs under the sink—one for hot water and one for cold water.
- Turn both knobs clockwise until they are tightly closed to shut off the water supply.
- Test the sink’s hot and cold water faucets to ensure that no water flows.
Step 2: Disconnect and Bathroom Sink Drain the Water Lines
- Using channel lock pliers or a pipe wrench, disconnect the water lines from the valves.
- Place a bucket underneath to catch any water that may drain out during this step.
Step 3: Disconnect the P-trap
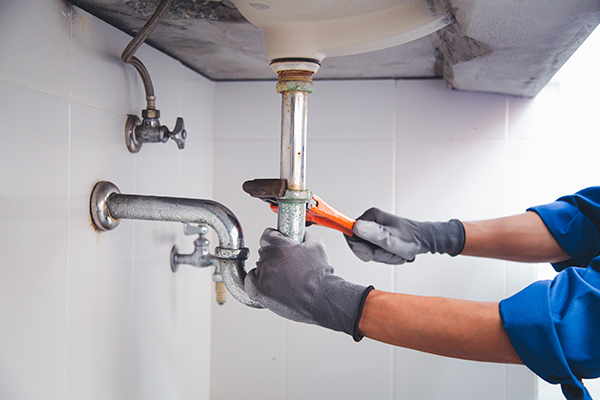
- Under the sink, find the curved section of piping known as the P-trap.
- Position a bucket under it and loosen the nut connecting it to the sink’s drain pipe.
- Depending on your installation requirements, you may need to remove the P-trap entirely.
Step 4: Remove the Old Sink and Vanity
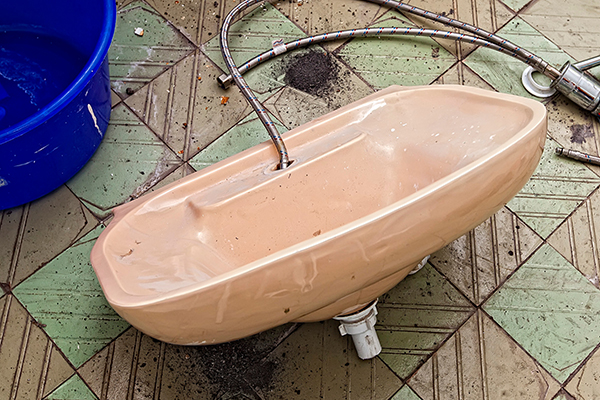
- If your sink is sealed with caulking, slide a putty knife or a sharp blade along the edges to break the seal.
- For the vanity, unscrew any connecting screws and carefully detach it from the wall. You may need assistance with this step.
- Take this opportunity to repair any wall damage in the sink area or repaint the wall if necessary.
Step 5: Install the New Vanity
- Measure the dimensions of your new vanity and mark the wall where it should be placed.
- Position the vanity according to the marked points.
- Optionally, remove the vanity doors to simplify installation and reattach them later.
- Ensure that the vanity is level; use shims if needed.
- Drill pilot holes into the wall and secure the vanity in place with screws or wall anchors if there are no studs.
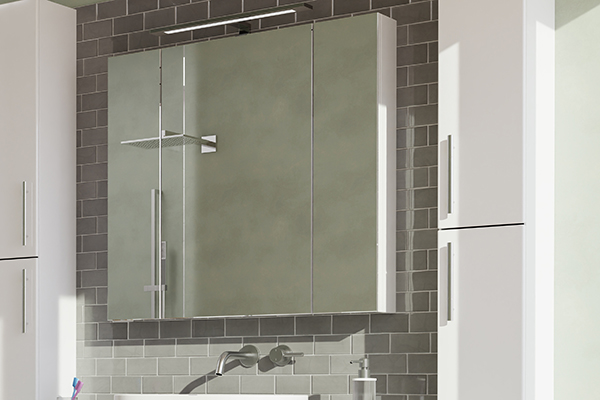
Step 6: Install the Vanity Top (if applicable)
- If your vanity doesn’t come with a top, place a new one onto the vanity.
- Use caulking to secure it in place and seal any areas where it touches the wall.
- If the vanity top includes a sink, proceed to the next step.
Step 7: Install the Sink
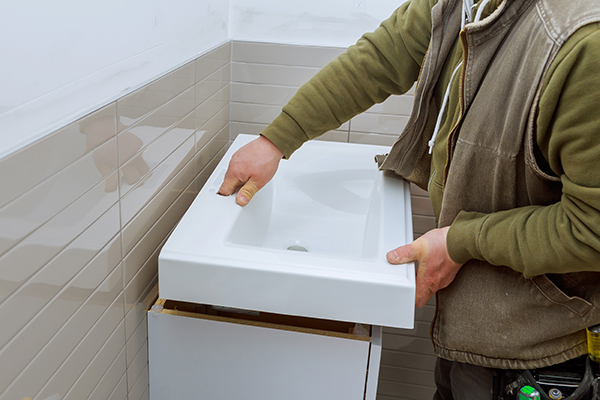
- For drop-in sinks, position it in the hole of the vanity top and seal all edges, including the bathroom sink drain, with caulking.
- Ensure alignment before sealing the edges.
- For undermount sinks, enlist the help of another person.
- Apply caulking, silicone, or plumber’s putty to the rim before positioning it around the vanity’s sink hole.
- Add bolts or fastening clips as necessary.
Step 8: Install the Faucet and Reconnect the P-trap and Water Lines
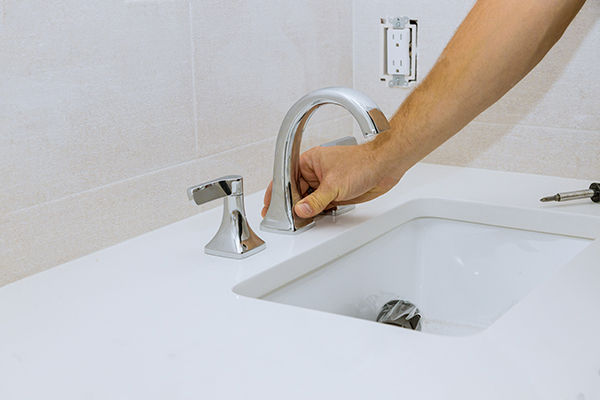
- Follow the manufacturer’s instructions to install the new bathroom faucet.
- Connect the hot and cold water lines correctly.
- Reinstall the P-trap in the same manner as you detached it.
Step 9: Test, Seal, and Use
- After aligning, connecting, and sealing all components to the countertop, test your sink.
- Place a bucket under any potential leakage areas.
- Seal any areas that may leak, and your vanity sink installation should be complete!
Find Help From a Tasker

Replacing a bathroom sink can be a daunting task, especially if you’re not experienced in plumbing. If you choose to do it yourself, it could take up your entire Saturday! On the contrary, hiring a Tasker lets you sit back and relax while you rest with the peace of mind of knowing your sink will be installed the right way.
When you hire a Tasker, you’ll get:
- Expertise: Plumbing Taskers are skilled and have experience with various plumbing tasks, including sink replacement. They can get the job done efficiently and correctly.
- Time Savings: On average, replacing a bathroom sink can take hours if done independently. Taskers can complete the task faster, allowing you to enjoy your updated bathroom sooner.
- Quality Assurance: With a Tasker, you can have peace of mind knowing that the installation will be done to industry standards, minimizing the risk of leaks or other issues down the line.
- Convenience: You won’t have to worry about gathering tools or disposing of the old sink; Taskers come prepared and handle all aspects of the job.
So, if you’re considering a bathroom sink replacement and want it done efficiently and professionally, Taskers are ready to help you transform your bathroom with ease.
Last updated on April 22, 2025 by Boris Zahariev