Quick Answer: Yes, you can paint ceramic, porcelain, and natural stone bathroom tiles to save money on a renovation. However, you must use specialized epoxy or moisture-resistant paint and follow a strict sanding and priming process to ensure the finish lasts in high-moisture environments.
Tired of staring at the same old outdated bathroom tiles? Before you rip them out and start a costly renovation, consider the surprising solution of painting! While painting tile is a highly effective budget-friendly DIY, it isn’t always a straightforward endeavor. Success depends on your tile type, the moisture levels in your bathroom, and your willingness to do the proper prep work.
In this guide, we’ll walk you through the essential steps to breathe new life into your space—including what paint to buy and how to ensure the finish lasts. We will cover:
- What to consider before you start
- Why painting is a smart alternative to replacement
- The specific paints and tools required for tile
- A step-by-step guide to preparation and application
What Should You Consider When Painting Bathroom Tile?
According to Bobvila.com, you can DIY home improvement by painting popular tile types, including ceramic, natural stone, and unglazed quarry tile. The only big exception is for glazed quarry tile, because paint doesn’t easily stick to it.
It’s also important to note that this likely won’t just be a one-and-done task. At the very least, you’ll need to do prep work on the bathroom tile surface before priming it, painting it, applying any patterns (optional!), and then sealing it. This can put your bathroom out of commission for a weekend or longer.Finally, you’ll want to consider design. Choosing the right paint color (or paint colors!) will have a huge impact on how well the project turns out, so definitely take the time to pick a shade that will elevate your mood on a daily basis.
What Are the Benefits of Painting Bathroom Tile?
Painting your tiles offers several advantages over a traditional “gut” renovation, especially if you are working within a tight timeframe or budget. Here are the primary benefits of opting for paint over replacement:
- Cost efficiency: Painting tile is far cheaper than replacing it. Material costs for retiling can run upwards of $1,500, not including labor.
- Affordable customization: Painted patterns are far cheaper than buying designer ornate tiles. You can stencil your own preferred pattern for a high-end look on a budget.
- Speed: It’s a perfect way to redecorate and keep up with trends without a full-scale demolition that could take weeks.
What Paint Types Are Best To Use With Bathroom Tile?
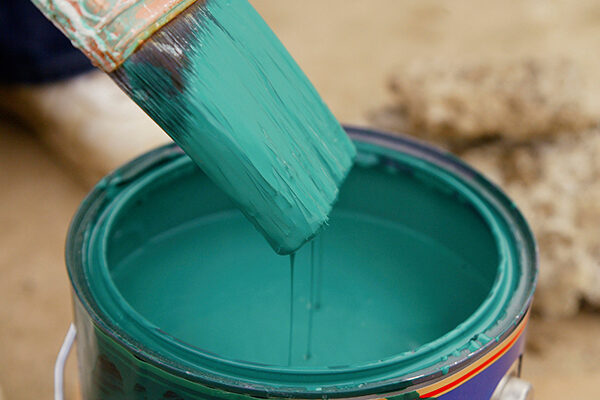
Not all paints are created equal, and choosing the wrong one can lead to peeling or bubbling in a damp bathroom environment. Depending on your tile material and location, you should select from these specific types of paint:
- Latex paint: Best for ceramic, porcelain, or unglazed quarry tiles in low-moisture areas. It is less smelly and toxic than other options, though slightly less durable.
- Epoxy paint: The gold standard for high-moisture areas like showers and tubs. It dries harder than latex and is highly resistant to heat and everyday wear.
- Acrylic latex paint: Specifically intended for natural stone, interior masonry, or stucco. Note that a glossier finish can make stone tiles more slippery, especially on floors.
What Materials Are Needed to Paint Bathroom Tile?
Before you start, you’ll need to gather a specific set of tools to ensure the paint adheres properly and looks professional. Make sure you have the following materials ready before you begin your project:
- Cleaning supplies: Dish soap, vinegar, sponges, and scrubbing brushes.
- Sandpaper: Various grits (or a power sander) for roughing up the surface.
- Repair tools: Caulk, waterproof spackle, and a putty knife for cracks.
- Painting essentials: Primer (epoxy/urethane or masonry), paint brushes, paint rollers (foam rollers for textured tiles), painter’s tape, and drop cloths.
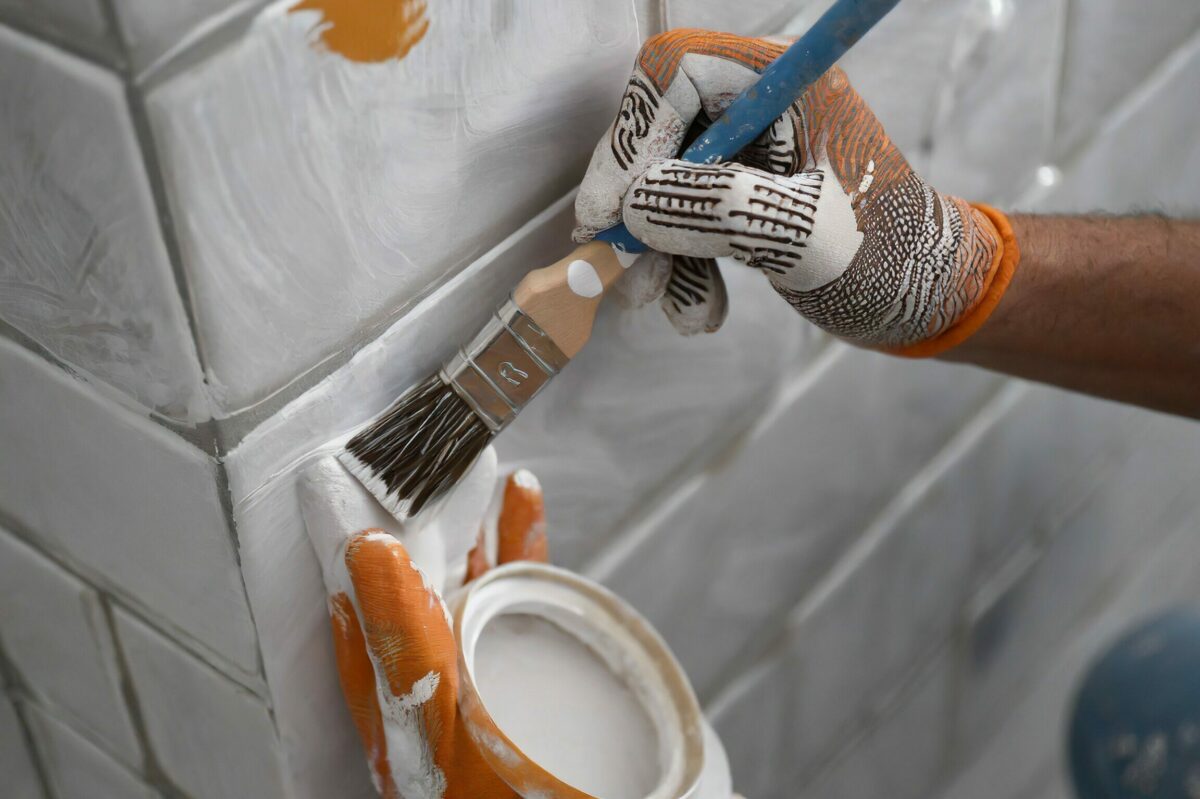
Step-by-Step Guide: How to Prepare and Paint Bathroom Tile

Achieving a professional-grade finish requires following a strict sequence of preparation and application. Follow these six steps to ensure your painted tile looks great and stands up to daily use:
Step 1: Sand the Surface
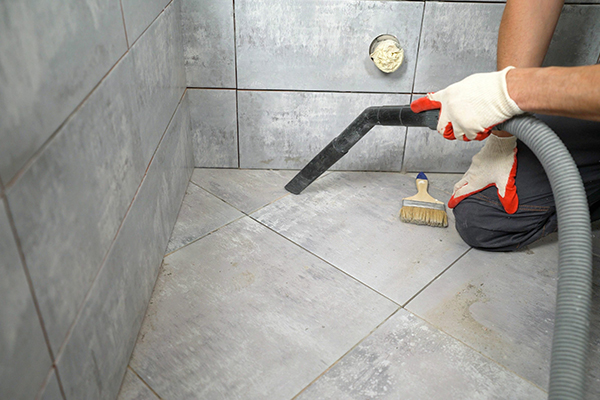
When sanding and scrubbing, go over all areas of the tile: the face, the grout, and any buildup or stains. Be sure to vacuum up any dust after sanding, and then give it all a heavy scrub down and rinse.
Step 2: Repair Any Damage
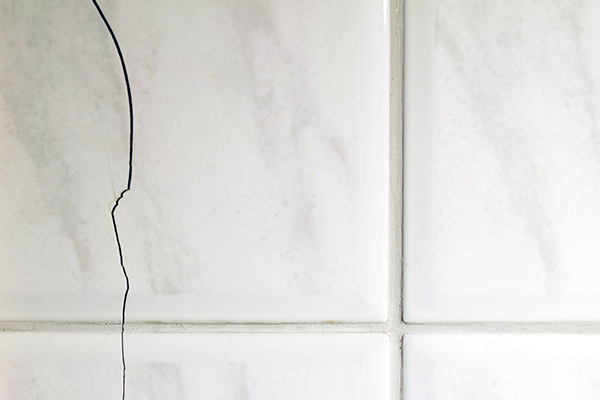
Fix small cracks with caulk and larger chips with waterproof spackle. Allow these repairs to dry completely before proceeding.
Step 3: Clean and Decide Strategy
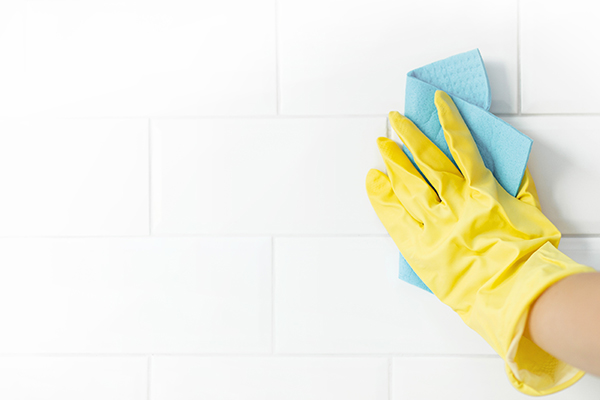
Wipe the tiles with a damp microfiber cloth to remove any remaining residue. You’ll also want to decide if you want to prime and paint over grout lines or paint each tile individually. The latter option will take far more time, but it can look amazing once complete.
Step 4: Prime the Tile
Apply a high-adhesion bonding primer. Ensure the surface is 100% dry before applying, as moisture trapped under the primer will cause future peeling.
Different tile types require different types of primer: epoxy or urethane primer for ceramic or porcelain and masonry primer for natural stone or unglazed quarry tile.
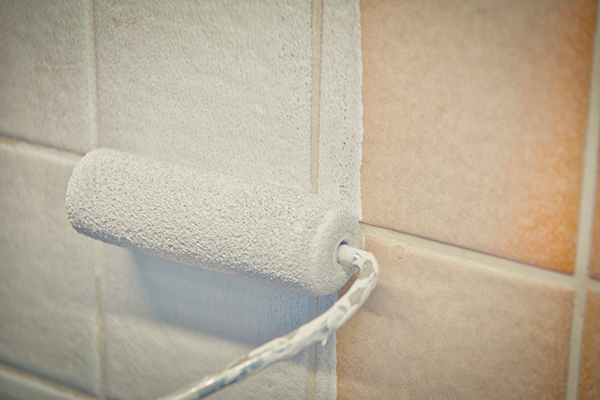
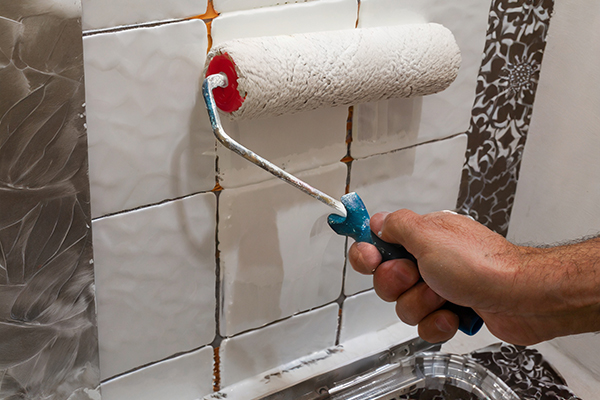
Step 5: Apply the Paint

Start at the corners and edges with a paint brush. For the larger flat areas, use a roller and apply a thin, even coat. (Note that you may need a second coat also!) Let each coat dry completely before applying the next. A third top coat might be needed for optimal coverage, but this will depend on whether you’ve achieved your desired look.
Allow at least 12-24 hours of drying time between each coat.
Step 6: Seal and Cure
After the final coat dries, remove the painter’s tape and touch up any imperfections. Apply a final coat of clear sealer and wait at least 48 hours before subjecting the tile to any moisture or steam.
Pro tip for a lasting finish: During the entire 48-hour drying and curing window, run your bathroom exhaust fan or a dehumidifier constantly. This prevents ambient humidity from settling on the paint, which is the #1 cause of bubbling and peeling in bathroom DIY projects.
Tips to Clean and Maintain Painted Bathroom Tile
Once your tiles are painted, they require gentler care than standard ceramic. To keep your new finish from chipping or scratching, follow these maintenance rules:
- Avoid harsh chemicals: Never use bleach, or abrasive scouring powders on painted surfaces.
- Use soft materials: Clean with a mild dish soap solution and a soft microfiber cloth or sponge.
- Ventilate constantly: Run your exhaust fan for 20 minutes after every shower to prevent standing water from weakening the paint bond over time.
Can You Repaint Tiled Surfaces?
Most popular types of bathroom tile can be repainted if the original finish starts to fade. Because high-moisture areas experience more wear, you may need to re-prep and repaint the tiles every few years to keep the finish looking fresh and prevent water damage to the substrate.
Before and After
Top Taskers have shown that painting tile can substantially upgrade a space. Check out the images below to get inspired!

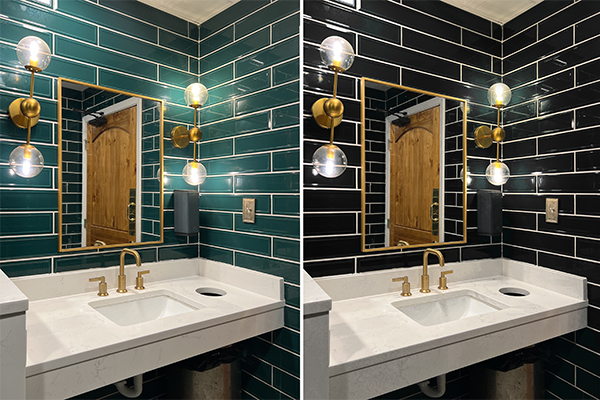
As you can see, the question of “can bathroom tile be painted” is a definite yes. With proper preparation and a little bit of extra knowledge, you can make your aging bathroom look new again—and perhaps gain some new experience in the process!
Hire a Tasker
NoIf the thought of sanding and priming every individual tile feels overwhelming, you don’t have to do it alone. Hire a Tasker today!
Last updated on January 20, 2026 by Grace Branscome