A quick wipe of the sink and a scrub of the toilet can keep your bathroom looking tidy, but every so often, it needs a little extra attention. Soap scum, hard-water stains, dust, and grime can build up in places your regular cleaning routine doesn’t always reach.
Knowing how to deep clean a bathroom starts with having a plan. By working from top to bottom, using the right products for each surface, and saving the floors for last, you can give your bathroom a thorough clean without doing the same work twice.
Whether you’re tackling a long-overdue cleaning session or giving your space a refresh, this bathroom deep cleaning checklist will help you get the job done.
What You’ll Need to Deep Clean a Bathroom
Before you start scrubbing, gather your cleaning supplies so you don’t have to stop halfway through to hunt for something.
Here’s a bathroom deep cleaning supplies checklist:
- Microfiber cloths
- Non-scratch sponge
- Soft cleaning brush or grout brush
- Toilet brush
- Vacuum or broom
- Mop or floor-cleaning tool
- Surface-appropriate bathroom cleaners
- Glass cleaner
- Soap-scum remover, if needed
- Mineral-deposit cleaner, if needed
- Cleaning gloves, if directed by product labels
You may also want an enzyme cleaner for certain organic odors or a pH-neutral cleaner for natural stone surfaces.
Choose the Right Cleaning Products for Your Bathroom

Not all bathroom surfaces can handle the same cleaning products. Before applying anything, check what your sink, countertops, shower, tub, and floors are made of.
For example:
- Acrylic and fiberglass: Use nonabrasive cleaners and soft cleaning tools to avoid scratching.
- Porcelain and enamel: Choose products approved for the specific finish.
- Natural stone: Stick with a pH-neutral stone cleaner and avoid acidic products unless the manufacturer specifically approves them.
- Tile and grout: Use products appropriate for both the tile material and grout type.
- Metal fixtures: Check the finish manufacturer’s recommendations before using vinegar or mineral-deposit removers.
Always follow the product label for application, contact time, ventilation, and rinsing instructions. Never mix cleaning products, especially bleach with ammonia, acids, or other cleaners.
How to Deep Clean a Bathroom in 8 Steps
The trick to a thorough bathroom deep clean is tackling everything in the right order. Start with dry dust and debris, move on to wet cleaning, and finish with the floor.
Step 1: Clear Out the Bathroom
First things first: Give yourself some room to work.
Remove toiletries, toothbrush holders, soap dispensers, and other loose items from your countertops. Clear shampoo bottles, razors, and other products from the shower or tub.
Next, remove:
- Dirty towels and washcloths
- Bath mats and rugs
- The trash can
- Any items stored on the bathroom floor
If your shower curtain or liner needs cleaning, take it down and follow its care instructions. You can wash it separately while you tackle the rest of the bathroom.
With everything out of the way, you’ll have better access to the surfaces, corners, and crevices that need attention.
Step 2: Dust and Remove Hair Before Wet Cleaning
It might be tempting to grab your cleaning spray right away, but start with dry cleaning instead.
When dust and hair get wet, they can turn into stubborn clumps of grime that are harder to remove.
Work from the top of the bathroom downward, dusting:
- Exhaust vent covers
- Safely reachable light fixtures
- Tops of mirrors and medicine cabinets
- Shelves and ledges
- Corners and baseboards
Then, use a vacuum or broom to collect loose hair, dust, and debris around the vanity, toilet, bathtub, and edges of the room.
Don’t worry about getting the floor spotless yet. You’ll clean it thoroughly at the end.
Step 3: Apply Bathroom Cleaners and Let Them Work
Some bathroom cleaning products need time to break down soap scum, mineral deposits, and other buildup.
Instead of scrubbing immediately, apply the appropriate cleaners to surfaces that need extra attention.
For example:
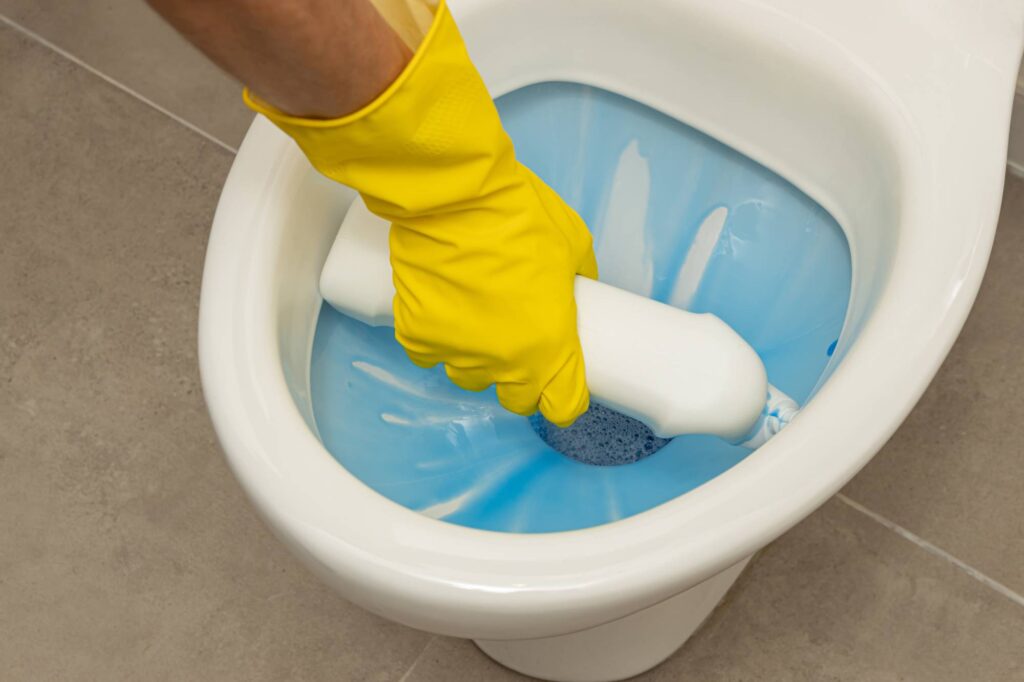
- Apply toilet-bowl cleaner under the rim.
- Use a compatible soap-scum remover on your shower or bathtub.
- Apply a surface-safe mineral-deposit cleaner to areas with hard-water buildup.
Check the product label for the recommended amount and how long the cleaner should remain on the surface.
While those products work, move on to cleaning your sink and vanity.
Tip: Vinegar may help with hard-water deposits on compatible surfaces, but it isn’t suitable for every material. Avoid using it on natural stone, cement-based grout, or sensitive fixture finishes unless the manufacturer specifically allows it.
Step 4: Deep Clean the Sink, Mirror, and Vanity
Your bathroom sink and vanity see a lot of daily use. Toothpaste splatters, soap residue, water spots, and everyday grime can collect around faucets, drains, and countertop edges.
Start with the mirror and work your way down toward the sink.
Clean the Bathroom Mirror
Dust the mirror with a microfiber cloth to remove loose debris.
Next, spray glass cleaner onto a clean microfiber cloth rather than directly onto the mirror. This helps prevent excess liquid from collecting around the edges.
Wipe the mirror from top to bottom using an S-shaped or zigzag motion. Finish by buffing it with a dry section of cloth to remove streaks.
Wipe Down the Countertop and Vanity
Using a cleaner that’s safe for your countertop material, wipe down the surface and work toward the sink.
Pay extra attention to:
- The backsplash
- Faucet bases
- Countertop seams
- Cabinet edges
- Areas around soap dispensers and other frequently used items
These spots can collect residue even when the rest of the countertop looks clean.
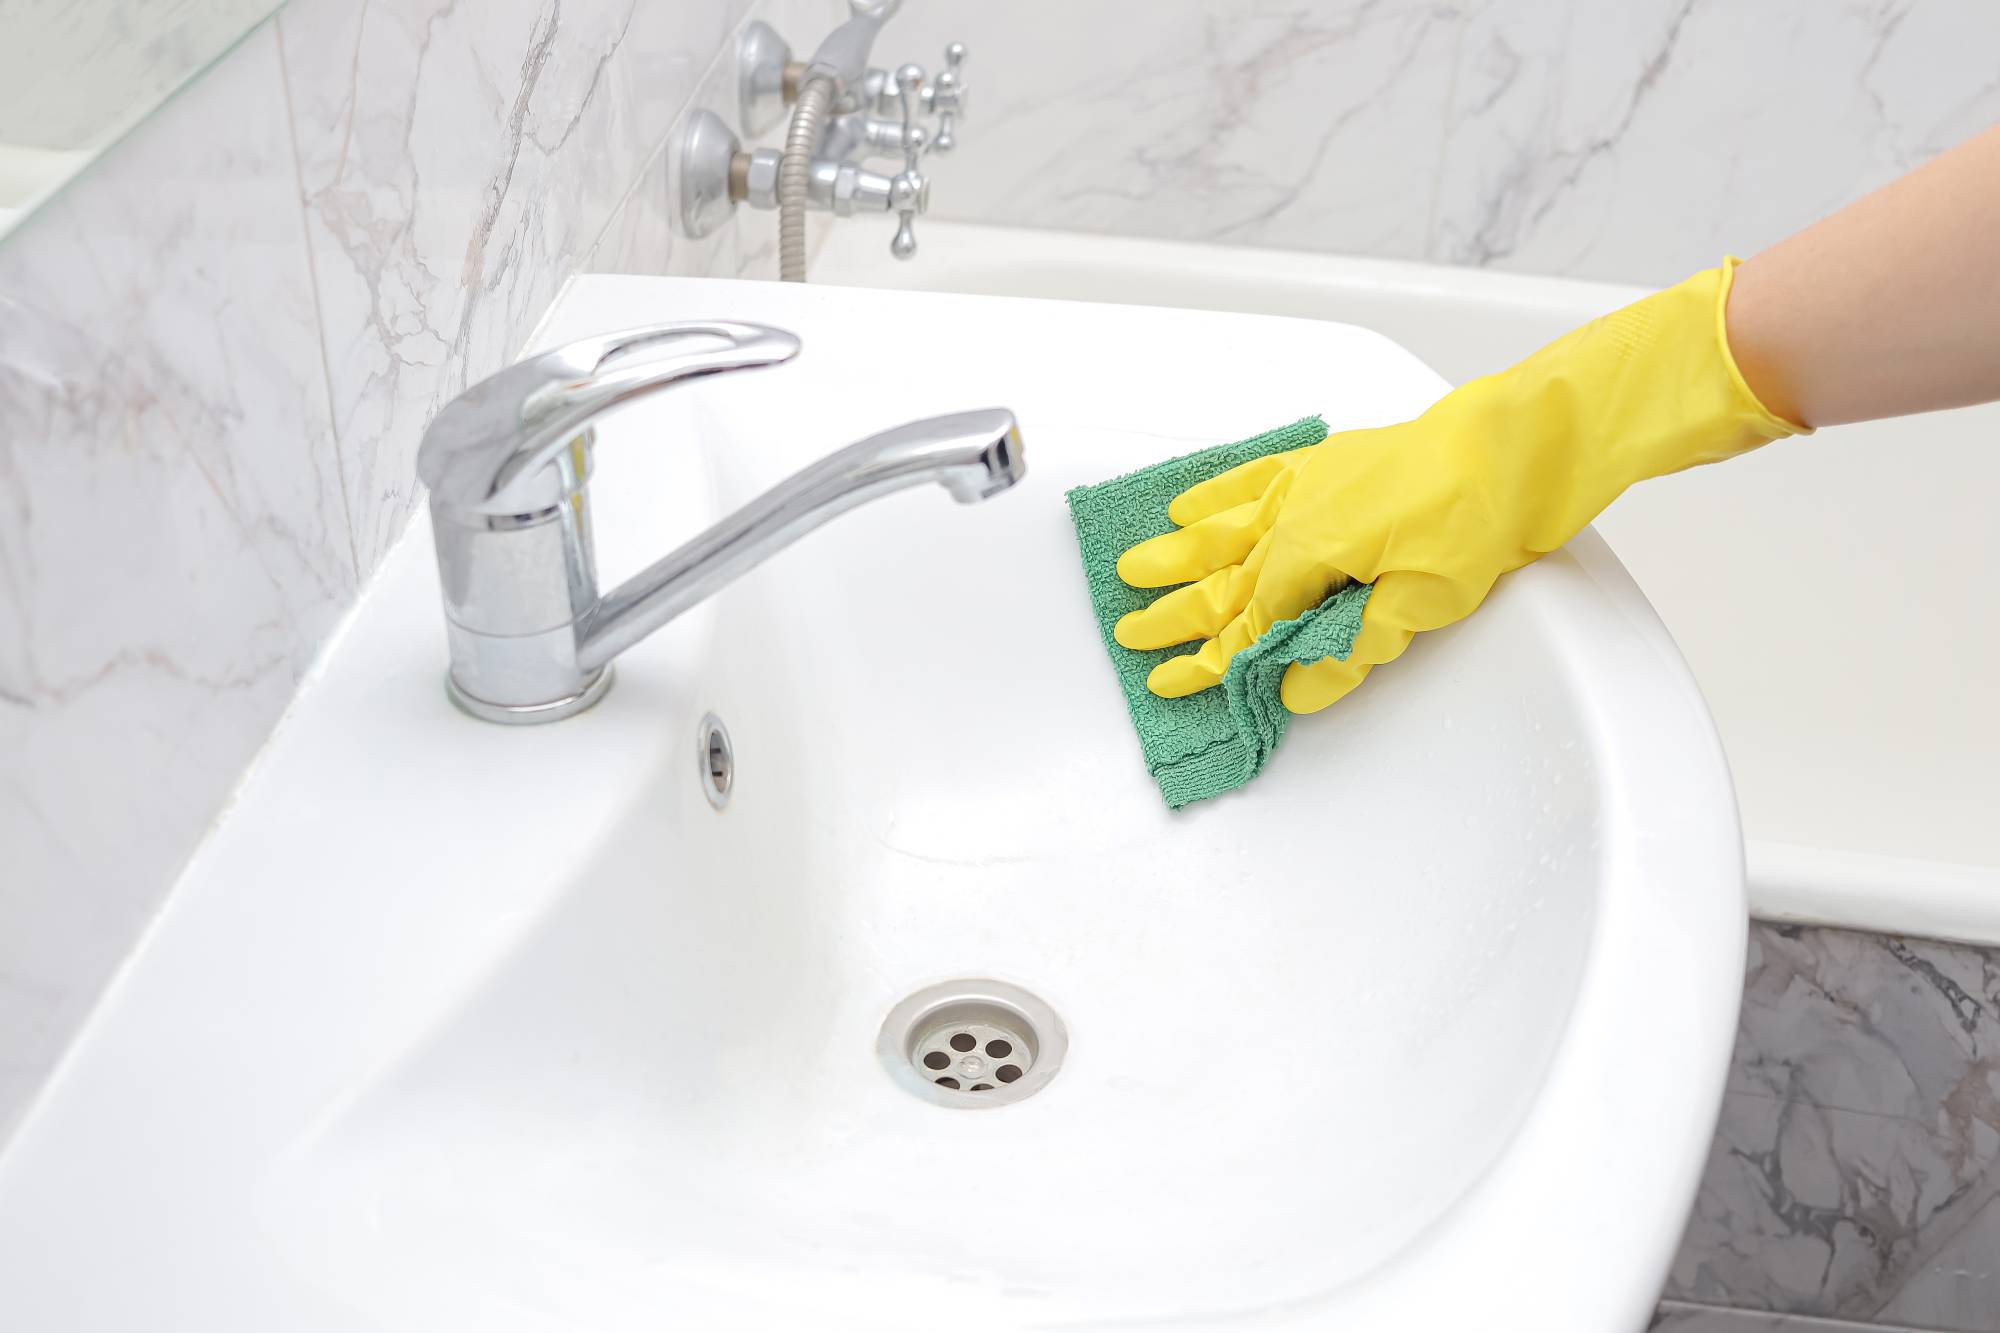
Scrub the Sink and Faucet
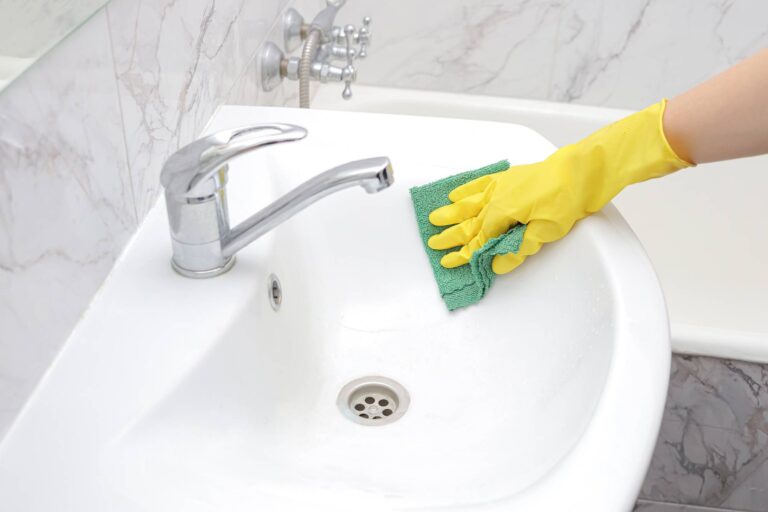
Use a surface-safe cleaner and a non-scratch sponge to tackle the sink and fixtures:
- Scrub the basin: Focus on the sides, bottom, and areas around the drain.
- Clean the faucet: Wipe down handles, the faucet base, and hard-to-reach seams.
- Clear visible drain debris: Remove hair and buildup around the drain opening.
- Treat mineral deposits: Use a cleaner approved for your faucet’s finish. If the manufacturer allows vinegar, a diluted solution may help loosen hard-water buildup.
- Rinse and dry: Remove cleaning residue and buff fixtures with a soft cloth.
If your plumbing materials and manufacturer instructions allow it, a baking soda and vinegar treatment may help loosen some organic drain residue. Never combine it with commercial drain cleaner.
Step 5: Deep Clean the Shower, Bathtub, Tile, and Grout
The shower and bathtub are often the biggest parts of a bathroom deep clean.
Soap scum, hard-water deposits, and grime can build up on walls, fixtures, shelves, and grout lines.
If you applied cleaner earlier, it should now be ready for the next step, provided you’ve followed the product’s recommended contact time.
Clean the Shower Walls and Tub
Start at the top of the shower and work downward to avoid spreading grime onto areas you’ve already cleaned.
- Scrub shower walls: Use a soft sponge or brush and a cleaner approved for the surface material.
- Clean fixtures and shelves: Wipe down showerheads, handles, niches, ledges, and corners.
- Tackle the bathtub: Scrub the basin, edges, drain, and faucet area with a non-scratch tool.
- Remove stubborn buildup: Use a compatible soap-scum or mineral-deposit remover where needed.
- Rinse thoroughly: Remove cleaning products according to their instructions.
Different surfaces require different care. Acrylic and fiberglass generally need nonabrasive products, while natural stone typically requires a pH-neutral cleaner.
For stubborn shower buildup, deep cleaning a shower may require different techniques depending on whether you’re dealing with soap scum, mineral deposits, or everyday grime. Similarly, deep cleaning a bathtub starts with choosing products that won’t damage its finish.
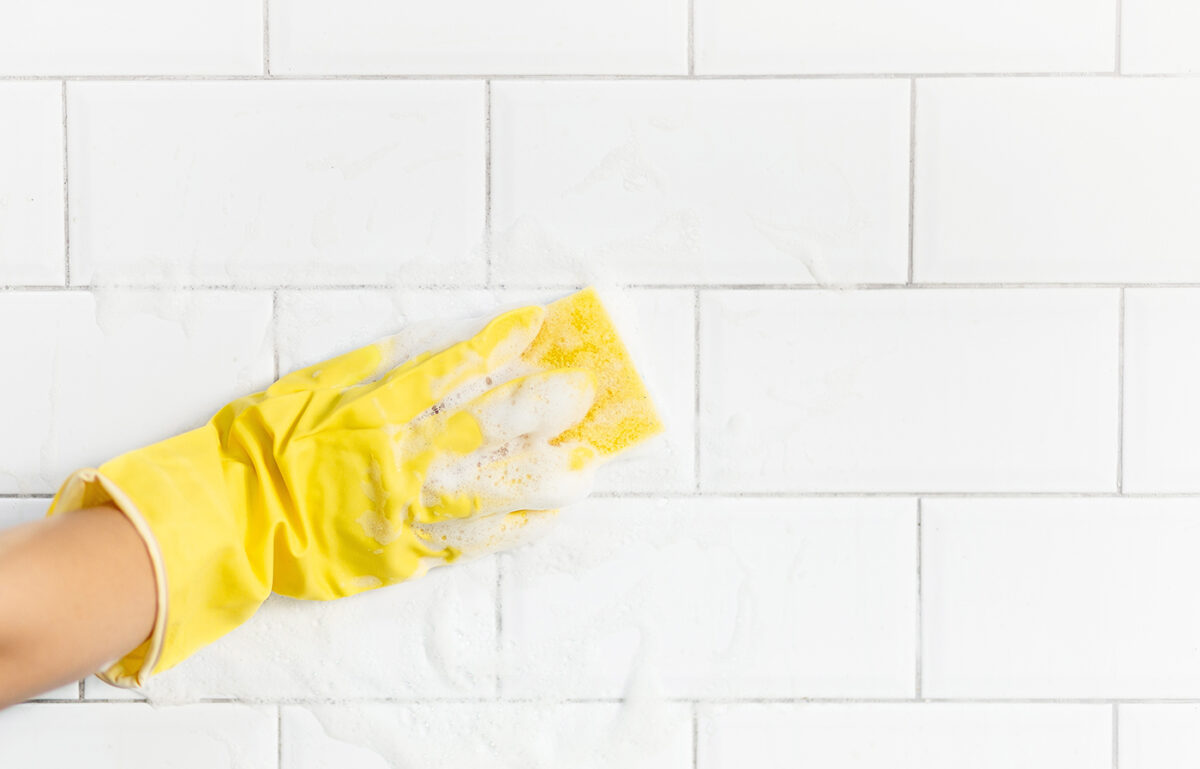
Scrub Bathroom Tile and Grout
Grout lines can trap dirt and discoloration, especially in frequently used showers.
To clean bathroom grout:
- Apply a grout-safe cleaner to the affected areas.
- Allow it to sit for the time specified on the label.
- Gently scrub with a soft nylon brush.
- Rinse or wipe away the residue as directed.
- Check for remaining buildup and repeat if the product instructions allow it.
For ceramic or porcelain tile with cement-based grout, a paste made with equal parts baking soda and hydrogen peroxide may help with stubborn discoloration if the grout manufacturer’s care instructions allow it.
Some grout surfaces can also be cleaned with bleach-based products, but only when approved for the material. Never mix bleach with other cleaners.
Avoid vinegar and other acidic cleaners on cement-based grout or natural stone unless the manufacturer specifically approves them.
Remove Hard-Water Buildup From the Showerhead
If your showerhead has visible mineral deposits, check whether its finish allows a vinegar treatment.
If approved, you can soak the spray face or secure a small bag of diluted vinegar around it for the recommended time.
Afterward, rinse thoroughly and run water through the showerhead to clear loosened deposits.
Step 6: Deep Clean the Toilet
A thorough toilet cleaning involves more than scrubbing the bowl. The tank, seat, hinges, and base can all collect dust and grime.
Start by applying toilet-bowl cleaner under the rim and letting it sit according to the label.
While the cleaner works, tackle the exterior.
Clean the Outside of the Toilet
Working from top to bottom, wipe down:
- Toilet tank
- Flush handle or button
- Lid
- Seat and underside of the seat
- Hinges
- Outside of the bowl
- Toilet base
Use a separate cloth or cleaning tool specifically for the toilet. Avoid using that same cloth on your sink, countertop, or other bathroom surfaces.
For a deeper clean, remove the toilet seat if it’s designed for easy removal and you can reinstall it correctly.
Clean around the mounting points and hinges, then reattach the seat. If the seat isn’t removable, use a small cleaning brush or cloth to reach around the hinges as thoroughly as possible.
Scrub the Toilet Bowl
Once the toilet-bowl cleaner has had enough time to work, use a toilet brush to scrub the inside of the bowl.
Pay particular attention to the area under the rim, where buildup can hide.
Flush according to the cleaner’s instructions, then inspect the bowl for any remaining stains.
Step 7: Clean the Often-Forgotten Bathroom Spots
You’ve tackled the main surfaces, but a true bathroom deep clean also includes the little areas that are easy to overlook.
Before moving on to the floor, check:
- Cabinet fronts and handles
- Baseboards
- Bathroom door handle
- Light switches
- Behind and beside the toilet
- Outside edges of the bathtub
- Corners and tight spaces
- Shelves and other small ledges
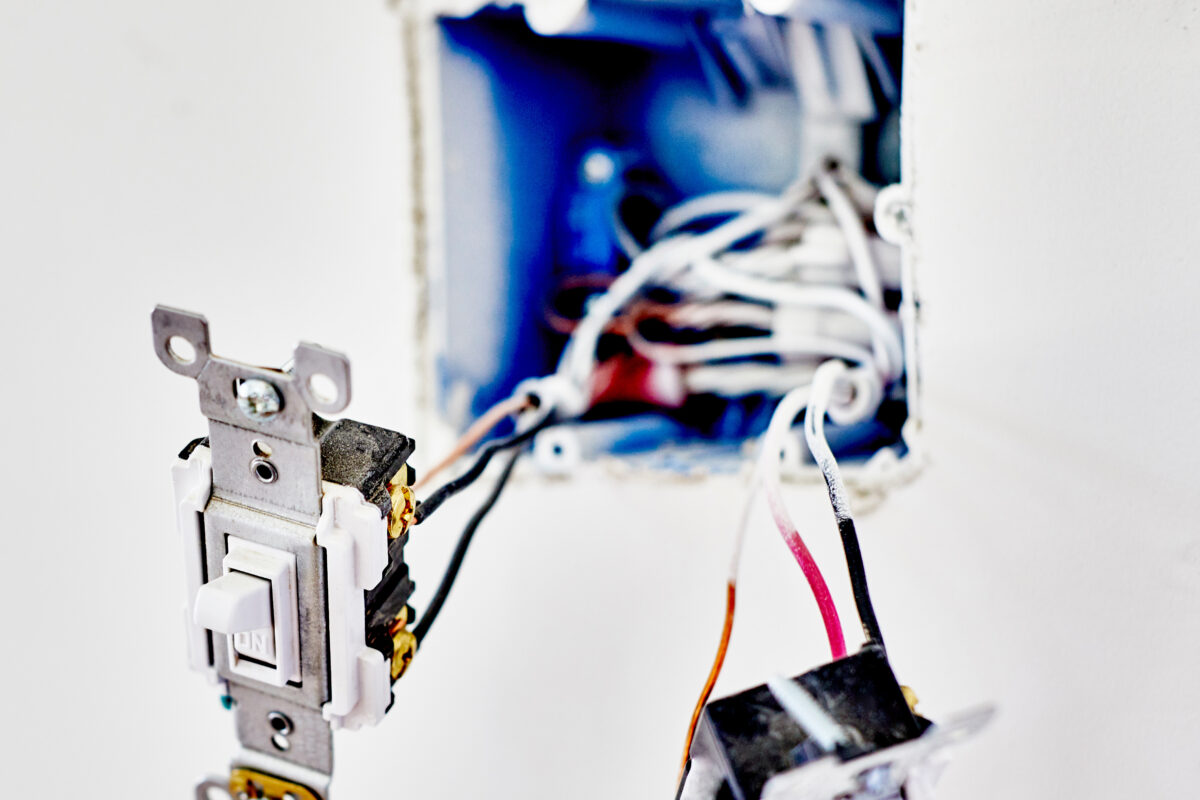
Use an appropriate cleaner and cloth for each surface. For light switches and other electrical fixtures, apply a suitable cleaner to the cloth rather than spraying directly onto the fixture, and avoid excess moisture.
Take a final look for stray hair, dust, or residue.
Step 8: Clean the Bathroom Floor Last
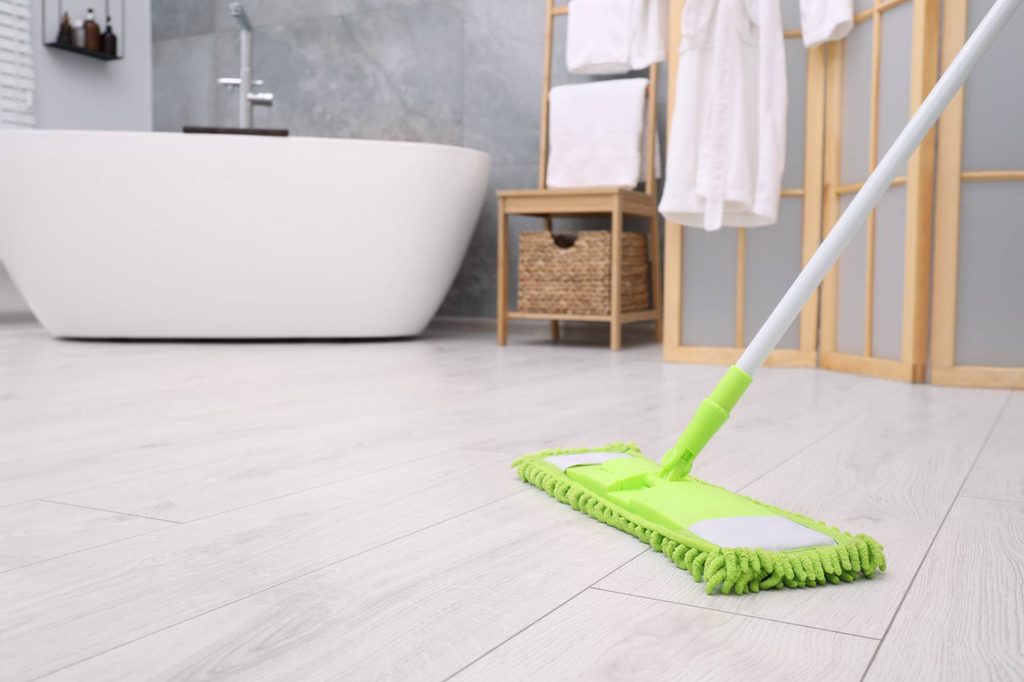
Now that you’ve finished cleaning everything above it, it’s time to tackle the floor.
Start by vacuuming or sweeping again to pick up any dust, hair, or debris that fell during the cleaning process.
Next, choose a floor cleaner suited to the material.
For example, tile, vinyl, and natural stone may all have different cleaning requirements. A damp mop with a pH-neutral or manufacturer-approved cleaner is often appropriate, depending on the flooring.
Avoid soaking grout lines or flooring seams.
Start at the far end of the bathroom and work your way toward the doorway. That way, you won’t have to walk across the freshly cleaned floor.
Once everything is dry, return your toiletries, replace clean towels and bath mats, and rehang your clean shower curtain or liner.
Give the bathroom one last look for streaks, leftover water, or buildup you might have missed.
Bathroom Deep Cleaning Checklist
Want a quick way to keep track of your progress? Use this checklist as you work through the bathroom.
Before Cleaning
- Gather cleaning supplies
- Check surface materials and cleaner labels
- Remove toiletries and clutter
- Take out towels, bath mats, and trash
- Remove the shower curtain or liner if it needs cleaning
Dusting and Preparation
- Dust vents, fixtures, shelves, and ledges
- Remove loose hair and debris
- Apply cleaners that require contact time
Sink and Vanity
- Clean and buff the mirror
- Wipe down countertops and backsplash
- Scrub the sink
- Clean faucets and handles
- Remove visible drain debris
Shower and Bathtub
- Clean shower walls and tub surfaces
- Scrub tile and grout
- Clean shelves, corners, and fixtures
- Remove compatible mineral buildup from the showerhead
- Rinse or wipe away cleaning products
Toilet
- Clean the tank and handle
- Wipe down the lid and seat
- Clean hinges and mounting areas
- Scrub the bowl and under the rim
- Wipe down the toilet base
Finishing Touches
- Clean cabinet fronts and handles
- Wipe baseboards and other overlooked spots
- Vacuum or sweep the floor
- Mop with a surface-appropriate cleaner
- Replace clean towels and bath mats
- Check for streaks, moisture, and missed buildup
How to Keep Your Bathroom Cleaner Between Deep Cleans
Once your bathroom is sparkling, a few simple habits can help prevent grime from building up again:
- Wipe away water and soap residue: Use a squeegee or soft cloth on compatible shower surfaces after bathing, and wipe down the sink and faucet to help reduce water spots.
- Keep moisture under control: Run the exhaust fan or open a window when appropriate, and allow towels and bath mats to dry. If mold keeps returning, you may need to address the underlying moisture issue in addition to removing bathroom ceiling mold.
- Minimize countertop clutter: Store less frequently used toiletries in cabinets or organizers so surfaces are easier to wipe down.
- Stay on top of regular cleaning: Wipe down the sink, clean the toilet, remove visible shower residue, and sweep the floor between deeper cleaning sessions.
Need a Hand Deep Cleaning Your Bathroom?
Deep cleaning a bathroom can be satisfying, but it also takes time and effort, especially when you’re dealing with stubborn buildup or a long list of other household tasks.
If you’d rather get some help, Taskrabbit connects you with Taskers who can assist with bathroom cleaning and other household cleaning tasks.
Whether you need help tackling the shower, scrubbing the toilet, or giving the whole bathroom a refresh, you can find a Tasker who fits your needs.
Bathroom Deep Cleaning FAQs
How Often Should You Deep Clean Your Bathroom?
It depends on how often the bathroom is used and how quickly grime builds up. A busy household bathroom may need more frequent deep cleaning than a guest bathroom. Look for stubborn soap scum, mineral deposits, or discolored grout as signs it’s time.
What Is the Best Order to Deep Clean a Bathroom?
Work from top to bottom to avoid cleaning the same areas twice:
- Clear clutter and remove loose items.
- Dust and vacuum dry debris.
- Apply cleaners that need contact time.
- Clean the sink, shower, tub, and toilet.
- Wipe down overlooked spots.
- Finish with the floor.
How Do You Remove Stubborn Soap Scum From a Bathroom?
Apply a surface-safe soap-scum remover, let it sit for the recommended time, and gently scrub with a non-scratch sponge. Rinse thoroughly according to the product instructions.
Can You Use Vinegar to Deep Clean a Bathroom?
Vinegar can help remove some mineral deposits, but it isn’t safe for every surface. Avoid using it on natural stone, cement-based grout, or sensitive finishes unless the manufacturer approves it. Never mix vinegar with bleach or other cleaning products.
What’s the Difference Between Regular Bathroom Cleaning and Deep Cleaning?
Regular cleaning focuses on frequently used surfaces like sinks, toilets, mirrors, and floors.
Deep cleaning goes further, tackling grout lines, showerhead deposits, toilet hinges, baseboards, and other often-missed areas.
Last updated on November 12, 2026 by Grace Branscome