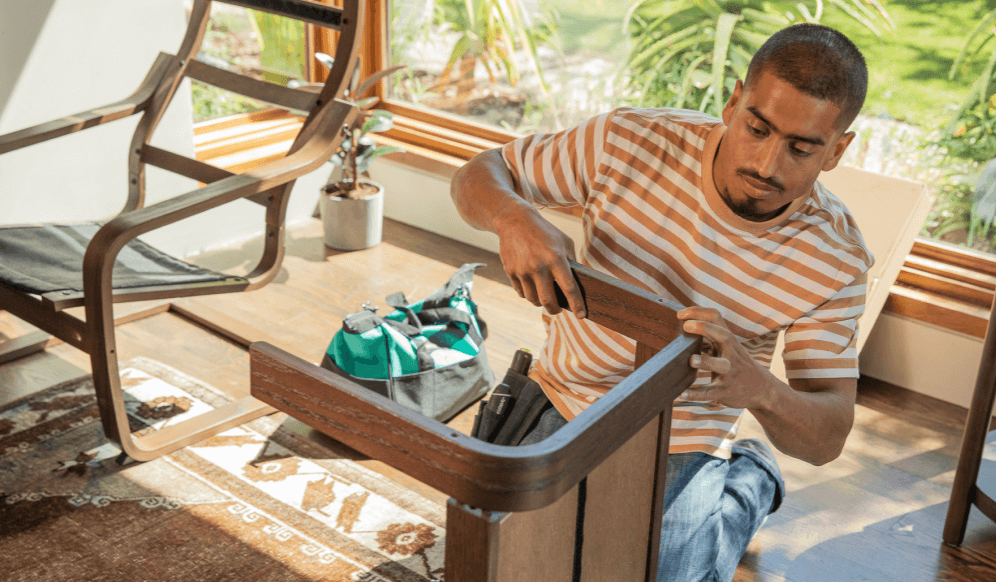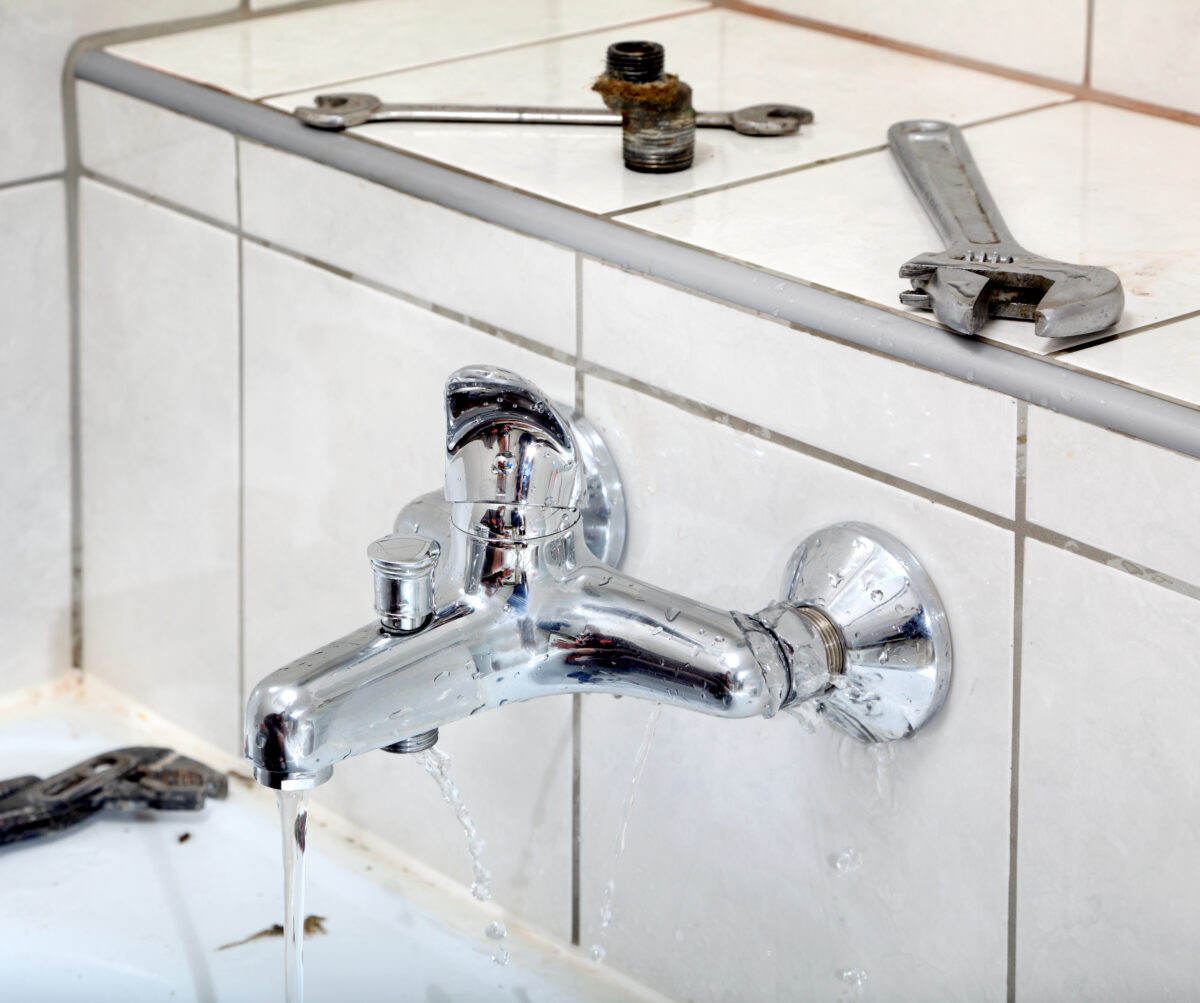
A leaky bathtub faucet is more than just a late-night nuisance; it’s a common household problem that can lead to high water bills and even structural damage to your home. Fortunately, a dripping faucet is usually an easy fix that you can handle yourself with a few basic tools and a bit of “MacGyver” spirit.
What Causes a Bathtub Faucet to Leak?
Before you grab your wrench, you need to identify the source of the drip. Understanding the “why” behind the leak is the first essential step in finding a brilliant solution. Common culprits include:
- A damaged faucet stem: The internal component that controls water flow.
- A worn washer: A small rubber ring that can harden or crack over time.
- A faulty cartridge: Often found in newer, single-handle faucets.
- A damaged faucet spout: Issues with the diverter or the pipe connection itself.

What Are the Different Types of Faucets?
Knowing your faucet type helps you buy the right parts and understand the mechanics of the repair:
- Compression faucets: Most common in older homes, these use a washer that “compresses” to stop water flow.
- Cartridge faucets: Found in newer builds, these use a plastic or brass cartridge to regulate flow and temperature.
- Ball faucets: Typically used in kitchens, these rely on a ball bearing to control water.
What Materials Do You Need to Fix a Leaky Faucet?
Having the right tools on hand ensures a frictionless repair process. Before starting, gather these essentials:
- Phillips and flat-head screwdrivers
- Adjustable wrench or socket wrench
- Replacement washer or faucet cartridge (match your specific model)
- Plumber’s tape (Teflon tape)
- Silicone sealant
- Heat-proof plumber’s grease
How to Fix a Leaking Bathtub Faucet in 7 Steps
Follow this cohesive list to transition from chaos to order in your bathroom. Most faucet repairs can be completed in under an hour if you have your parts ready.
1. Shut Off the Water and Drain the Lines
Locate the shut-off valve for your bathroom. This is often found in the basement, a crawlspace, or an outdoor panel. Once the water is off, turn on the bathtub faucet to drain any remaining water in the lines. This relieves pressure and ensures the water is clear before you begin disassembling the hardware.
Not confident about shutting off the water supply? Taskers can help make the whole process easier.

2. Remove the Faucet Handle
Use a screwdriver to remove the decorative cap and the screw in the center of the handle. You may need to use an adjustable wrench and some steady force to pull the handle off the stem.

3. Inspect the Internal Components
Once the handle is off, check the washer, valve stem, and cartridge for signs of wear, rust, or mineral buildup. Disassembling these parts usually takes about 15 minutes.

4. Replace the Washer or Cartridge
Once the faucet is disassembled, the path to a leak-free tub depends on the type of internal hardware your fixture uses.
- For compression faucets (washer): Remove the old rubber piece and fit a new one into place. If you’ve done this and there is still a leak, it may be the cartridge.
- For cartridge faucets: Use pliers to gently pull the cartridge straight out of the valve body (some models may require removing a small brass retaining clip first). Note the orientation of the cartridge’s “ears” or notches; the new unit must be keyed into the exact same position to ensure the hot and cold water mix correctly.
Pro-Tip: When purchasing replacements, take your old parts to the hardware store with you. This ensures your replacement cartridge or washer is a perfect match, saving you a second trip!
5. Apply Grease and Reassemble
Apply a thin layer of heat-proof plumber’s grease to the new washers or the O-rings of your new cartridge. This lubrication ensures a better seal, prevents the parts from drying out, and makes the handle operation feel frictionless. Carefully slide the components back into the valve body and tighten the retaining nut or screws.

6. Address the Faucet Spout
If the drip persists, you likely have an issue with the spout. Removing this can be a difficult and complex process.
First you’ll need to remove the spout itself by unscrewing it with a wrench or socket wrench. Then you’ll need to remove any sealant that’s binding the faucet and spout to the wall. Finally you’ll need to remove the length of the pipe with a wrench and wrap both ends of the length of pipe with plumber’s tape. Once you have a replacement spout, you’ll need to reinsert it into the elbow pipe within the wall and reapply sealant.
7. Test Your Work
Turn the water supply back on slowly. Run the faucet for a minute to flush out any air or debris, then turn it off to ensure the leak is fully resolved.
If none of these steps resolves the leaky faucet, it might be time to hire help, such as a Tasker who’s available to provide plumbing services.
When Should You Call a Professional?
While many faucet repairs are straightforward, some plumbing issues require a more experienced hand. It is better to call in a trusted expert if you encounter the following scenarios:
- Signs of hidden leaks: If you see water stains on the ceiling below the bathroom or notice mold growth near the tub, the leak may be behind the wall rather than in the faucet itself.
- Corroded pipes: If your plumbing hardware is extremely old and begins to crumble or snap when you apply pressure with a wrench, stop immediately to avoid a major pipe burst.
- No access to shut-off valves: If you cannot locate or turn off the main water supply, do not attempt to disassemble the faucet.
- Low water pressure from other appliances: If the leak is accompanied by low pressure throughout the entire house, the issue likely lies in your main water line.
Don’t let a “quick fix” turn into a weekend-long headache. If you find yourself staring at a pile of parts and feeling overwhelmed, a background-checked Tasker can step in to ensure the job is finished correctly and your bathroom stays dry.
How Can You Prevent Future Bathtub Faucet Leaks?
To keep your bathroom running smoothly and avoid future leaks, follow these simple aftercare steps:
- Clean aerators regularly: Soak the faucet aerator in vinegar once a year to remove calcium buildup that can cause backpressure.
- Monitor water pressure: High water pressure can stress internal washers. Consider a pressure regulator if you notice frequent leaks.
- Avoid over-tightening handles: Forcing a handle closed can crush the washer, leading to a faster rate of wear.
Save Time with Help from a Tasker
If you need help fixing a leaky bathtub faucet, hire a Tasker! Taskers are experienced and ready to help at a moment’s notice. So don’t feel like you need to do it all on your own. Just task!
Last updated on January 20, 2026 by Grace Branscome