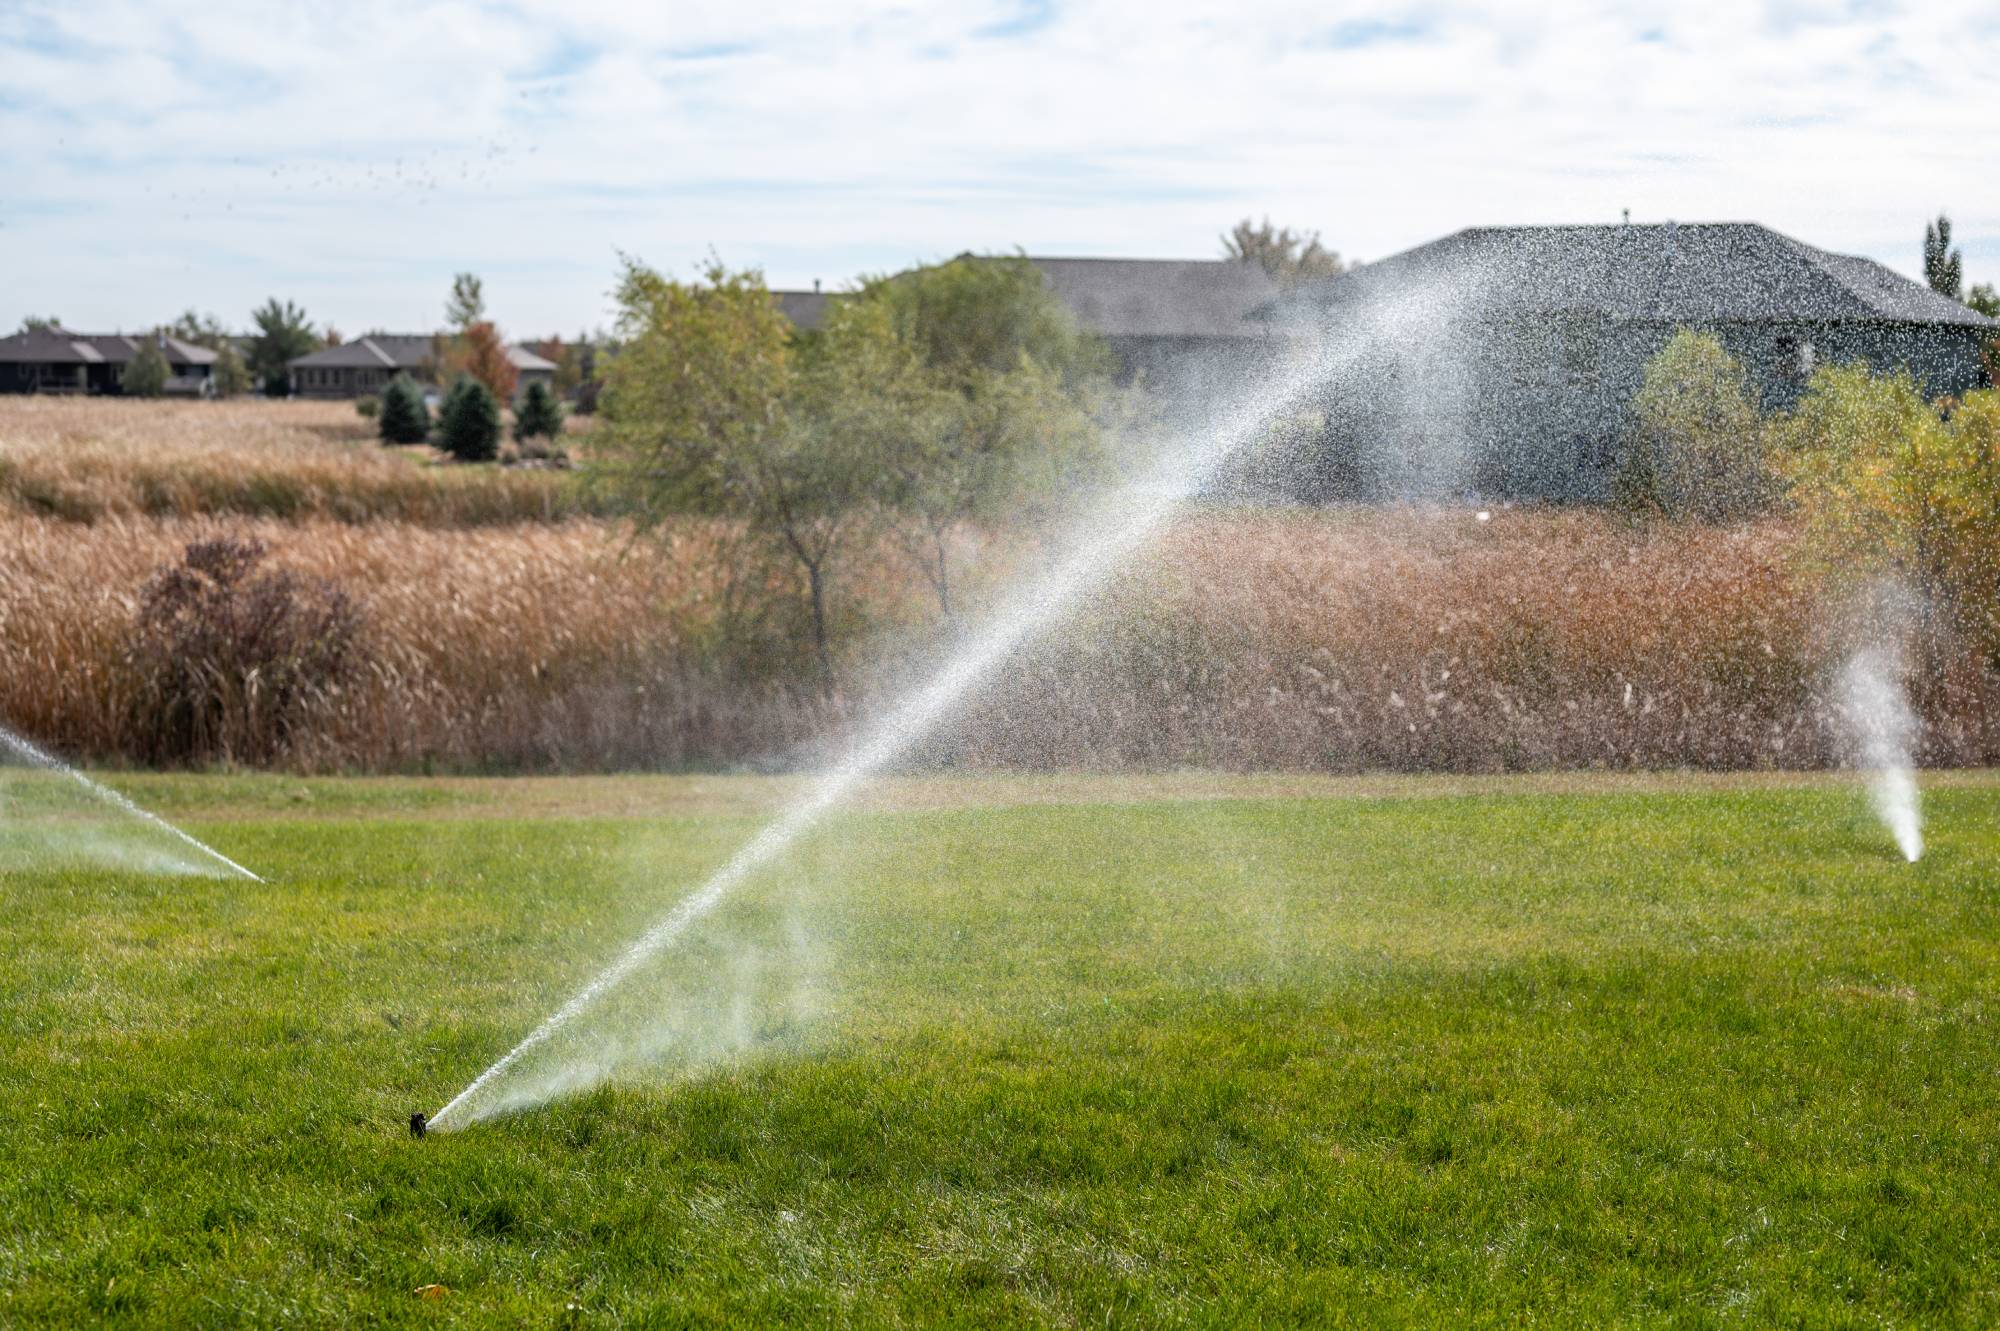
Winterizing your sprinkler system is one of the best ways to protect your yard from cold-weather damage. When temperatures drop below freezing, even a small amount of water left inside irrigation lines can expand, crack pipes, or damage valves. This simple guide walks you through the tools, steps, and timing you need to help keep your system safe all winter long. And if you’d like a hand at any point, you can always hire a handyman Tasker for support.
Tools You Need to Winterize Your Sprinkler System

Before you begin the winterization process, it’s important to gather the essential equipment needed for a safe and effective system shutdown. These tools help you drain water, protect your components, and reduce the risk of cold-weather damage.
Here are the tools most homeowners use for sprinkler winterization:
- Air compressor with the correct fitting
- Screwdriver or wrench for accessing valves
- Safety goggles
- Foam insulation for exposed parts
- Manufacturer guidance for safe pressure settings
- Optional: Shop vac for clearing tight areas
- Optional: Hose adapters for specialized access points
If you don’t own these tools—or you’re unsure which fittings or compressor settings to use—you can hire a Tasker to bring the right equipment and help with setup.
Why Winterizing Your Sprinkler System Matters
Before diving into the step-by-step instructions, it helps to understand why winterizing your system is a smart seasonal task. Taking time now can prevent major issues once freezing temperatures set in.
Here are the key benefits of winterizing your sprinklers:
- It helps prevent freeze-related pipe cracking underground.
- It protects valves, heads, and backflow preventers from costly damage.
- It reduces the chances of mid-winter leaks or flooding.
- It supports long-term efficiency and system performance.
- It adds peace of mind during cold-weather months.
Step-by-Step: How to Winterize Your Sprinkler System Safely
Before starting the steps below, it’s helpful to identify the type of irrigation system you have. Different systems rely on different drainage methods, so knowing yours will make each step more straightforward.
Most systems fall into one of these categories:
- Manual drain systems, which require opening valves.
- Automatic drain systems, which release water once pressure drops.
- Systems needing a blowout, which rely on compressed air to clear stubborn water.
Once you know your setup, use the steps below to safely winterize your sprinklers.
1. Turn Off the Irrigation Water Supply
Start by isolating the water source feeding your irrigation system. This prevents new water from entering the lines during the draining process.
To properly turn off your water supply:
- Locate the irrigation shutoff valve—commonly found indoors or in an outdoor utility box.
- Turn it to the Off position.
- Open any small drain attached to the shutoff valve so trapped water can escape.
2.Drain Water Based on System Type
Once the water is off, the next step is clearing as much water as possible from your irrigation lines. The method you use depends on your specific system.
Follow these tips for manual and automatic systems:
For manual drain valves: Start by identifying the manual valves designed to release water from each irrigation zone.
- Locate the drain valves for each zone.
- Open one valve at a time and allow water to flow out completely.
- Close each valve once all water has drained.
For automatic drain valves: Automatic systems rely on pressure changes to release water.
- Briefly run each zone to reduce pressure.
- Confirm that automatic valves open on their own.
- Check visible areas to ensure water has drained fully.
If drainage is incomplete or your system is prone to holding water, continue to Step 3 for the blowout method.
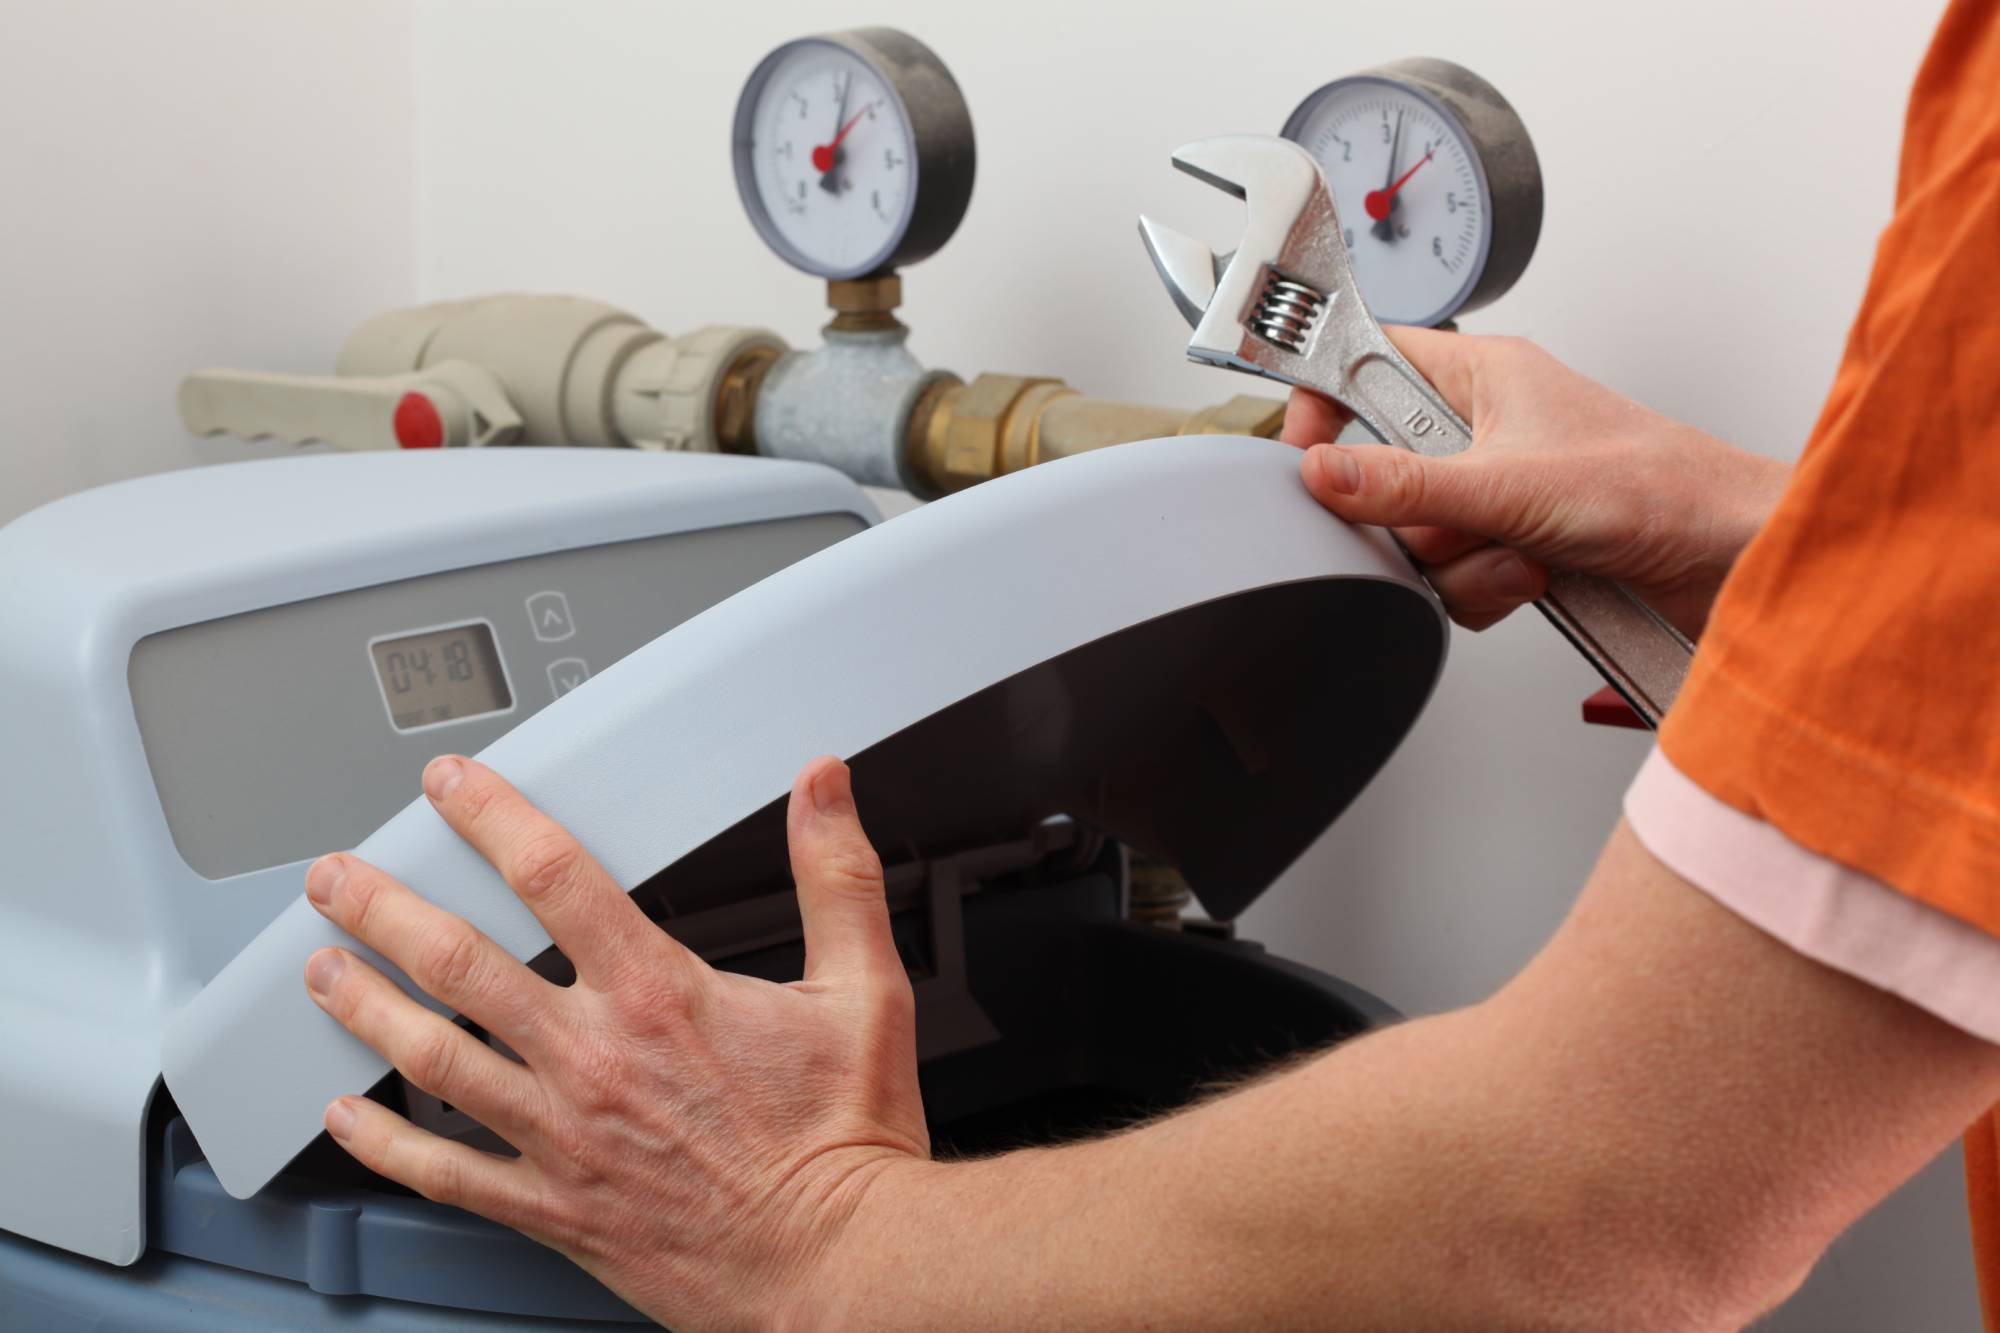
3. Blow Out Remaining Water (If Needed)

Some irrigation systems require a blowout to fully clear water from the lines. A blowout uses compressed air to push out any remaining moisture that manual or automatic valves can’t release.
Here’s how to complete a safe blowout:
- Attach your air compressor to the blowout port using the correct fitting.
- Set the compressor to your manufacturer’s recommended pressure.
- Open one irrigation zone at a time.
- Run the compressor until water turns to a light mist.
- Stop immediately when mist appears, then move to the next zone.
Safety note: Always follow your system’s PSI guidelines. Excessive pressure may damage valves, heads, or underground pipes. If you’re unsure about fittings or compressor setup, you can book a Tasker for safe support.
4. Insulate Exposed Components

After draining and blowing out your system, it’s important to protect any above-ground components from freezing temperatures. These parts are often more vulnerable than underground lines.
To insulate your exterior components:
- Wrap backflow preventers with foam insulation or winter covers.
- Apply insulation to exposed pipes, valves, and fittings.
- Secure covers tightly to prevent wind or moisture exposure.
5. Set Controller to Off/Winter Mode
Finally, don’t forget to disable your irrigation controller so it doesn’t attempt to run watering cycles during winter.
Depending on your controller type, follow these steps:
- Switch standard controllers to Off, Rain Mode, or Winter Mode.
- Use freeze-prevention or seasonal settings on smart controllers.
- Check the display to confirm your system is fully inactive.
When to Winterize Sprinklers (By Region)
Knowing when to winterize is just as important as knowing how. Your local climate plays a major role in determining the right timing for your area.
Use the guidance below to plan your winterization:
- Northern U.S.: Winterize in early–mid fall before routine freezes. October is a common month for winterization tasks.
- Midwest/Northeast: Complete winterization before the season’s first hard freeze.
- Mountain regions: Start early. Temperatures drop quickly in higher elevations.
- Southern states: Winterize only when freeze-prone, or during sudden cold fronts.
- All regions: Watch for the first 32°F overnight forecast and act before it arrives.
Common Mistakes to Avoid
Even with a clear plan, certain missteps can leave your irrigation system vulnerable to winter damage. Being aware of these pitfalls helps keep your system safe.
Avoid these common winterization mistakes:
- Using too much PSI during a blowout, which may damage pipes.
- Forgetting to drain or insulate the backflow preventer.
- Leaving water in a single zone due to skipped valves.
- Waiting too close to the freeze season to begin winterizing.
- Applying inadequate insulation to exposed components.
Each of these issues can lead to water expansion, leaks, or springtime system failures.
Troubleshooting Sprinkler Winterization Issues
If you run into challenges during winterization, you’re not alone—many systems behave differently based on layout or age. Knowing the possible causes can help you resolve issues more confidently.
Here are common sprinkler winterization challenges and what they may mean:
| Issue | Possible Cause | What to Do |
|---|---|---|
| System won’t drain | Blocked manual drain valve | Inspect valves for debris or flow obstruction |
| Air won’t push through zones | Incorrect compressor fitting or pressure | Reconnect fittings securely; try one zone at a time |
| Persistent trickling | Low points in the irrigation line | Allow extra drainage time or complete a blowout |
| Water reappears after draining | Automatic valve reset | Briefly run zones again to reduce pressure |
If troubleshooting becomes overwhelming, you can always hire a handyman Tasker for help.
DIY vs. Professional Sprinkler Winterization: Which Is Right for You?
Choosing between a DIY approach and professional help depends on your comfort level, your tools, and the complexity of your irrigation system. A little guidance can help you decide what’s best for your home.
Here are considerations to help you choose:
- DIY is a good fit for smaller yards with 1–2 zones and easy access.
- Professional help is useful for multi-zone or complex systems.
- Pros or Taskers can bring compressors and fittings you may not own.
- Hiring help reduces the risk of incorrect pressure or incomplete draining.
For flexible, affordable support, you can hire a Tasker to help winterize your sprinklers.
Sprinkler Winterization FAQs
Do I need to winterize sprinklers in my climate?
If temperatures near or below freezing occur in your region, winterization is recommended to help protect pipes and components.
Can I winterize sprinklers without an air compressor?
Yes. Systems with manual or automatic drains can release most water. A blowout may still be helpful for lines that hold water.
What PSI is safe for blowing out sprinklers?
Always follow your system manufacturer’s PSI guidance to avoid damaging pipes or valves.
How long does winterization take?
Most systems take between 30–90 minutes depending on the number of zones and how your system is configured.
Do all irrigation systems require winterization?
Most systems in freeze-prone regions benefit from winterization. Systems in consistently warm climates may not need it.
Protect Your Home in the Winter
Winterizing your sprinkler system doesn’t have to be complicated. With the right tools, clear steps, and timely preparation, you can help protect your system all winter long. And if you want a hand with draining, blowouts, or insulation, consider booking a Tasker for safe, efficient support.
Last updated on December 12, 2025 by Grace Branscome