Replacing a door lock can be a manageable home project when your door already has the right openings and your new hardware fits them. Whether you’re swapping out an old lock for some updated hardware or changing several locks around your house, a little prep can make the process smoother.
This guide covers how to remove a standard door lock, install a replacement knob or lever and deadbolt, and troubleshoot common fit and alignment problems. Before you start, check the instructions included with your new lock, since installation can vary by manufacturer and model.
What You’ll Need to Change a Door Lock
For a standard door lock replacement, suggested tools and materials include:
- A new lock
- Phillips-head screwdriver
- Tape measure
- Small flat-head screwdriver or Allen key, depending on the lock
- Instructions included with your new lock
Different locksets can come apart and install differently, so keep the manufacturer’s instructions nearby throughout the project.
Before You Replace a Door Lock
Before removing your old lock, make sure the replacement hardware will fit your door. A few quick checks now can help you avoid discovering a mismatch halfway through the installation.
- Check the door thickness: Compare it with the specifications for your new lock.
- Measure the backset: This is the distance from the edge of the door to the center of the existing lock hole. Compare this measurement with your replacement hardware.
- Compare the hardware: Look at the faceplates, the small metal plates that sit against the edge of the door around the latch and deadbolt, and other components on the old and new locksets. The replacement doesn’t have to be the same brand, but it should fit the existing holes and cutouts.
- Think ahead if you’re replacing several locks: If you want one key to open multiple doors, look for compatible locksets that can be set up to use the same key.
- Keep the instructions nearby: Your new lock’s instructions can help with model-specific details throughout removal and installation.
- Leave the door open: Keep it open until the new hardware has been completely installed and tested.
Once you’ve confirmed that the new hardware fits, you’re ready to remove the old lock.
How to Replace a Door Lock in 6 Steps
If you’re replacing a standard knob or lever and deadbolt using the door’s existing openings, follow these six steps.
1. Remove the Old Door Knob or Lever
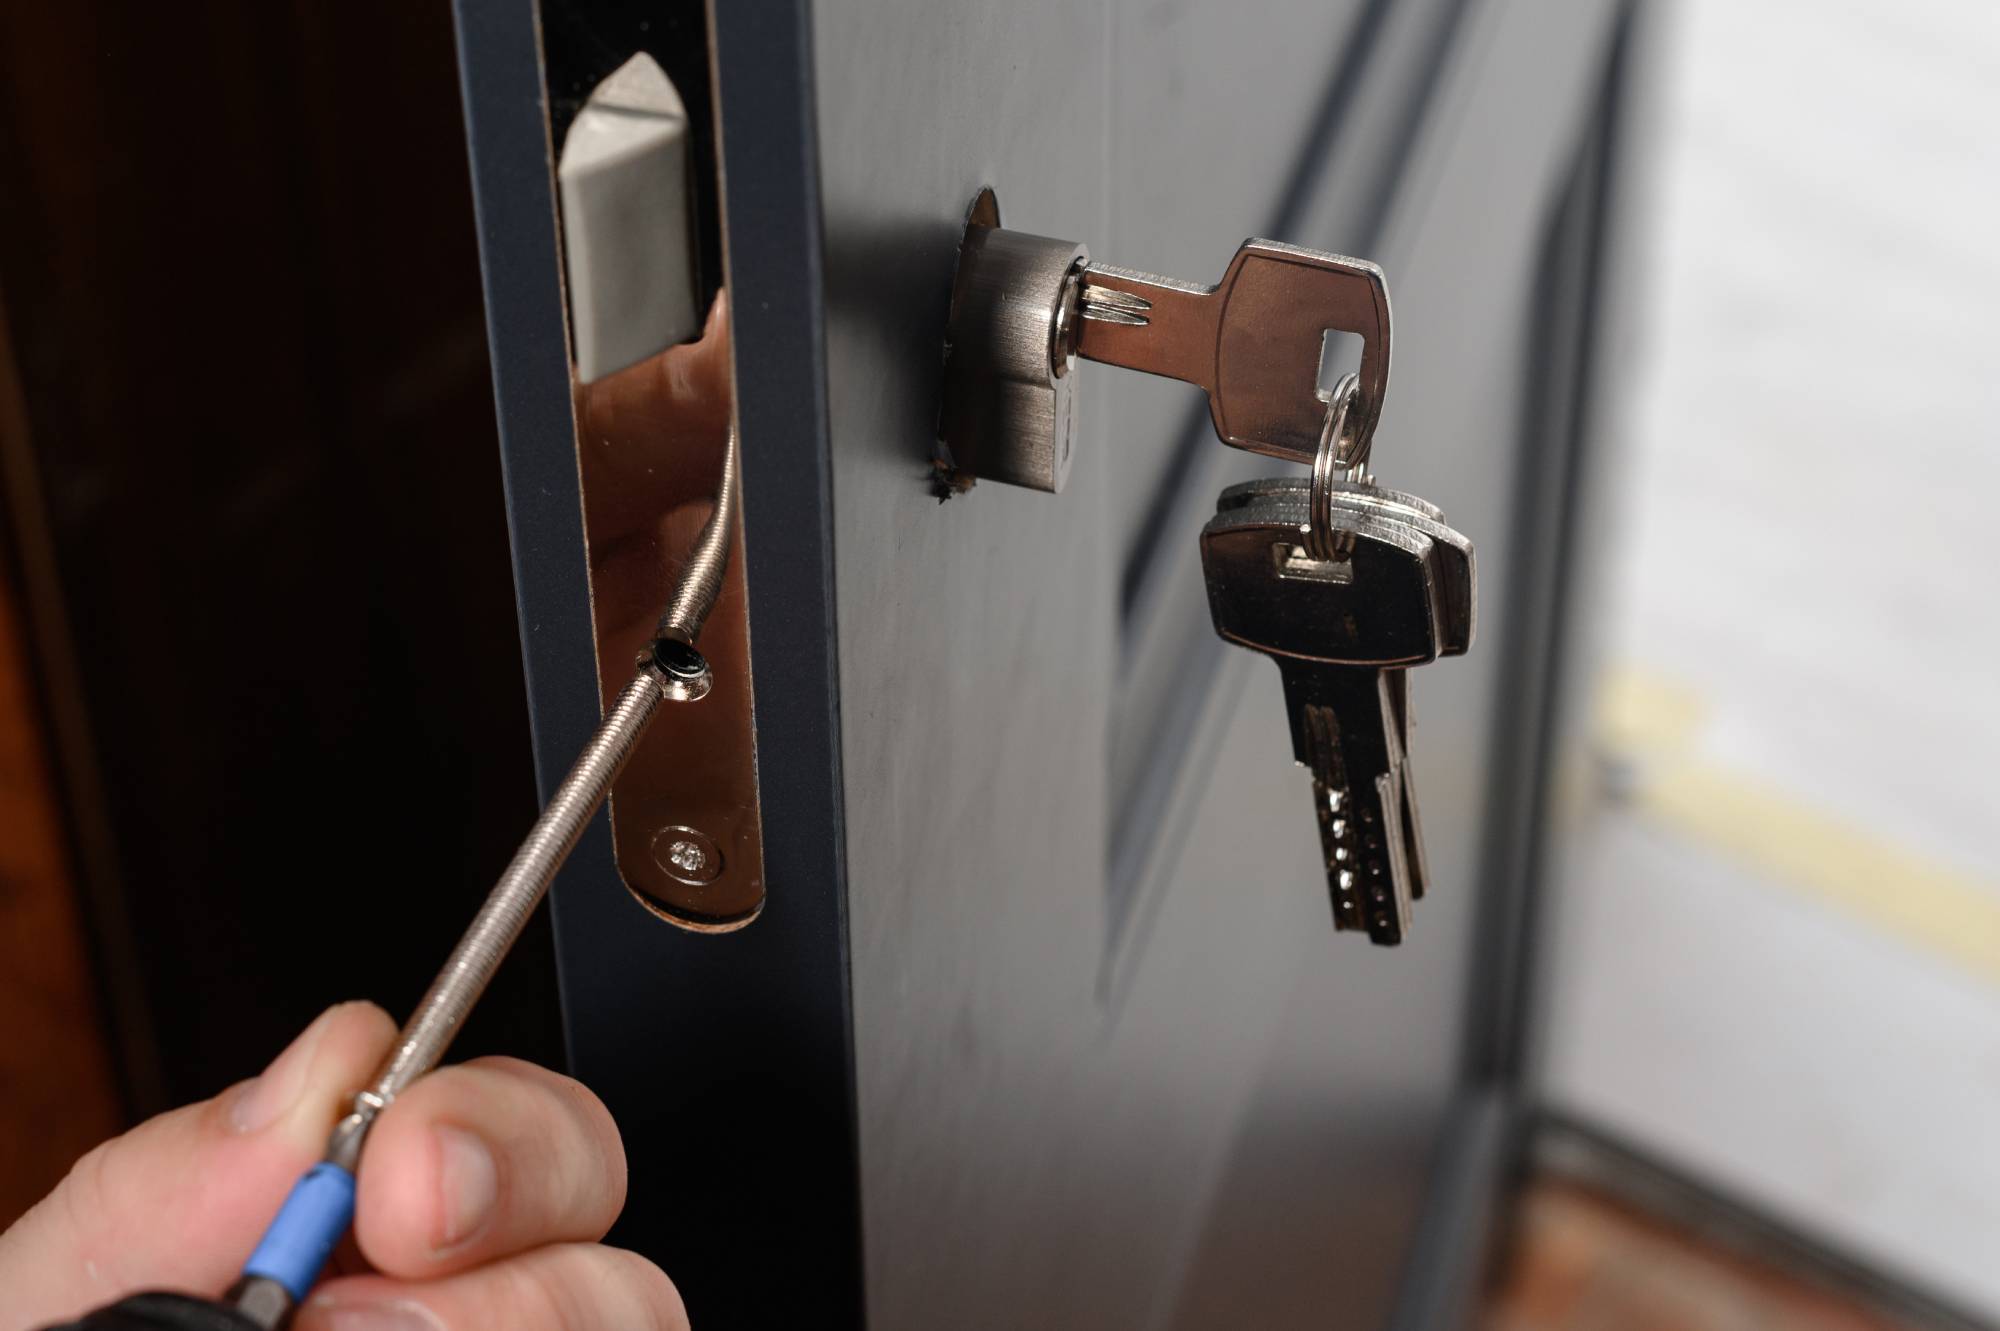
Begin on the interior side of the door, where you’ll typically find the mounting screws that hold the two sides of the lockset together.
- Remove the mounting screws on the interior side of the door.
- Keep one hand on the exterior portion of the hardware as you loosen the screws.
- Pull the interior and exterior halves away from the door.
- Remove the screws securing the latch faceplate on the edge of the door. The latch is the spring-loaded piece that moves in and out when you turn the knob or lever.
- Slide the latch out of the door.
No visible screws? Some knobs and levers conceal their mounting screws behind a trim plate or use a small release slot or set screw. Check around the base of the handle and refer to the instructions for your specific lock before trying to remove it. Depending on the hardware, you may need a small flat-head screwdriver or Allen key.
2. Remove the Old Deadbolt
With the knob or lever out of the way, move to the upper portion of the door and locate the screws around the thumbturn (the piece you turn by hand to lock and unlock the deadbolt from the interior side). Then:
- Remove the screws from the thumbturn on the inside of the door.
- Pull the interior and exterior portions of the deadbolt away from the door.
- Remove the screws securing the bolt on the edge of the door.
- Slide the bolt out.
Keep the old components together for now. You can use them as a reference when comparing the size, direction, and setup of the replacement hardware.
3. Set Up and Install the New Knob or Lever
Before installing the replacement hardware, compare the new latch with the old one. Adjust the new latch to match the door’s backset according to the lock manufacturer’s instructions.
Pay attention to the latch orientation, too. The angled side of the latch should face the direction the door closes.
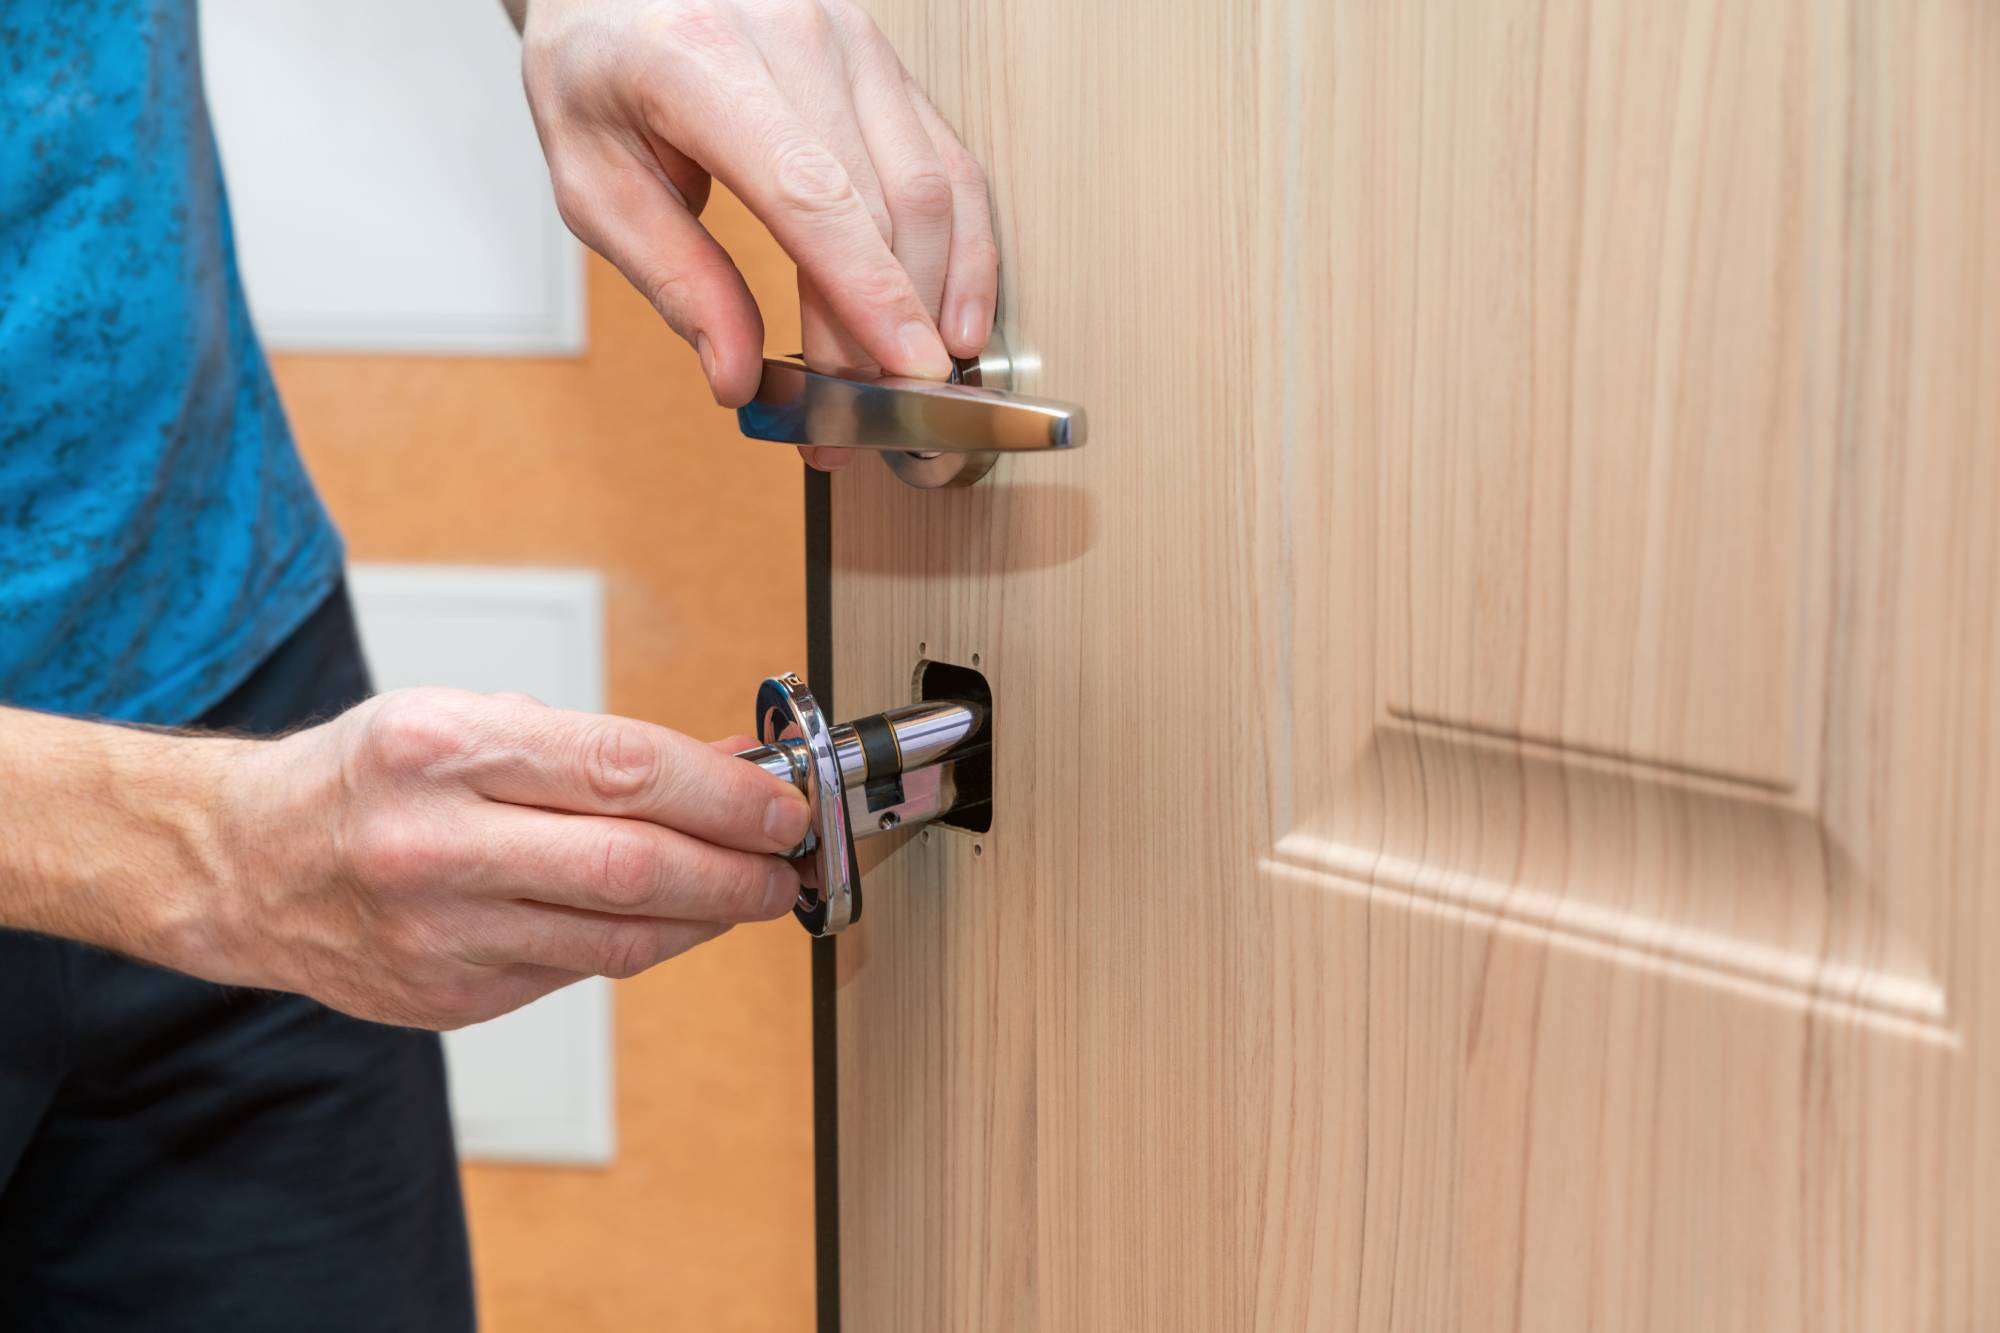
Slide the new latch into the lower opening in the edge of the door, making sure the faceplate sits flat against the door edge. Secure it with the supplied screws.
Next, feed the exterior knob or lever through the latch and line up the interior half. Start the mounting screws by hand, then tighten them gradually and evenly to help keep the hardware straight.
4. Install the New Deadbolt
Compare the old bolt with the new one and adjust the new hardware to match the backset if needed. If the deadbolt has a marking such as “top” or “up,” orient it accordingly.
Slide the new bolt into the upper opening on the edge of the door and secure it with the supplied screws.
Place the keyed portion of the lock on the exterior side of the door and guide its tailpiece, the flat metal piece extending from the back of the lock, through the bolt. Line up the thumbturn on the interior side, then tighten the mounting screws evenly.
Some locks need the bolt to be extended or retracted during installation, so follow the instructions for your specific model.
5. Check the Strike Plates
Before wrapping up the installation, turn your attention to the door frame. The strike plates are the metal plates attached to the door frame where the latch and deadbolt enter when you close and lock the door.
If the strike plates included with your new lock fit the existing openings, remove the old plates and position the new ones so they sit flat against the frame and line up with the latch and deadbolt. Secure them according to the lock manufacturer’s instructions.
Your lock may include a reinforcement plate or longer screws. If so, install those components according to the supplied instructions.
If a strike plate doesn’t sit flat or its holes don’t line up, don’t force it into place. The door or frame may need additional work.
6. Test the New Lock
Keep the door open for your first round of testing so you can catch any installation issues before checking how the lock lines up with the frame. To test:
- Turn the knob or lever and make sure the latch moves freely.
- Lock and unlock the deadbolt from the inside.
- Test the key from the outside.
- Check for stiffness, sticking, or other resistance.
If everything operates smoothly, gently close the door and test the hardware again.
The latch and deadbolt should enter their strike plates without requiring you to push, pull, or lift the door. If the hardware works when the door is open but catches when it’s closed, the problem may be the door or strike plate alignment rather than the new lock itself.
Why Is My New Door Lock Not Working?
If your new lock doesn’t operate smoothly, don’t force it. Check these common installation issues first:
- The latch is facing the wrong direction: The angled side should face the direction the door closes. If it’s backward, remove the latch and reposition it according to the lock’s instructions.
- The backset is wrong: If the new hardware doesn’t line up correctly, compare its backset with the measurement you took before installation. If the lock has adjustable components, follow the manufacturer’s instructions to configure them for your door.
- The connecting pieces aren’t aligned: The components connecting the two sides of the knob, lever, or deadbolt need to pass through the lock mechanism correctly. If they don’t line up, loosen the hardware and carefully reposition them rather than forcing them together.
- The mounting screws are uneven or too tight: This can cause the lock to bind. Try loosening the screws slightly, realigning the hardware, and tightening them gradually and evenly.
- The lock works with the door open but not closed: Check where the latch and deadbolt meet their strike plates. If you have to push, pull, or lift the door to make the lock work, the door or strike plate may need adjustment.
When a Door Lock Replacement Gets More Complicated
A door lock replacement is generally more straightforward when the new hardware fits the door’s existing openings and everything already lines up.
The project can become more involved if:
- The door needs new holes or other modifications.
- The door frame is damaged.
- The latch, deadbolt, and strike plates have significant alignment problems.
- The replacement hardware doesn’t fit the existing openings.
- You’re installing a smart lock or other specialty hardware with a different installation process.
If you’re dealing with significant damage or other problems with the door or frame, you may need to consider door or frame replacement before installing new hardware.
If something doesn’t fit or operate correctly, avoid forcing the components together. Recheck your measurements and alignment, and refer to the instructions for your specific lock. You may also want to consider booking an experienced Tasker at this point instead of doing it yourself.
Replacing Multiple Door Locks Around Your House
Replacing several locks at once takes a little more planning than swapping the hardware on a single door.
Before buying multiple locksets, make a quick inventory of the doors you want to update. Check the existing hardware, door thickness, backset, and openings on each door rather than assuming they’re all configured the same way.
If you want one key to open several doors, look for compatible locksets that can be set up to use the same key. Confirm this before purchasing the locks so you can choose hardware that works for your setup.
It’s also worth checking whether every door needs the same type of hardware. A standard replacement that fits an existing opening may follow the steps above, while smart locks or other specialty hardware can have different installation requirements.
Need Help Replacing Your Door Locks?
Replacing a standard door lock can be fairly straightforward when the new hardware matches the existing setup. New holes, damaged frames, alignment problems, specialty hardware, or several locks to replace can make the project more involved.
If you’d rather hand off the installation, book a Tasker who can help with your door hardware project.
Last updated on September 23, 2026 by Grace Branscome