Mulch can do wonders for your lawn and garden beds. Not only does it boost curb appeal, but it keeps soil moist and fights off weeds. But be careful—too much mulch can lead to suffocated roots, mold, and a pest problem. Read on to discover everything you need to know (and then some) about laying mulch!
How Much Mulch Should You Buy
Before heading to the store to buy mulch, it helps to know how much you’ll need. Fortunately, calculating this is simple! First, mulch is typically sold by the cubic foot, so that’s what you’re trying to calculate. Start by determining the square footage of the area you’d like to mulch by measuring its length and width. Multiply these numbers to calculate the area.
Next, you’re probably wondering how thick mulch should be. Typically, this ranges between two to four inches depending on where you’re mulching (for example, small plants would require less mulch than trees). Multiply the square footage by the number of inches of mulch you want to apply, then divide by 12. One cubic foot of mulch covers 12-square feet with about 1-inch of mulch. See below for a breakdown:
- For a 1,000-square foot area that needs a 4-inch layer of mulch, multiply 1,000 by 4 which equals 4,000.
- 4,000 divided by 12 is 333 to the nearest whole number.
- So, you’ll need to purchase around 333-cubic feet of mulch.
Note that for larger projects, some home improvement stores sell mulch by the truckload per cubic yard between five to 25 cubic yards total. In this case, keep in mind that one cubic yard of mulch can cover an area of 324 square feet. The math will turn out like this:
- 1,000-square feet (area you want to cover) x 2-inch depth = 2,000.
- 2,000 divided by 324 equals 6 cubic yards.
Another way to determine the depth of mulch depends on the type. Dense mulches like sawdust and wood-chip blends should be laid no more than three inches deep to allow for proper air circulation.
Types of Mulch
Essentially there are two types of mulch: organic and inorganic. Organic mulch includes wood, compost, grass clippings, and leaves, and it decomposes to improve the soil. Organic mulch is easy to spread and does no damage if mixed in with soil, which typically happens when planting. It can also last several years.
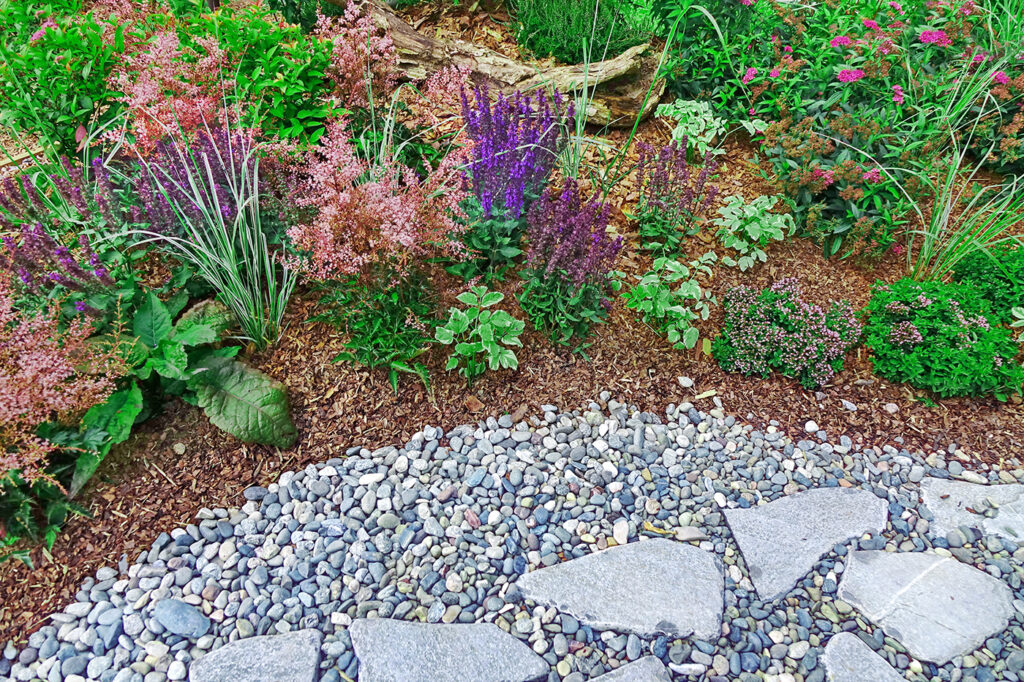
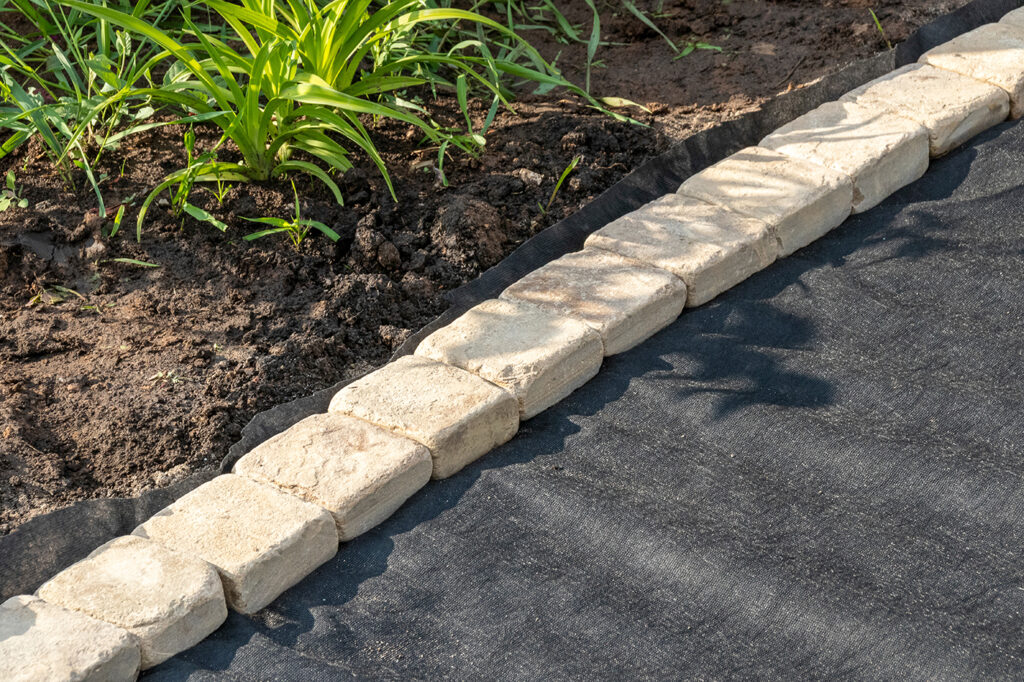
On the other hand, inorganic mulch, such as stone, marble chips, or pea gravel, is meant to be a much more permanent mulch. It’s typically placed on top of landscape fabric and left alone. While it’s very low maintenance, it’s difficult to plant in. To determine what type of mulch is best for you, ask yourself if the area will require digging to plant perennials. If yes, then organic mulch is the best route for you.
Every kind of organic material has pros and cons. Bark nuggets are widely available but float off during heavy rains. Cocoa hulls are relatively expensive, have a distinct fragrance—that some people enjoy, others not so much—and is toxic to dogs. The most common type of mulch is shredded bark or wood. While it’s inexpensive, it doesn’t add as many nutrients as other mulches.
Wood and bark chips come in a variety of colors, both natural and dyed with non-toxic colors. Check the bag’s specifications to know what type of dyes are used to color the mulch. Other types of mulch include herbicide for weed growth control.
The best mulch for playgrounds is rubber mulch, as it’s more permanent than wood, erodes much slower, repels pests, and doesn’t absorb water. While it protects the soil, it doesn’t improve soil in the way other organic mulch does as it decomposes, but it does provide a soft landing and doesn’t blow away.
When choosing the color of your mulch, consider the climate you live in. Dark mulch is beneficial in cooler environments, while lighter shades are better in warm, sunny climates. However, be cautious, as mulch that is too light can reflect too much heat onto sensitive plants.
When to Lay Mulch
Knowing when to mulch is important, but good news: mulching can be done any time of the year. That being said, the most beneficial time to lay mulch is in the spring after planting. This provides many benefits including weed control, enriching soil, moisture retention, plant insulation, and visual appeal. You can also wait to lay mulch in middle-to-late spring, as this provides a chance for the soil to warm.
If you choose to mulch in late autumn or winter, wait until the ground is frozen. Adding mulch in the winter prevents plants from shifting as water in the soil freezes, thaws, and refreezes again.
How to Lay Mulch in 8 Steps
Now that you know everything you need to know about mulch, follow the below steps for how to lay mulch.
1. Wait for Dry Weather

It’s best to lay mulch when no rain is forecasted for 24 to 48 hours. Too much water initially can lead to rot or mold in your mulch.
2. Gather Your Supplies
Laying mulch requires several supplies you might already have at home. Make sure you have the below items on hand.
- Mulch
- Gloves
- Wheelbarrow
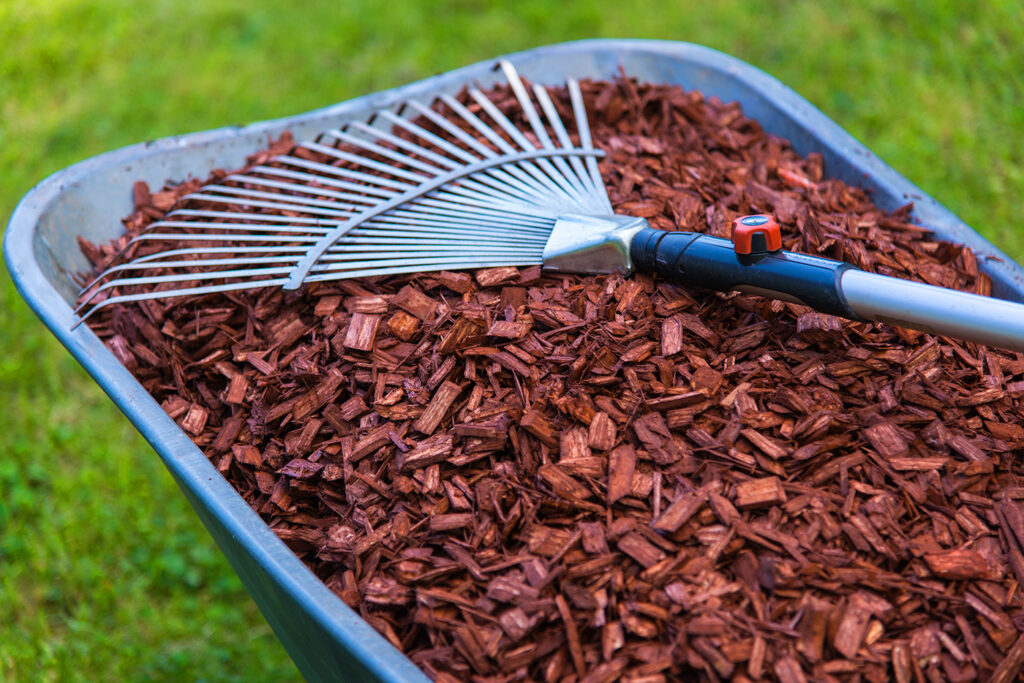
- Rake
- Shovel
3. Edge the Area
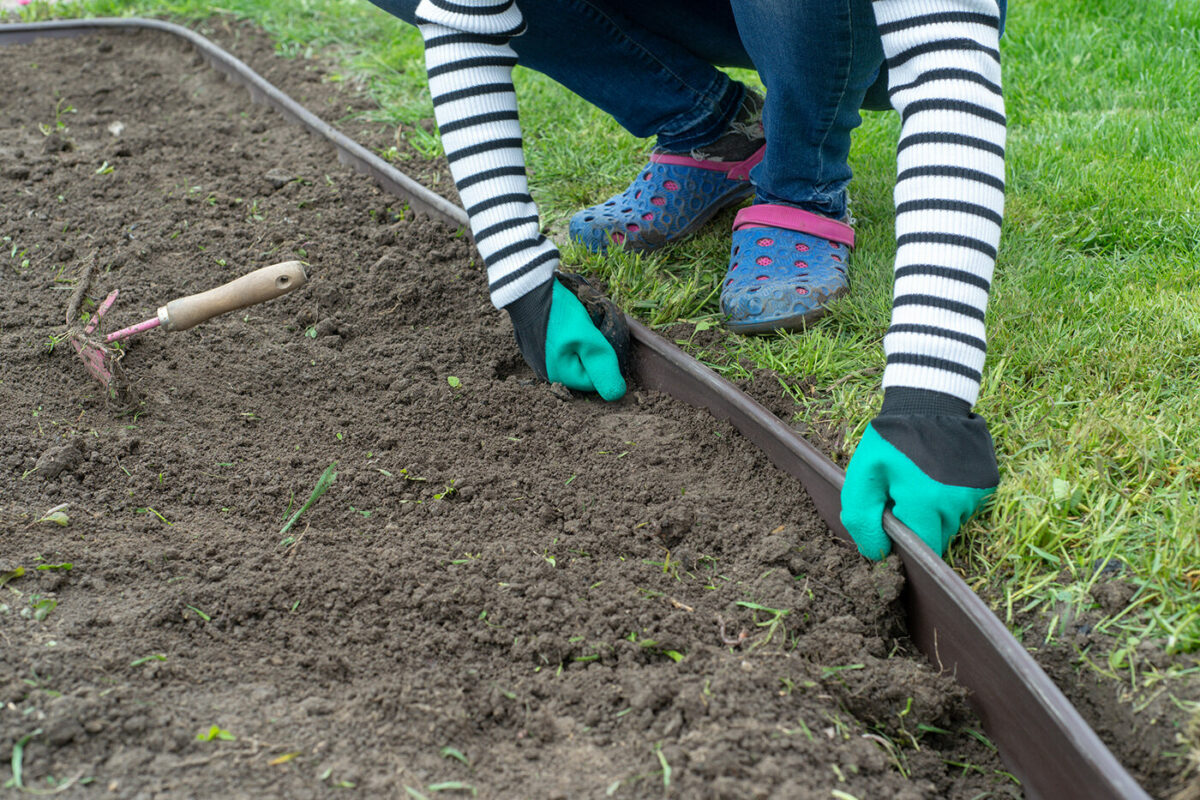
Start by edging the area to keep mulch from spilling onto grass or walkways. You could also build a barrier with stones, bricks, or landscape edging.
4. Remove Old Mulch

Remove old mulch by shoveling it into a wheelbarrow. Dispose of old mulch, or add it to your compost pile.
5. Level the Area
Before mulching, use a rake to smooth or level the area, removing any weeds by hand. If you’re wondering, “What should I put down before mulching?”, you can use plastic mulch or fabric landscape for added weed control. Keep in mind that this can make it harder for the soil to absorb nutrients from composting organic matter.
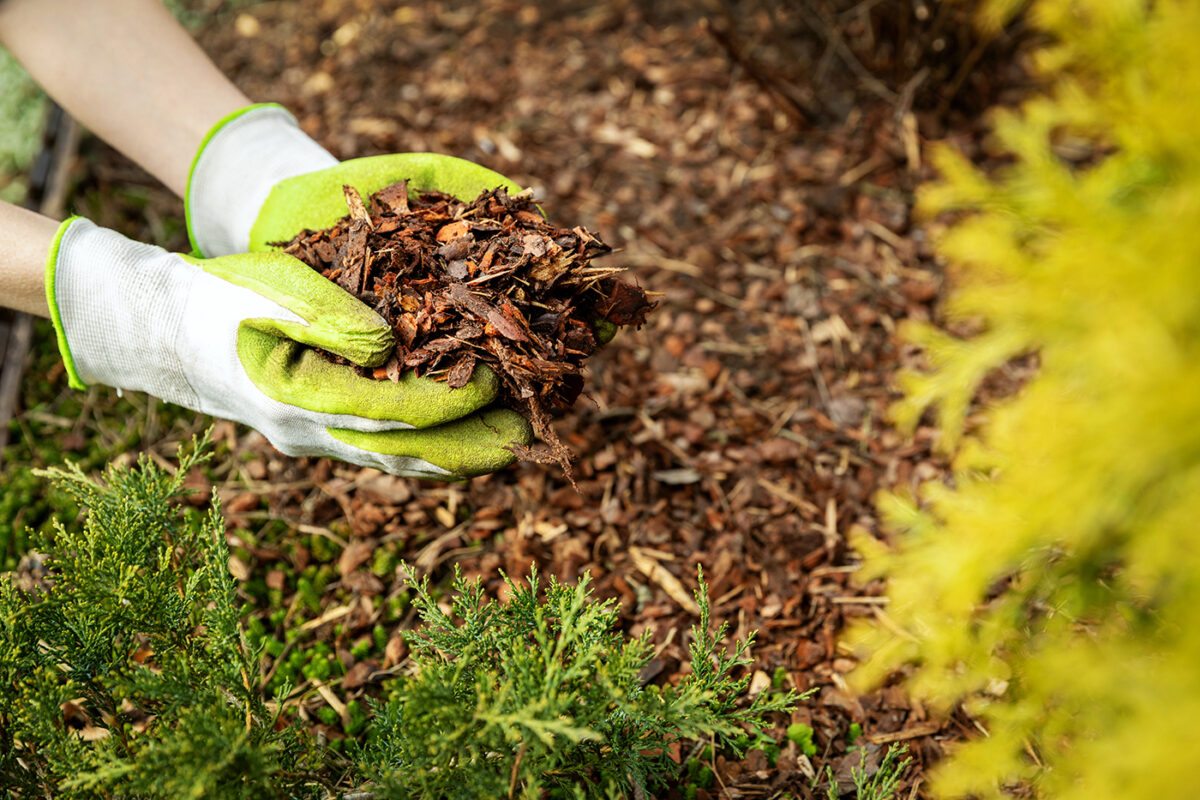
6. Add Mulch
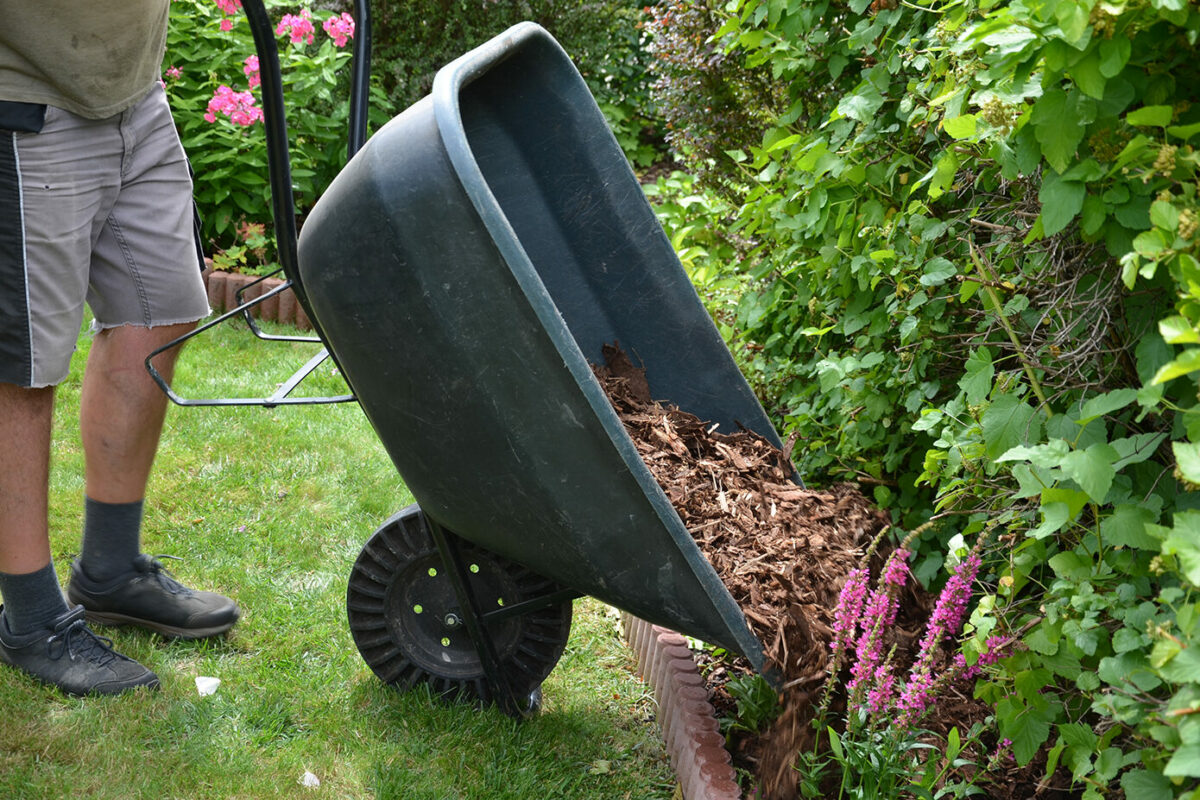
Unbag new mulch into a wheelbarrow. Using the shovel or your hands, place small mounds of mulch in the area you’re working to the desired depth. Avoid dumping bags of mulch into your space, as this can result in too much mulch in the wrong areas. Remember: too much mulch can suffocate small plants or damage tree roots. Using your hands or a rake, spread the mulch around.
7. Pull Mulch Back
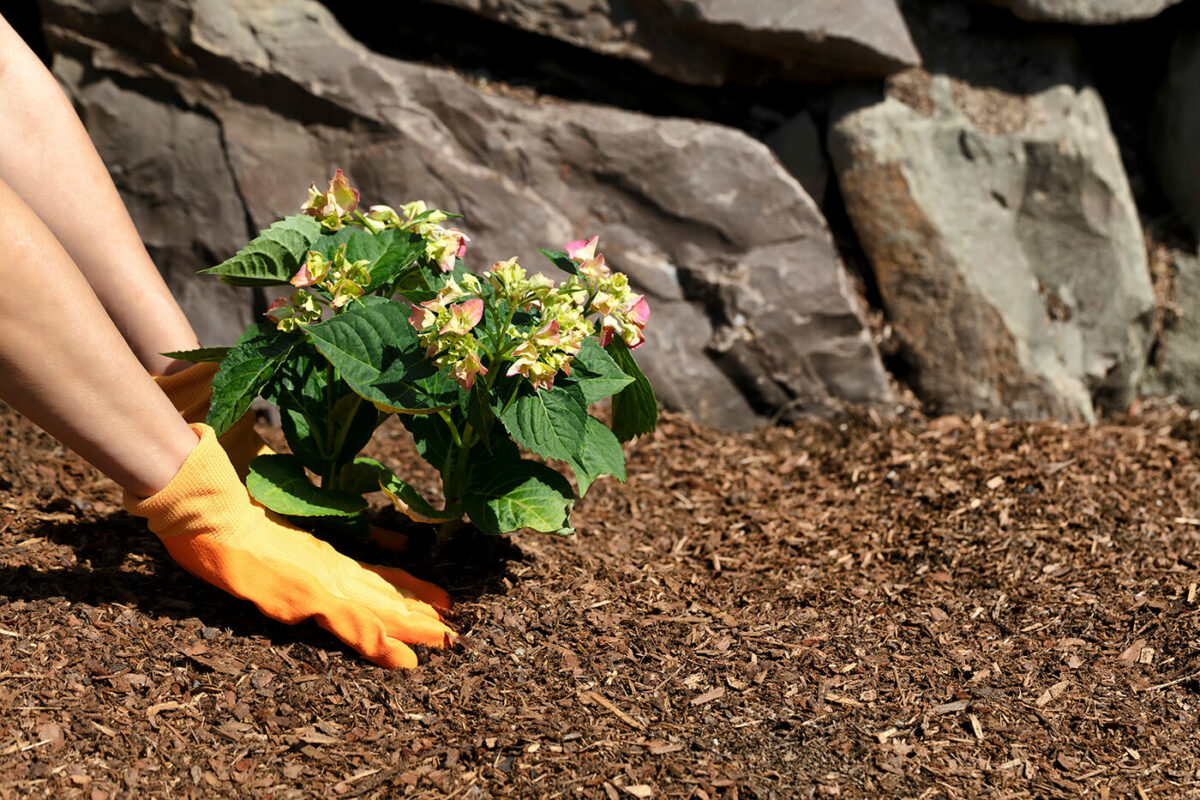
Pull mulch away from plants so that it’s not touching the plant stems or leaves, including around tree trunks. This allows air and water to circulate the plant root system to not suffocate growth. If you’re mulching around the foundation of your home, pull the mulch back several inches.
8. Water the Mulch
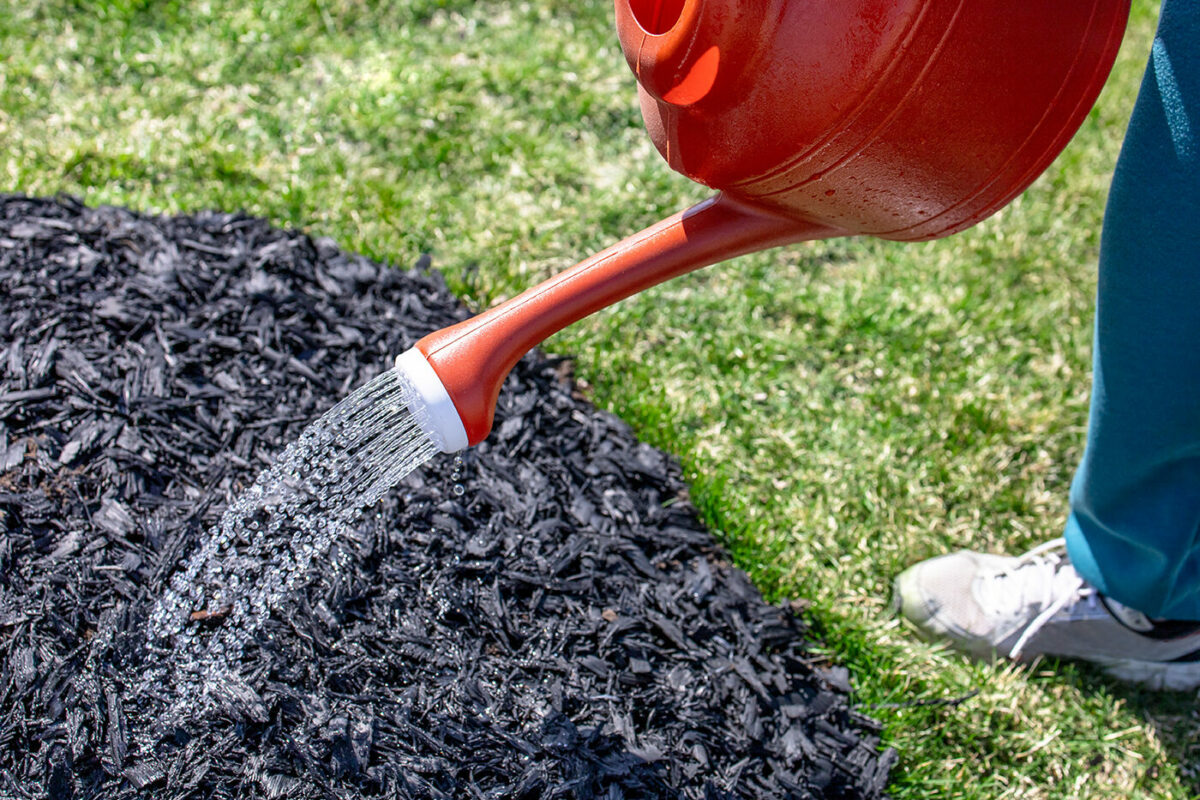
After spreading the mulch, lightly water it to help it settle in place. However, if you’re using colored mulch, allow it to dry for a day or two before watering. Avoid overwatering colored or dyed mulch as, initially, water can seep out and will stain walkways and concrete. Be sure to immediately rinse off any color that seeps onto concrete or stonework.
DIY Mulch
Did you know yard waste can be repurposed as mulch? Grass clippings, leaves, and compost are all mulch options, although compost is not a good idea to use in flower beds. While compost adds a lot of nutrients, it’s bad at preventing weeds—meaning you could end up with more weeds, not less.
If using grass clippings as compost, make sure the clippings don’t contain any seeds, as this will spread both weeds and the grass itself. Additionally, like mulch, grass should be dried before applying. Pine needles are a great option as well, and since they acidify soil, it’s perfect for acid-loving plants like azaleas.
You can also make your own wood mulch with a chipper shredder and a few downed trees or limbs. Simply shred the wood, mixing in leaves and grass for a decomposable mulch.
How to Maintain Mulch Beds

After spending a weekend tackling mulch, make sure you keep it in top shape. Follow the below tips for maintaining mulch beds.
- If stains from dyed mulch do happen, scrubbing concrete or stonework areas with a brush and rinsing with water should resolve the issue. You can also try mild soap or white vinegar as well. Follow by rinsing with water.
- While mulching around trees and shrubs prevents harm from mowers or trimmers, it’s important to keep in mind how deep mulch should be. Don’t pile mulch like a volcano around trees, as too much mulch can encourage disease.
- Spread mulch around trees anywhere from three to six feet out to give better protection and moisture regulation to the tree’s root system.
- To help with soil warming, pull mulch back gradually in early spring. Additionally, work or turn mulch a couple of times during the growing season. Not only does it improve circulation but it keeps the mulch looking fresh.
- If you notice mold, turn the mulch. Evaporation should do the trick to fix it; mold will go away when the mulch is dry.
- Sunshine will fade both organic and inorganic mulch. While turning mulch can freshen any faded appearance, you can also add new mulch on top.
- If weeds sprout, pull them out by hand to prevent them from taking root.
- Don’t leave bags of mulch lying in the yard too long, as this can kill grass beneath them.
- As mulch settles or decomposes, you’ll have to add more. If using fine mulch, you’ll need to replenish it more often. Work existing mulch before adding a new layer.
- When replanting a mulched area, try soil mulching. Simply work any decayed mulch into the soil to add nutrients and improve the soil.
Find a Tasker’s Help!
Lawn care, including mulch, is a lot to keep up with. When the hedges need trimming, the lawn needs mowing, and the vegetable garden needs attending, get a hand with expert yard work and mulching services on Taskrabbit. Whatever your lawn preferences, including eco-friendly techniques and products, your local neighborhood Tasker can tackle it all.
Last updated on March 22, 2024 by Matt Beier