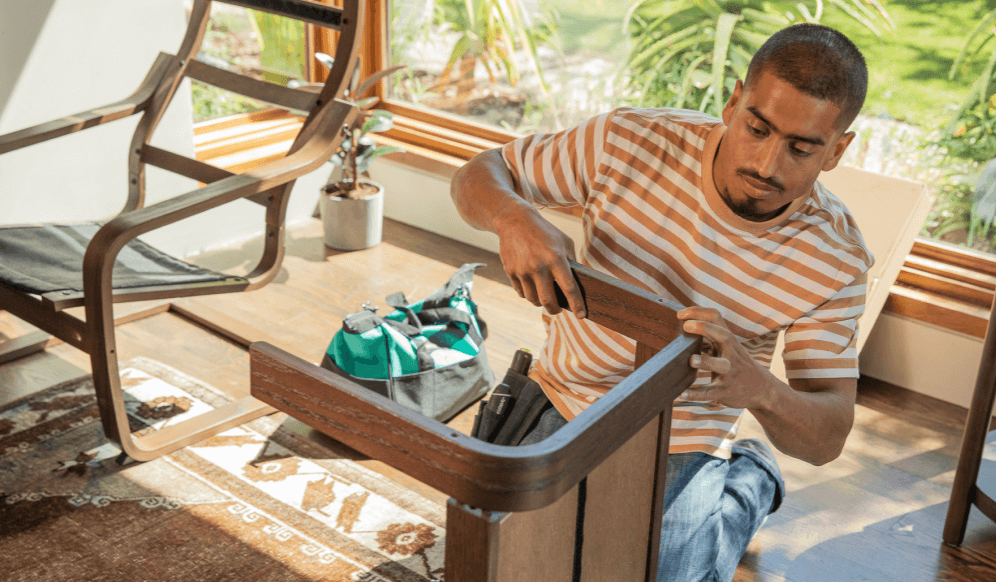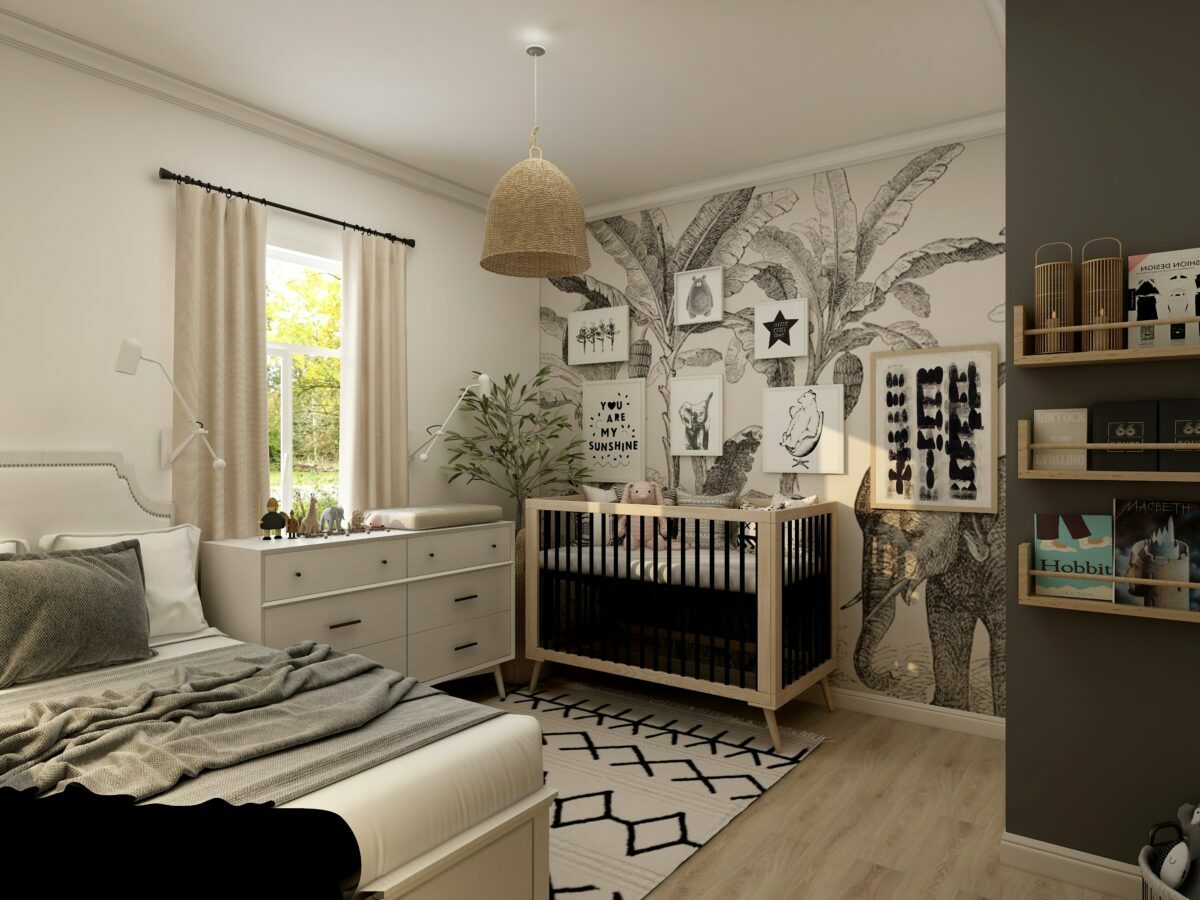
Floating shelves not only help you organize your home, but can also make a great design choice to highlight your personal belongings in a way that no other piece of furniture can. You can install floating shelves to update your space, hang unique decorations, and display your prized possessions like books, artwork, and pictures in your living room, office space, or even your bathroom.
Poorly installed floating shelves are a common issue. In this step-by-step guide, you’ll learn how to install floating shelves with a few tips and tricks. We’ll also show you how to securely install invisible shelves, the proper shelving installation techniques, and how to hang shelves on drywall.
Tools and Materials
Gather the following tools and materials so you start off on the right foot installing floating shelves.
- Shelf
- Stud finder
- Screws
- Screwdriver
- Tape measure
- Bracket
- Wall anchors
- Handheld electric drill
- Laser level or handheld level
Before Getting Started

There’s always safety considerations to be aware of when installing floating shelves. Before doing any shelving installation, it’s important to get to know your wall! Ideally, you want to hang floating shelves on wall studs. They can also be attached to plaster or drywall, in which case you should make sure you have wall anchors that can handle the potential load of the shelf.
The best spot to install floating shelves is where you’ll find a supportive base for your project, like wall studs. You can find these with a stud finder, which detects metal like screws and nails in the wall studs of your home. To determine if your wall is plaster or drywall, you’ll need to test how easily a nail goes through. If it slides right in, you’ve got drywall. If it takes a few taps, you’ve got plaster. Knowing which material you’re working with will help you figure out what tools you’ll need for shelving installation.
How to Hang Floating Shelves in 5 Steps
1. Find the Studs

Locate the studs in the wall by using a stud finder.
2. Measure The Wall

Measure and mark the spaces on the wall of where you want to hang the floating shelves. Use a level to draw a pencil line across the wall to make sure it will hang straight.
3. Install The Brackets

Use a handheld drill to drill the screws into your premarked spots. Make sure the brackets are flush against the wall.
4. Slide The Shelves

Grab your shelves and slide it onto the wall mount or brackets.
5. Secure The Shelves

Give your floating shelves a wiggle and make sure you’ve popped everything into place. Now you can place your belongings, make the most of the space, and enjoy organizing your new floating shelves!
Need Help Installing Floating Shelves?
Want to get started but still unsure how to hang floating shelves yourself? No worries! Reach out to a Tasker any time for a helping hand with installing floating shelves in your home.
Last updated on November 21, 2023 by Matt Beier