Who doesn’t want to give their furry friend the freedom to come and go as they please? It sure beats having to get up every time they need to go out! Doggie doors come in all sorts of sizes and styles, so it’s important to find the right fit for your pup. Check out this step-by-step guide on how to install one!
Types of Doggie Doors
Before installing a doggie door, see the below breakdown for the different types of doors available.
- Flap doors: Flap doors are the most common type of doggie door and can be installed in doors, walls, or even windows. Some flap doors have magnetic closures to keep them shut when not in use.
- Electronic doors: Electronic doors, or automatic doggie doors, use a sensor attached to your dog’s collar to unlock and open the door when your dog approaches. These doors are great for keeping out unwanted animals or intruders. They typically have locking mechanisms for added security.
- Sliding door inserts: Sliding door inserts are doggie doors that fit into the track of a sliding glass door. They’re convenient because no cutting is required and they can easily be removed. Doggie door inserts are also available for patio or screen doors.
- Wall-mounted doors: Wall-mounted doors are installed directly into an exterior wall of your home. They’re great if you want to give your dog access to a specific area of your yard.
Project Overview
Installing a doggie door requires an intermediate DIY skill level and approximately one to three hours of your time. The price for doggie doors range between $50 to $500. Basic models made of plastic or vinyl are generally more cost effective than durable or energy-efficient models made of aluminum or fiberglass. If you purchased an in wall dog door, we recommend professional installation.
Supplies Needed
To get started installing your doggie door, gather the below supplies.
Materials
- Dog door
- Sawhorses
- Exterior caulk
Tools
- Caulking gun
- Drill
- 1/2 inch drill bit
- Flathead screwdriver
- Hammer
- Jigsaw
- Measuring tape
- Level
- Pencil
- Phillips screwdriver
- Safety glasses
- Masking Tape
Steps to Doggie Door Installation
To install your doggie door, follow these steps:
1. Measure Your Dog

Doggie doors come in small, medium, large, and extra-large sizes to accommodate all breeds of pets. Purchasing a door that’s too small can cause injury or be uncomfortable for your pet. To find the right doggie door size, measure your pet. For the width, simply measure your pet’s shoulders and for the height, measure the top of your pet’s shoulders to the bottom of its chest. Then add two inches to both measurements.
2. Find the Best Location
With the measurements completed, determine which door you want to install the doggie door on. Ideally the door will have access to the outdoors. Measure the exterior door to make sure the dog door will fit.
3. Remove the Door
Tap the hinge pins out of the door with a hammer and screwdriver. Carefully remove the door and lay it across two sawhorses for easy access.
4. Mark the Template

Most pet doors include a template. If yours doesn’t, use the plastic slide as a template. Place the template on the desired location on the door and tape into place. Note for maximum pet ease of use the step-over, or distance from the bottom of the pet door to the bottom of the exterior door, should never be above one-third of your pet’s height. Additionally, make sure the template is at least three inches from the bottom of the door and centered. Trace the template using a pencil and mark any essential screw hole areas. Also be sure to mark the inside corners of the dog door opening.
5. Drill Out the Holes
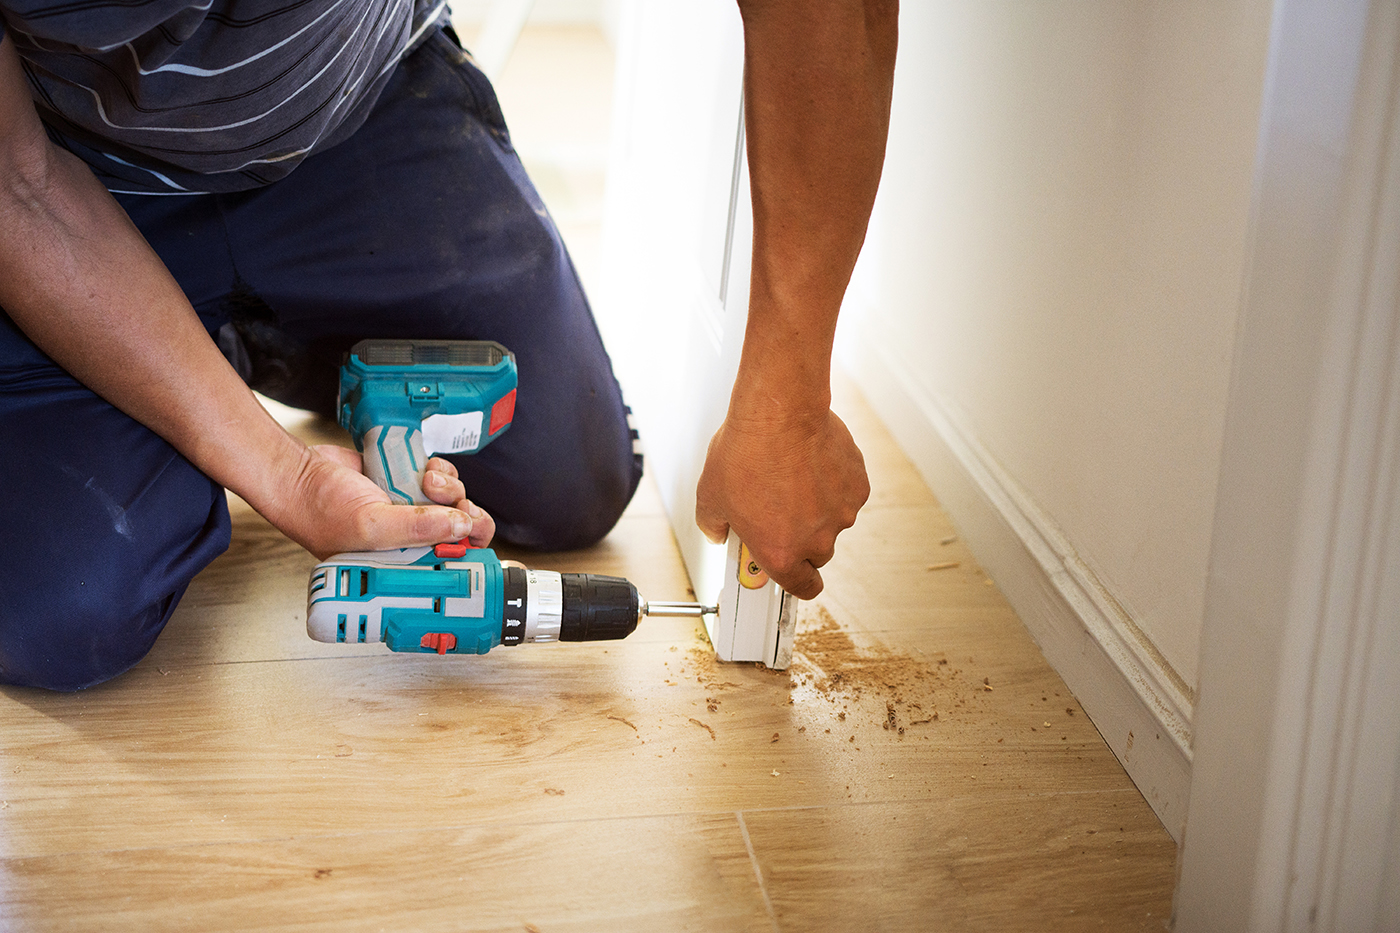
With an electric drill and 1/2-inch drill bit, drill holes at the center of each drill marking through the door.
6. Cut the Opening

With a jigsaw, cut the opening for the door starting at one drilled corner, cutting along the outline made from the template.
7. Insert the Exterior Frame into the Rough Cutout

From the door’s exterior, insert the doggie door side with no flap, making sure it sits flush against the door. Some models come with break-off levels that can be removed with pliers if the door is too deep which makes sure it fits correctly. Remove them one at a time until the pet door frame sits flush.
8. Insert the Interior Frame
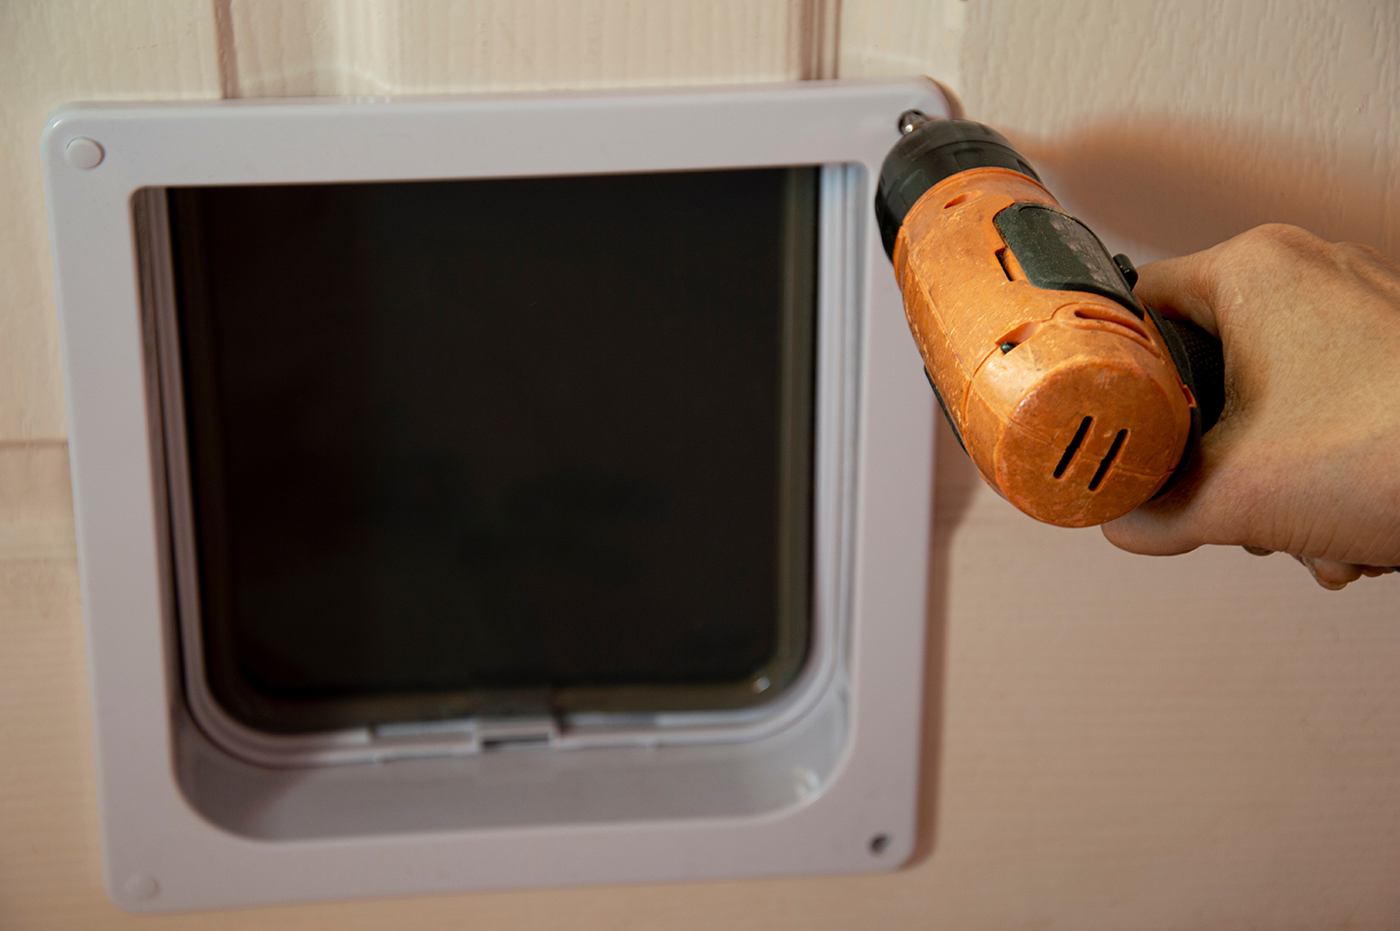
On the interior side of the door, insert the interior dog door frame, or the side that includes the flap. Using the screws that came with the dog door, secure the two frames in place.
9. Install the Door
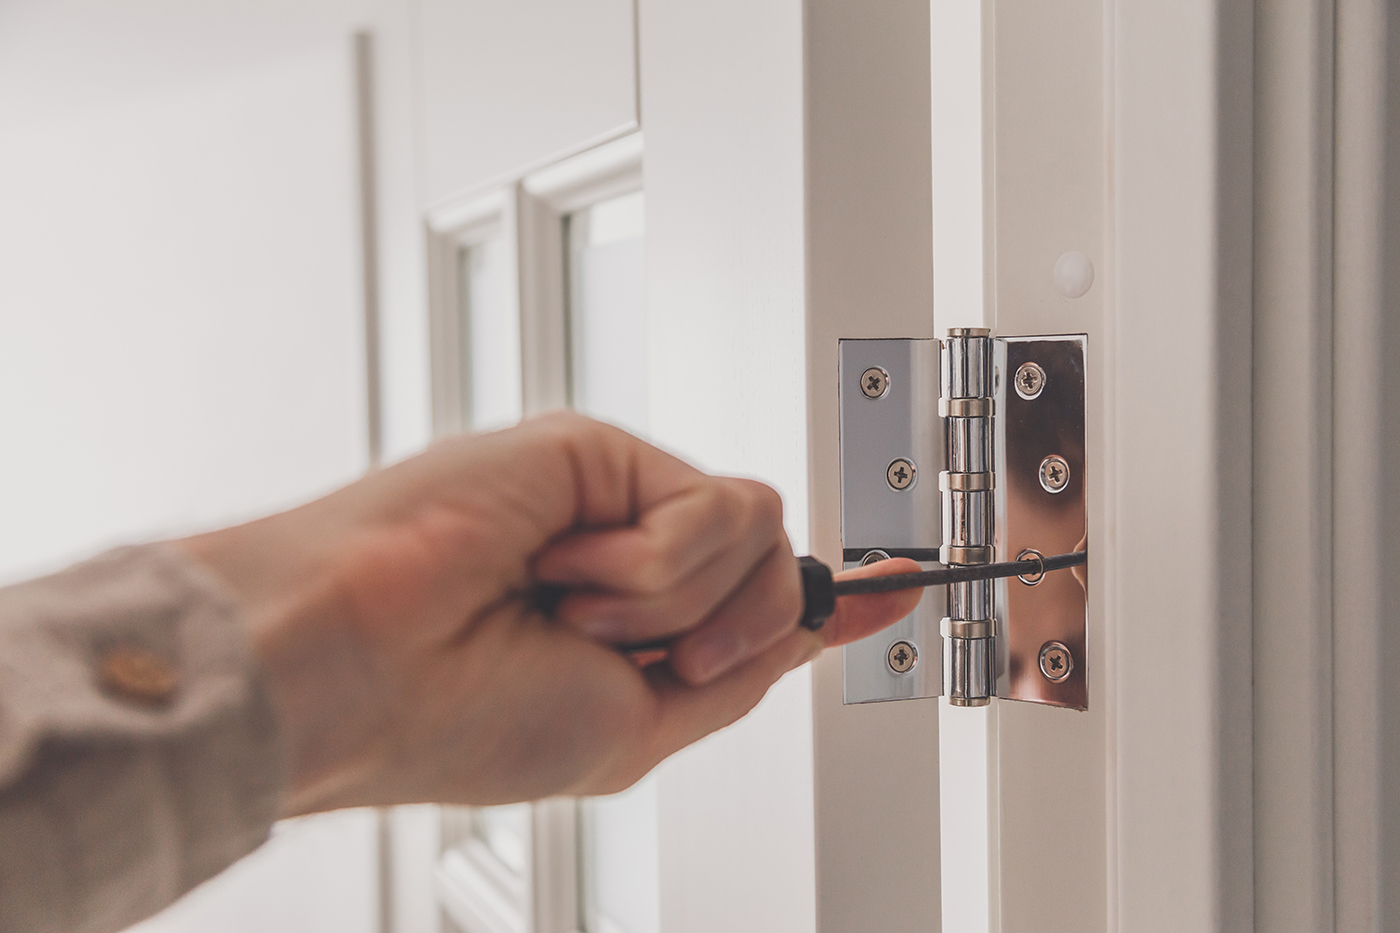
Re-install the exterior door by aligning the door hinges with the door jamb. Then tap the hinge pins back into the hinges. Be careful not to pinch your fingers!
10. Seal the Frame
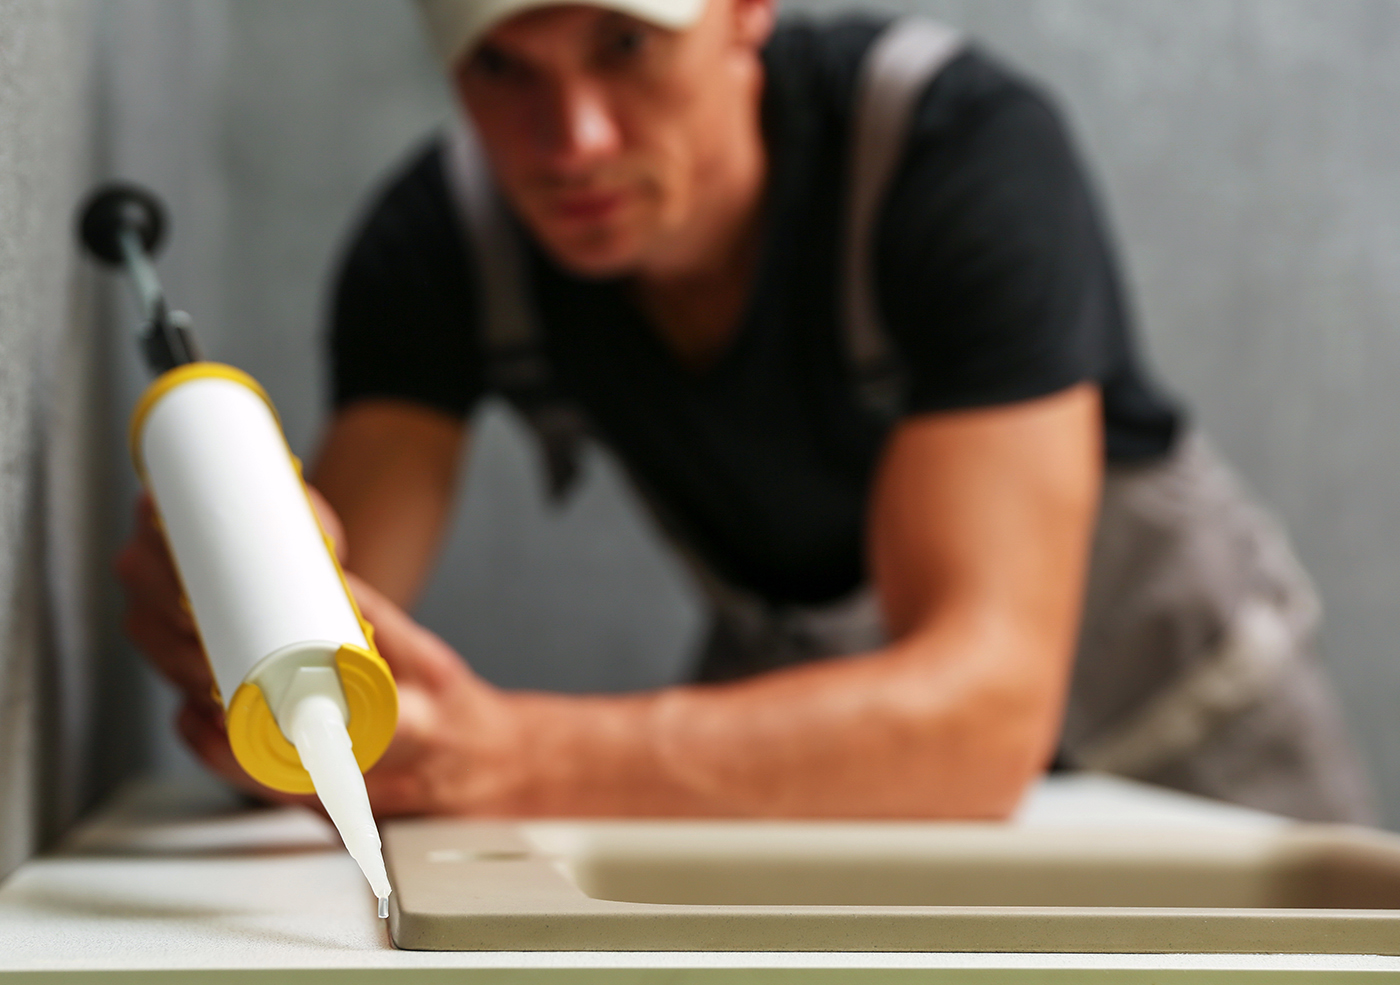
To keep outside air from entering your home, use caulk to seal the inner part of the outer frame. Use the slide that came with the door kit to keep your pet inside when you’re away, or to keep other animals out.
11. Doggie Door Maintenance

Guarantee your dog door longevity and performance with regular maintenance. This includes regular cleaning, including the flap, and inspecting for any damage such as cracks or tears. If you notice any damage, some common repairs include lubricating moving parts with a silicone-based lubricant, replacing worn seals or weatherstripping, or removing any vegetation that may have grown in the way.
Steps to Cat Door Installation
Installing a cat door in an exterior door is similar to the process outlined above. Another option for cat owners is a sash window cat door, which fits into most windows and is a straightforward project. These cat doors are also temporary, making them easy to remove if you’re renting. Follow the steps below to learn how to install a cat door in a window.
1. Put the Cat Door in the Window
Raise the window and place the cat door in the opening. The cat door will come with a set of knobs that will allow you to expand the panel to fit a range of widths. If the bottom set of knobs catch on the windowsill, simply remove them.
2. Adjust the Width
Next, adjust the cat door to the width of the window. If the door can be adjusted on both sides, place the door in the middle of the window and loosen the panels so they extend on both sides. If the door only extends on one side, set the fixed end against one side of the window frame and loosen the adjustment knobs to extend the panel to the other side of the window frame. Once aligned, tighten the adjustment knobs to lock the panels in place.
3. Apply a Seal
Before lowering the window, cut the included cat door seal and fix it to the top of the cat door to make sure there are no gaps between the cat door and window. Then lower the window. If there is a gap between your top and bottom window sashes, use the additional seal to secure that gap as well. Make sure the seal comes into contact with the glass to close the gap.
4. Lock the Window
With the cat door installed, the window lock no longer works. However, there are other options to secure the window so it doesn’t open. Some kits come with window stops but if yours doesn’t, use paint stirring sticks and nonmarring adhesive as a window jamb. Alternatively, you may be able to install screws in the window to prevent it from opening.
5. Removing the Cat Door
If you ever need to remove the cat door, first uninstall any window locking device. Then remove the seals. Finally, raise the window and lock the extension panels back in their original position. Now you should be able to remove the door from the window.
Training Your Pet
There are a couple of ways to get your pet used to their new door. Some people leave the flap off for a few days. Another way is to call your pet through the door from the outside, then offer them praise after they use the pet door. Finally, offer treats every time your pet goes through the door. Repeat the reward at least three times to lock the behavior in place, but some pets may require additional reinforcement.
Hire Professional Dog Door Installation
Everybody likes to pamper their pets. If installing a doggie door feels outside of your wheelhouse, don’t sweat! Handyman services on Taskrabbit are here to help with expert pet door installation. Besides doggie doors, Taskers can fix all sorts of door issues. Whether it’s putting in a storm door, fixing a sliding glass door, or even adding a mirror to a door, your local neighborhood Tasker can handle it all. You, and your pet, are going to love their new freedom!
Last updated on March 25, 2024 by Elizabeth Hays