Tools And Project Time
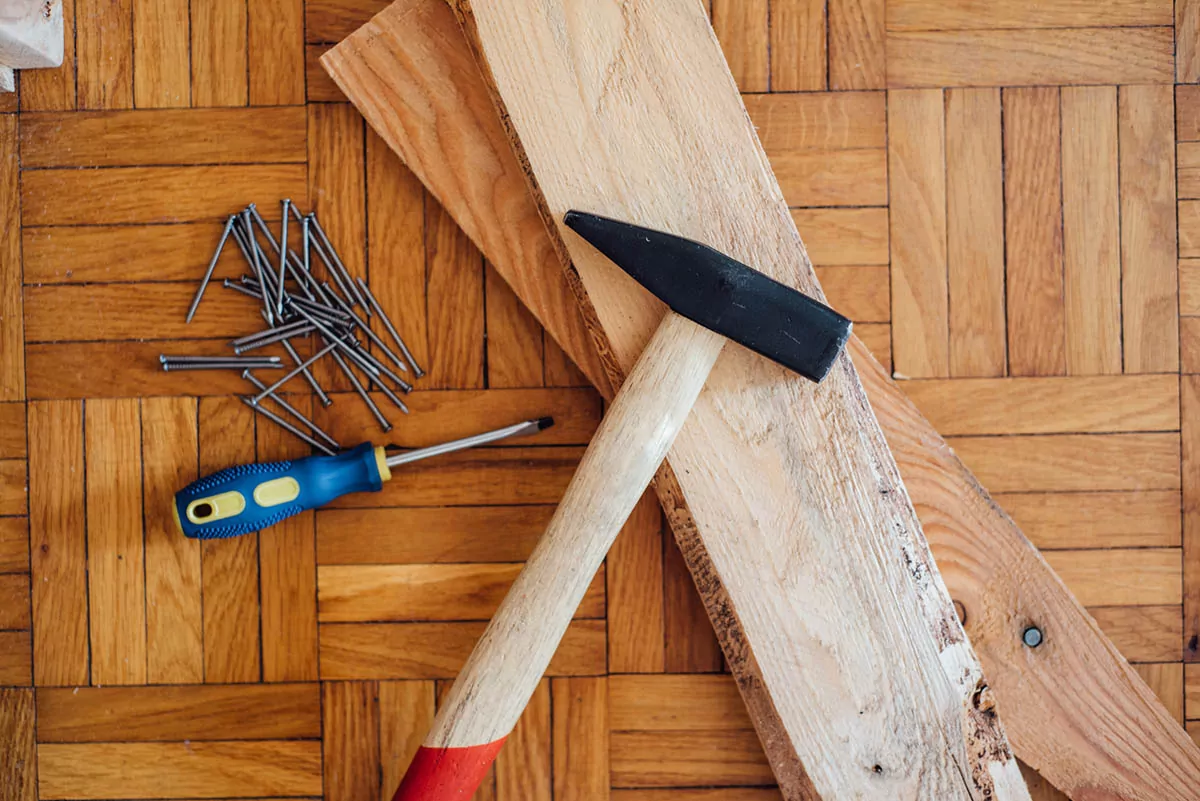
If you’re looking for instructions on how to hang a picture, you’ve come to the right place. To start, here are the tools you will need:
- Hammer or drill
- Tape measure
- Pencil
- Level
- Tape
Once you’ve gathered the appropriate tools, you’re ready to start! From start to finish, this project should take about 20 minutes up to an hour.
Step 1: Find The Wall Stud
Using a stud finder, find the wall stud to ensure your frame will be securely attached. If you’re not confident in finding the stud or don’t have a stud finder, Taskers can help start the mounting process.
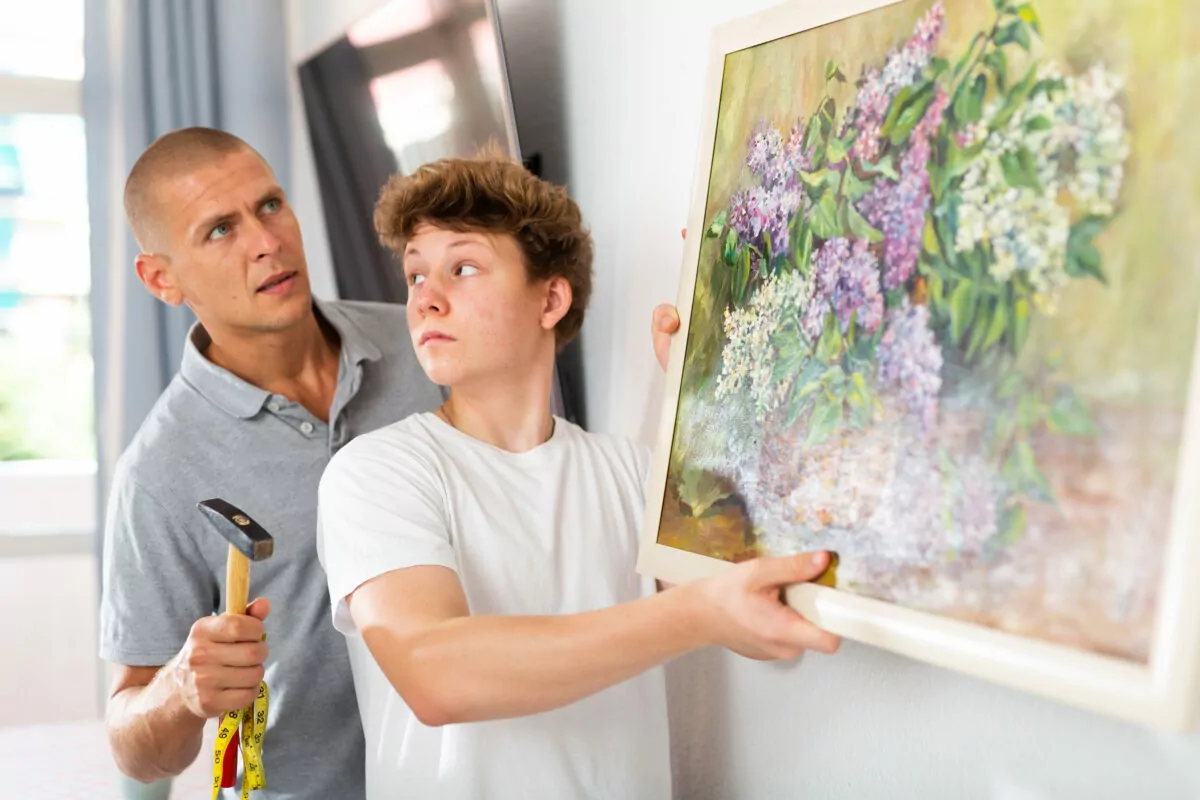
Step 2: Center the frame in the area you want to hang it.
Measure the width of your wall and find the center by dividing the width in half. Mark the center with a pencil. If you’re hanging a very heavy picture, consider locating a stud in your wall as opposed to hanging on drywall, which is not weight-bearing.
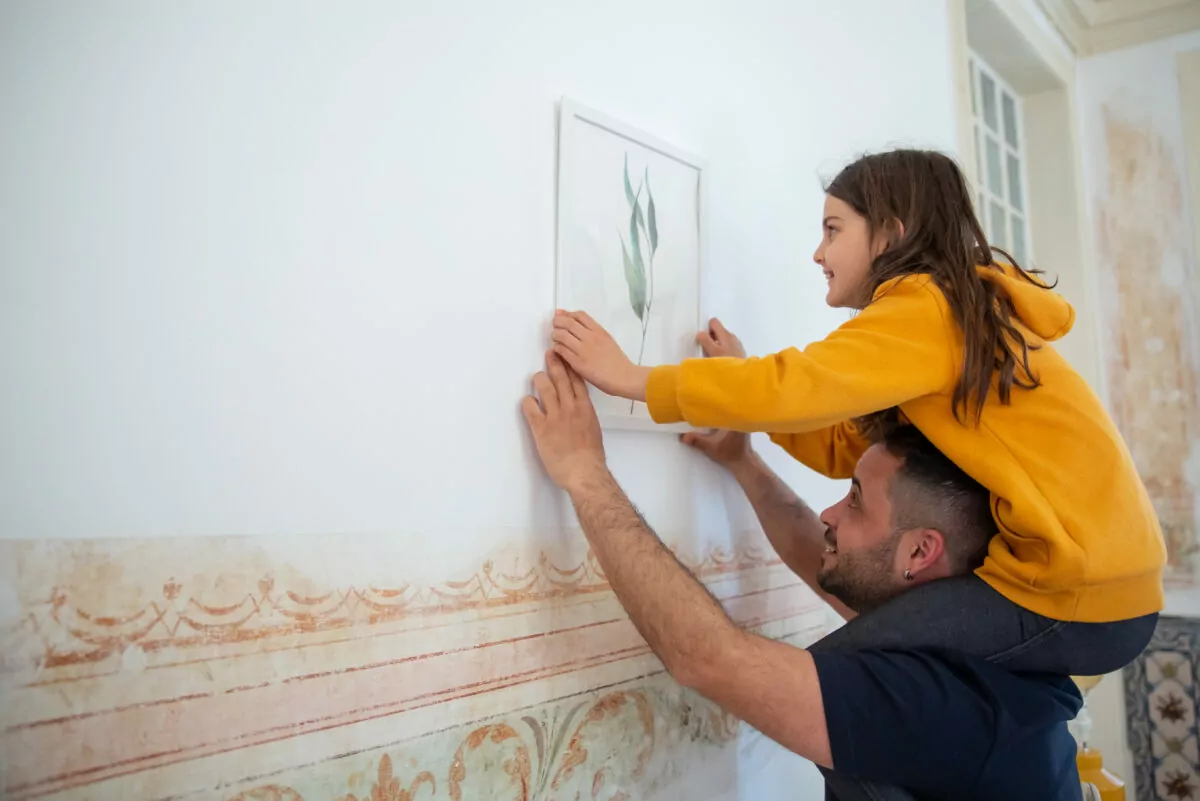
Step 3: Find the perfect height.
As a general rule of thumb, you’ll want to place your picture at about eye level. From there, you can evaluate the height from different angles.
Step 4: Use tape to preview the positioning.
Create a make-shift frame by using tape to get an accurate preview of what the picture will look like. This will help you be sure of placement before drilling.
Step 5: Pre-determine where the nails should be placed.
Use a measuring tape to measure the distance between the top of the frame and the hook, then mark this same distance on your wall. If math isn’t your strong suit, then you can use the 57” rule, which means you can measure 57” from your floor and use that measurement to place the centermost point of the picture.
Step 6: Drive the nail into the wall.
As mentioned, you might need to locate a weight-bearing frame on your wall if you’re hanging a heavy picture. In order to prevent your picture from moving, place the nail at a downward angle.
Step 7: Hang your picture.
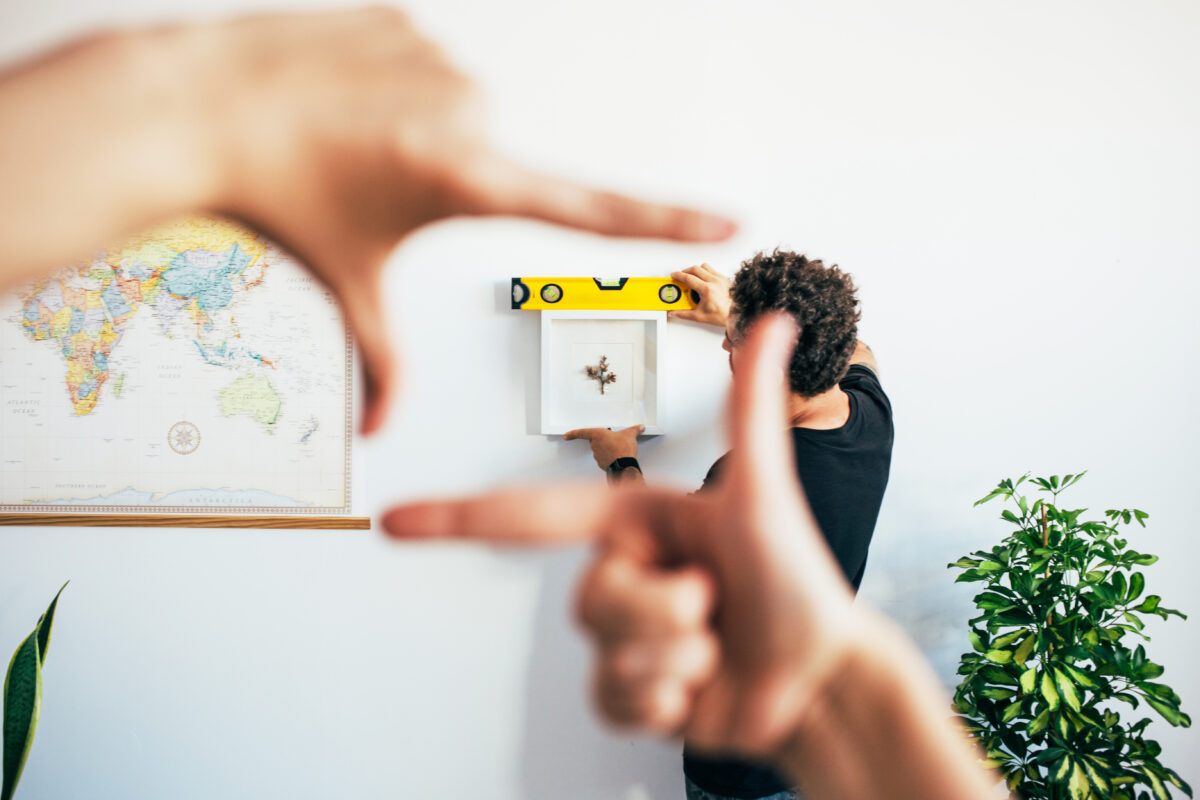
Use a level to make sure your frame is straight, as this can appear different depending on where you’re standing in the room.
How To Hang A Picture Without Nails
Hanging pictures can be done in a number of ways, but sometimes you might not want to use nails, which can be a good option if you’re renting a home or don’t want to commit to holes in your wall just yet. Luckily, there are alternative methods for hanging pictures without nails. Here are some options:
Adhesive Strips
One way to hang a picture without nails is to use adhesive strips. Adhesive strips are available at most hardware stores and are very easy to use. Simply peel off the backing and stick the strips to the back of the frame. Then, press the frame firmly against the wall. Adhesive strips are available in a variety of sizes, which means you can easily find the right strip for your needs.
Putty
If you prefer to avoid adhesives altogether, you can always use putty to hang a picture without nails. All you need is some putty and a putty knife. First, apply a small amount of putty to the back of the frame. Then, press the frame firmly against the wall. The putty will hold the frame in place until it dries.
How To Hang a Picture on Plaster Walls
There are a few different ways that you can hang a picture on plaster walls. The best way will depend on the weight of the frame and the type of wall.
If the frame is relatively light, you can use adhesive strips or putty to attach the frame to the wall. Adhesive strips are available at most hardware stores and come in a variety of sizes and strengths. Be sure to choose strips that are rated for the weight of your frame.
To use putty, roll a small amount into a ball and press it onto the back of the frame. Then, press the frame onto the wall and hold it in place for a few seconds until the putty sets. You can also use small nails or screws to secure the frame to the wall, but be careful not to damage the plaster.
If you are hanging a heavy frame, it is best to use screws or nails. First, find the studs in the wall using a stud finder. Then, mark the location of the studs on the frame so you know where to drill holes. Drill pilot holes into the frame and screw it into the wall. Be sure to use screws that are long enough to reach into the studs for added support.
Hanging pictures on plaster walls can be a bit tricky, but with a little patience and care, you can do it.
The Difficulties of Hanging a Picture
There are several potential difficulties you may encounter when hanging pictures on your wall. The first is figuring out the right place to hang them. You’ll want to make sure that the pictures are level and evenly spaced, which can be tricky if you’re working with an uneven surface. If you’re hanging multiple pictures, you might try laying them all on the ground to figure out the right placement, prior to securing them to the wall. This ensures that you won’t drill unnecessary holes into your wall while you figure out the placement.
Another complication you may encounter is damage to your walls. If you change your mind about placement or are not careful, nails or hooks can leave marks or even holes in your walls. This can be especially problematic if you’re renting your home and will need to repair any damage before moving out.
Finally, you may have trouble getting the pictures to stay put. If they’re not properly secured, they could fall and break. This is another reason why it’s important to make sure your pictures are securely hung.
If you keep these potential difficulties in mind, you should be able to hang your pictures without any problems.
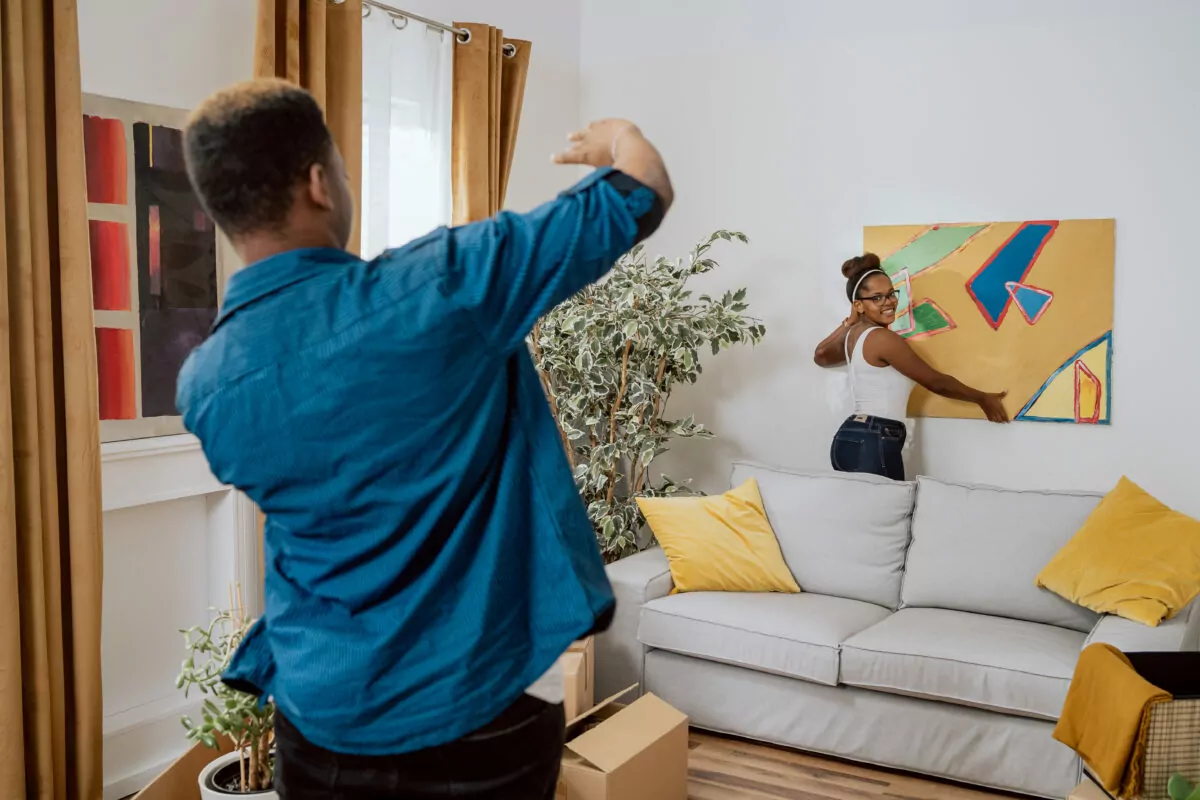
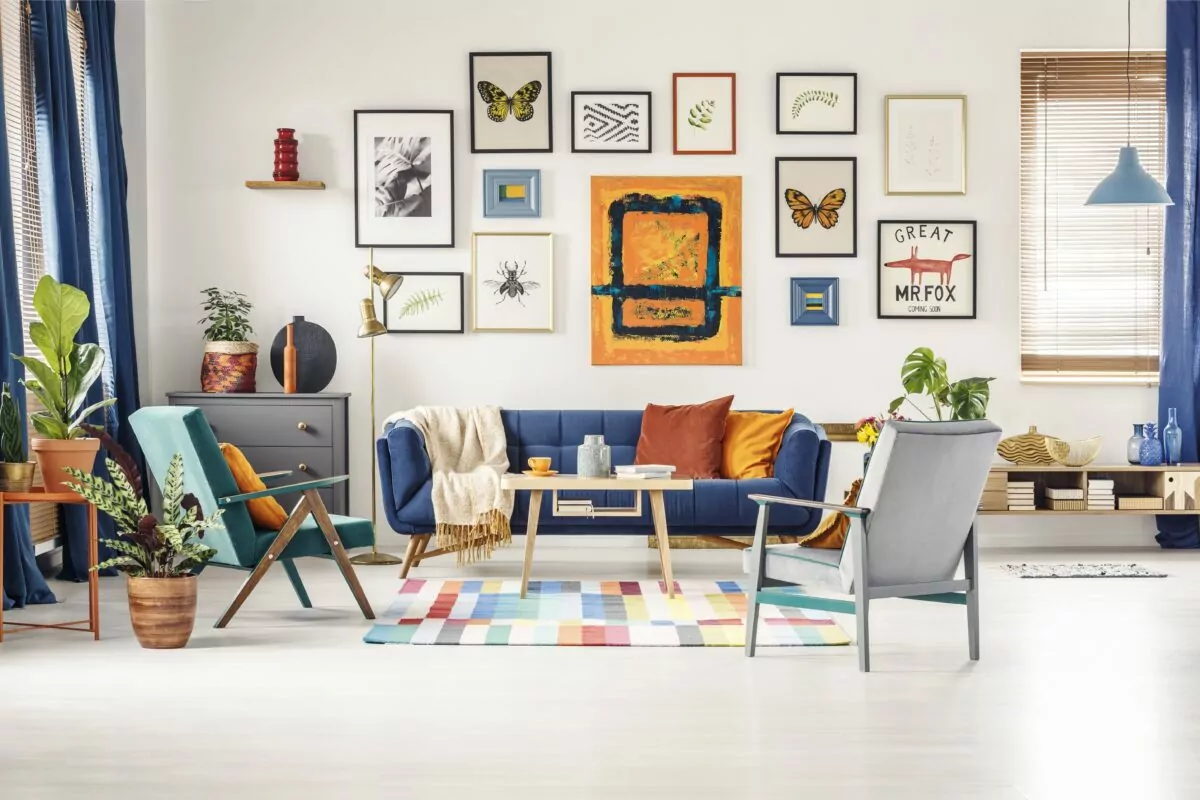
Tips For Hanging Groups of Pictures
There are a few things to keep in mind when grouping pictures together. First, think about the overall look you want to achieve. Do you want a symmetrical or asymmetrical arrangement? Secondly, consider the size and shape of the pictures. You’ll want to create a balance between the different elements. Finally, pay attention to the frames and matting. Make sure they complement each other and don’t clash.
If you’re hanging multiple pictures, there are a few ways to group them together. One option is to arrange them in a grid. This creates a clean, modern look. Another option is to stagger them in an alternating pattern. This gives the arrangement a more organic feel. Or you could simply group them together by theme or subject matter.
The good news is that there are no rules, so be sure as long as you follow your personal preferences, you can’t go wrong!
How To Center a Single Picture If You’re Hanging One Large Picture
If you’re hanging a single large picture, you’ll want to make sure it’s centered. Here are a couple tips on how to do that:
Step 1: Find the center of the wall by measuring the width and dividing by two and the height and dividing by two.
Step 2: Find the intersection of width and height to determine the absolute center of your wall.
This should get you the exact center of your wall, but if you’re having trouble, see the above section on determining where nails should be placed.
Get A Tasker To Help Furnish Your Home
Hanging pictures is a great way to add character to your home. With a little bit of planning and care, you can hang your pictures safely and securely. If you’re looking for an extra pair of hands, book a Tasker who specializes in mounting to make the process go smoothly!