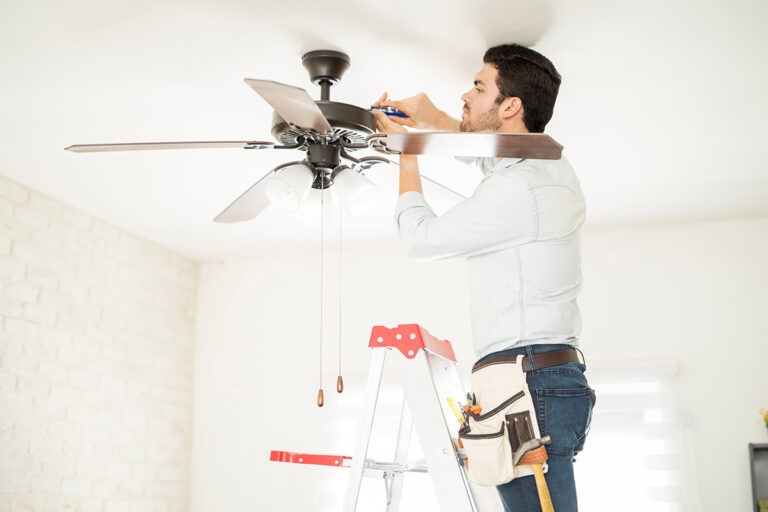
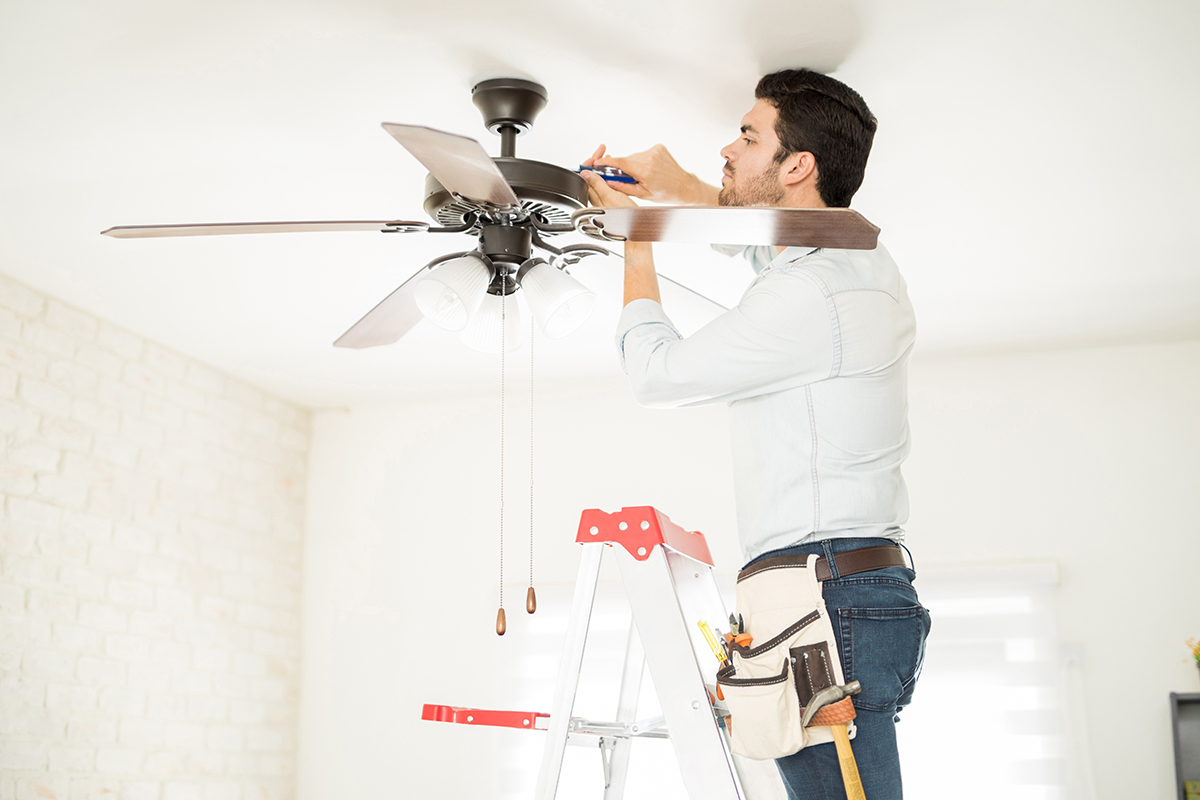
Installing a ceiling fan can give a room an instant upgrade while helping keep air moving throughout your space. If the necessary wiring and proper structural support are already in place, you may be able to tackle ceiling fan installation yourself. If you’re weighing DIY against getting help, learn more about what can affect ceiling fan installation cost.
There are a few important checks to make first. Ceiling fans are heavier than typical light fixtures and move while operating, so they need proper structural support. You’ll also be working around electrical wiring, which means knowing when to stop is just as important as knowing what to do next.
Below, we’ll cover how to install a ceiling fan, from checking the electrical box and mounting the bracket to wiring, assembly, and testing.
Before beginning, check the regulations where you live. Some electrical work may require a licensed professional.
Before You Install a Ceiling Fan
This guide covers a standard indoor ceiling fan installation where wiring already exists. Because mounting hardware, controls, and assembly can vary by model, keep your fan’s instructions nearby throughout the project.
Before getting started, confirm:
- Wiring already exists at the ceiling location
- The electrical box can properly support your fan
- You have the instructions for your specific fan
- You have the necessary tools
A ceiling fan requires more support than a typical light fixture. The electrical box needs to be approved for ceiling-fan support and securely attached to a ceiling joist or an approved support brace.
What You’ll Need
Gather your tools before you get started:
- Sturdy ladder
- Voltage tester
- Screwdrivers
- Pliers
- Wire strippers
- Any model-specific tools listed in the fan instructions
Check the manufacturer’s instructions before starting to make sure you have everything your particular fan requires.
1. Turn Off the Power
Before touching the existing light, electrical box, or wiring, turn off the breaker that controls the ceiling location. Let everyone in your home know you’re working on the circuit so the breaker isn’t accidentally turned back on.
Check your voltage tester at a known working outlet to make sure it works. Then test around the ceiling light or electrical box without touching any exposed conductors.
Turning off the wall switch isn’t enough. Don’t touch or disconnect the wiring until you’ve confirmed the power is off.
2. Remove the Existing Light
If there’s already a light installed where you plan to put the ceiling fan, remove the shade, bulbs, and other loose parts first. Support the light while removing its mounting screws, then lower it just far enough to access the connections.
Test the exposed wires before touching them and confirm your voltage tester still works at a known working outlet. Once you know the power is off, take a clear picture of the existing connections before disconnecting the wires and carefully lowering the light.
If the light is large or awkward, ask someone to help support it.
What If There Isn’t a Light Already Installed?
Even if there isn’t an existing light, there may already be an electrical box and wiring at the ceiling location. You may see a cover over the electrical box or safely capped wires inside it instead.
Test the box and each capped wire, confirm your tester still works at a known working outlet, and don’t proceed until you know the power is off. Remove the cover, if present, and photograph the existing setup. Keep the wires safely capped until access is needed.
3. Check the Electrical Box and Fan Support
Before mounting anything, inspect the electrical box carefully. Look for a marking indicating that it’s approved for ceiling-fan support.
You’ll want to confirm that the box:
- Is listed for ceiling-fan support
- Is securely attached to a ceiling joist or approved support brace
- Is suitable for the weight of your fan
- Doesn’t move or shift
- Shows no visible signs of damage
Don’t assume an electrical box can support a ceiling fan simply because it’s made of metal.
If there’s no fan-support marking, the box moves, or you can’t determine how it’s attached, don’t mount the fan to it. Stop the project if you encounter damaged insulation, scorched parts, aluminum wiring, or wires you can’t identify.
What If the Electrical Can’t Support a Ceiling Fan?
An electrical box that was installed for a light fixture may not be strong enough to support a ceiling fan. If that’s the case, you’ll need to replace it or add the proper support before installing the fan.
One common option is to install a support brace between the ceiling joists, then attach an electrical box designed to hold a ceiling fan. Follow the instructions that come with your support kit, taking care not to damage the existing ceiling wire. Once everything is installed, check that the box feels secure and doesn’t move or shift.
Some ceiling fan boxes can attach directly to a ceiling joist instead. Whichever setup you use, follow the instructions that come with your specific hardware.
4. Mount the Ceiling Fan Bracket
Once you’ve confirmed the fan-rated electrical box is securely supported, you’re ready for mounting.
The electrical box and its structural support carry the fan’s weight, while the mounting bracket connects the fan to that support.
Line up the bracket according to the fan manufacturer’s instructions and feed the ceiling wires through the bracket opening. Attach the bracket using the specified hardware, tightening the screws evenly.
Before moving on, make sure the bracket sits flat and doesn’t shift. If it has a hook, slot, or alignment tab, check that it’s facing the direction specified in the instructions.
5. Assemble and Hang the Ceiling Fan
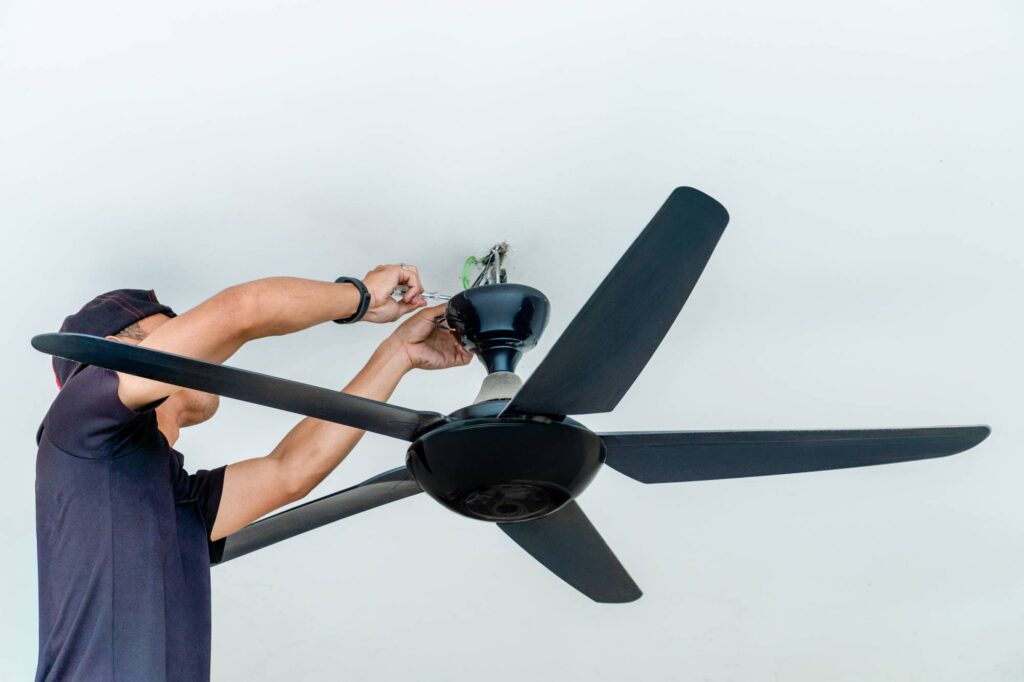
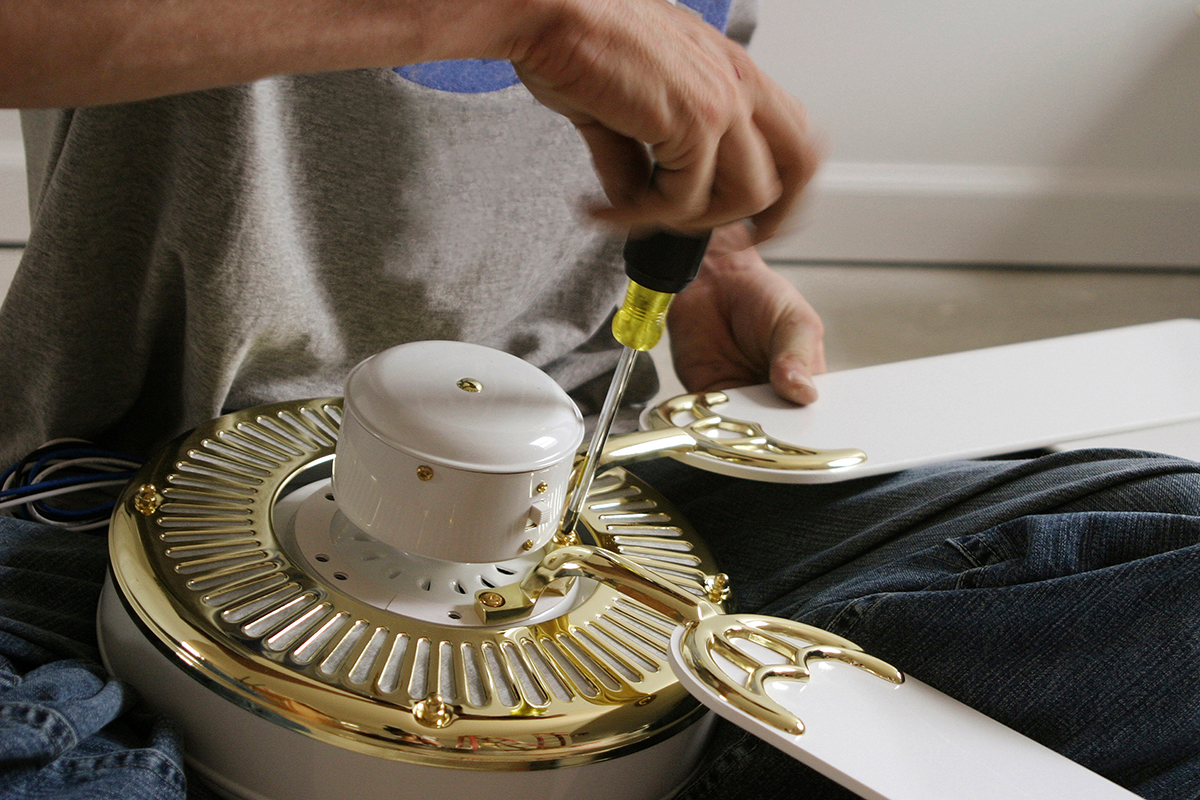
With the mounting bracket secure, assemble the downrod and canopy components according to your fan’s instructions.
Feed the fan wires through the downrod, attach it to the motor housing, and install every required pin, clip, and set screw.
Lift the fan by the motor housing or downrod, never by its wires, and place it into the mounting bracket. Make sure the hanging system is fully seated and aligned as shown in the manufacturer’s instructions.
A second person can make lifting and positioning the fan much easier.
6. Connect the Ceiling Fan Wiring
With the fan hanging safely, connect the wiring exactly as shown in the diagram for your specific model.
Start with the grounding connection, followed by the neutral connection. Then connect the fan, or its receiver if it uses one, to the ceiling power and controls as directed.
Use the recommended wire connectors, make sure no bare copper is exposed below them, and gently check that each connection is secure.
If the ceiling wires or controls don’t match the fan diagram, stop instead of guessing.
7. Secure the Canopy and Finish Assembly
Carefully place the wire connections inside the electrical box without pinching them, then raise and secure the canopy.
Finish assembling the fan in the order shown in the manufacturer’s instructions. Depending on your model, this may include attaching the blades and installing a light kit.
Tighten the blade hardware evenly. Before restoring power, slowly turn the blades by hand to make sure they move freely without hitting anything nearby.
8. Restore Power and Test the Fan
Once everything is assembled, restore power at the breaker and test:
- Every fan speed
- The light, if applicable
- Wall controls
- Remote controls
If the fan wobbles, turn it off before checking the blades and blade arms. Make sure the blade screws are tight and every blade has been installed the same way.
If you need to inspect the canopy, downrod connection, mounting bracket, or wiring, turn the breaker off and confirm the power is off again first.
Once the support and hardware are secure, use the fan’s balancing kit if needed. A balancing kit can correct small blade differences, but it can’t fix a loose bracket or unsupported electrical box.
Ceiling Fan Installation Checklist
Before wrapping up, make sure:
- Power was turned off and confirmed off before electrical work
- Electrical box is approved for ceiling-fan support
- Electrical box is securely supported
- Mounting bracket is properly oriented and secure
- Downrod hardware is fully installed
- Fan is seated correctly in the bracket
- Wiring follows the manufacturer’s diagram
- Wire connections are secure
- Canopy is securely attached
- Blades and light kit are correctly assembled
- Blades rotate freely
- Fan speeds, lights, and controls work as expected
Need Help With Your Ceiling Fan Installation?
Proper support, electrical connections, and model-specific assembly all matter when installing a ceiling fan. If any part of the project feels outside your comfort zone, you don’t have to tackle it yourself.
Find a Tasker for the job on Taskrabbit. Be sure to discuss any necessary licenses and qualifications with your Tasker before booking.
Last updated on September 29, 2026 by Grace Branscome