When it comes to your home theater experience, the magic is in the details! If a huge OLED TV isn’t big enough for you, a projector can be the extra ingredient that turns your house into a legitimate movie theater. But how to mount a ceiling projector? It’s a great question, because the process can actually get a bit technical beyond just finding a way to attach it to your ceiling.
In this step-by-step guide for projector installation, we’ll cover the benefits of ceiling mounting, the tools you’ll need, your various mounting options for projector setup, and more.
Benefits of Hanging a Projector From the Ceiling
If you’re considering hanging a projector from a ceiling, you’re on the right track. There are definitely benefits when you choose this option, including:
- Optimal viewing height. Mounting a projector to the ceiling lets you position the projector at the perfect height for your screen, which will ensure a clear, unobstructed view (meaning fewer human shadows “walking” in front of the image!).
- Efficiency with space. Hanging a projector from the ceiling will free up floor space or help you avoid having to install a dedicated shelf to store the projector on.
- A clean look. Your room won’t look as cluttered when you mount your projector to the ceiling.
- Safety. Because your ceiling mounted projector will be out of reach, it’ll help you make sure nobody accidentally damages it (or gets injured in the process).
Tools for Projector Setup
To install a ceiling mounted projector, you’ll need the following tools:
- Projector
- Mount kit
- Ladder or step ladder
- Drill
- Screwdriver
- Wrench or allen wrench (depending on the mount)
- Tape measure
- Pencil
- Power chords
- HDMI cable (newest type)
- Chord coverings (if applicable)
Projector Mount Ideas
If you’re wondering how to set up a projector either with or without a ceiling projector holder, you have a few different options. The four most common ones are:
Projector Lift

Projector lifts can be installed in or above your ceiling and lowered only when you want to use your projector. This is the most elegant way to install a projector, because it will remain out of view when you’re not using it.
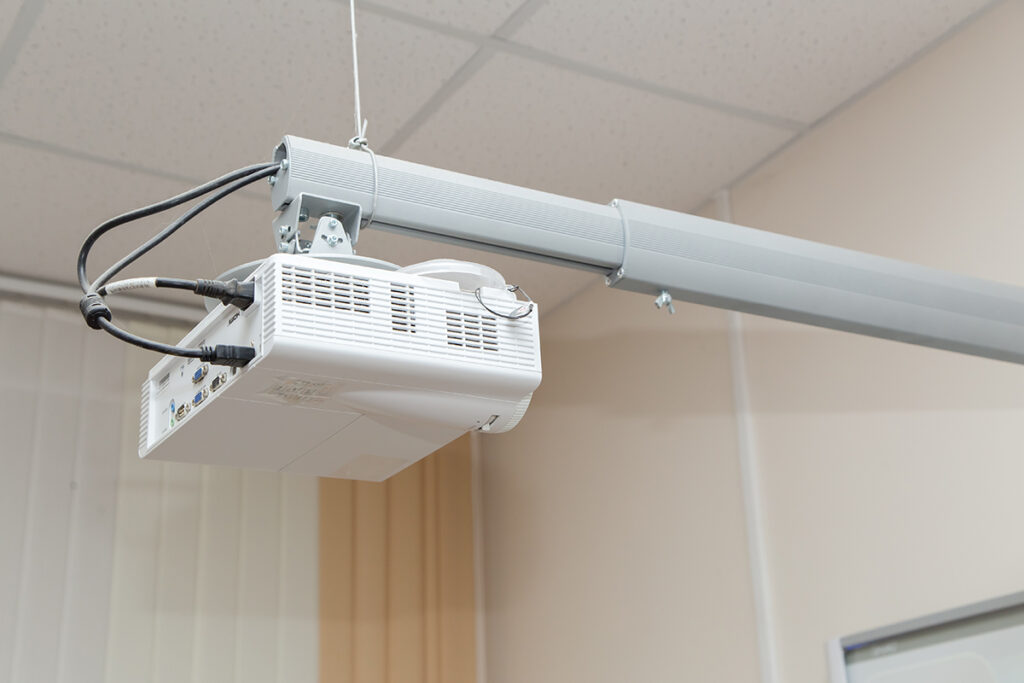
Below the Ceiling Projector Installation

In this case, a projector would simply be hanging from the ceiling on a bracket. It would be visible in your room at all times and potentially collect dust like a ceiling fan does. That said, it would provide easy access for cleaning and maintenance when needed!
Projector Shelf

You can also either set your projector on a shelf built into the ceiling or set it on a shelf in the back of your room. Shelfs can either be built into your room’s structure or added later—just note that they’re not always the most aesthetically pleasing solutions for mounting a projector setup.
Wall-mounted Projector Bracket
You can also mount a horizontally sitting projector bracket on your wall or support beams, which you can place your projector on, much like a shelf. If you’re mounting on a brick wall, make sure you understand your options, but always keep in mind that your projector will be heavy enough to require drilling and anchors for the mount.
How to Mount a Ceiling Projector: 6 Steps
Once you’ve figured out where to put your projector, it’s time to start the installation. When you’ve gathered all your tools and materials, follow the steps below:
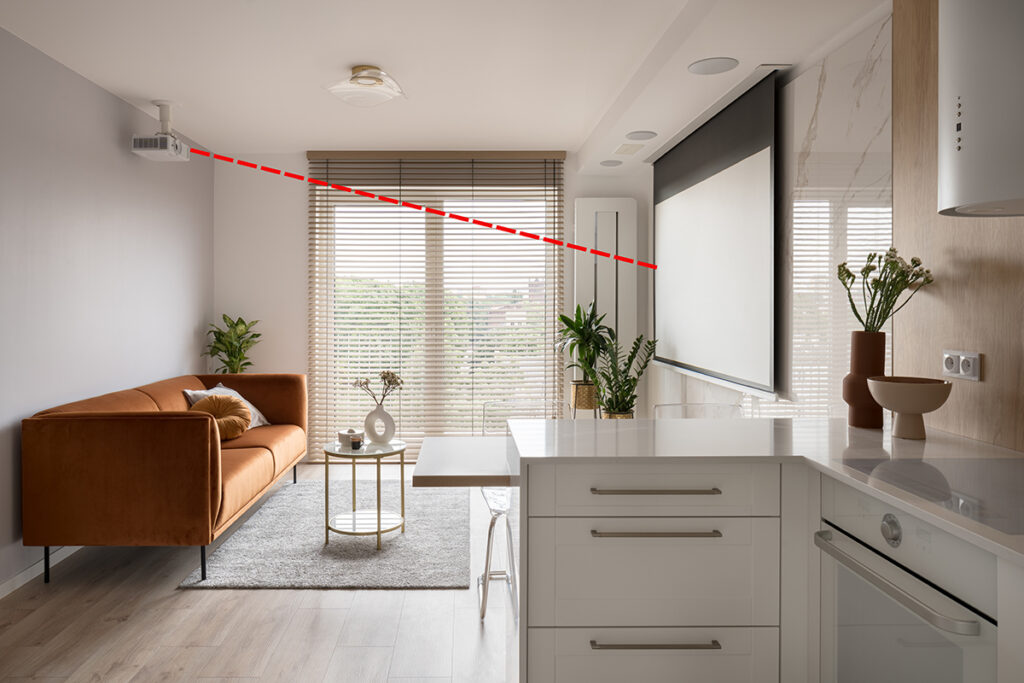
1. Determine the Distance from Screen
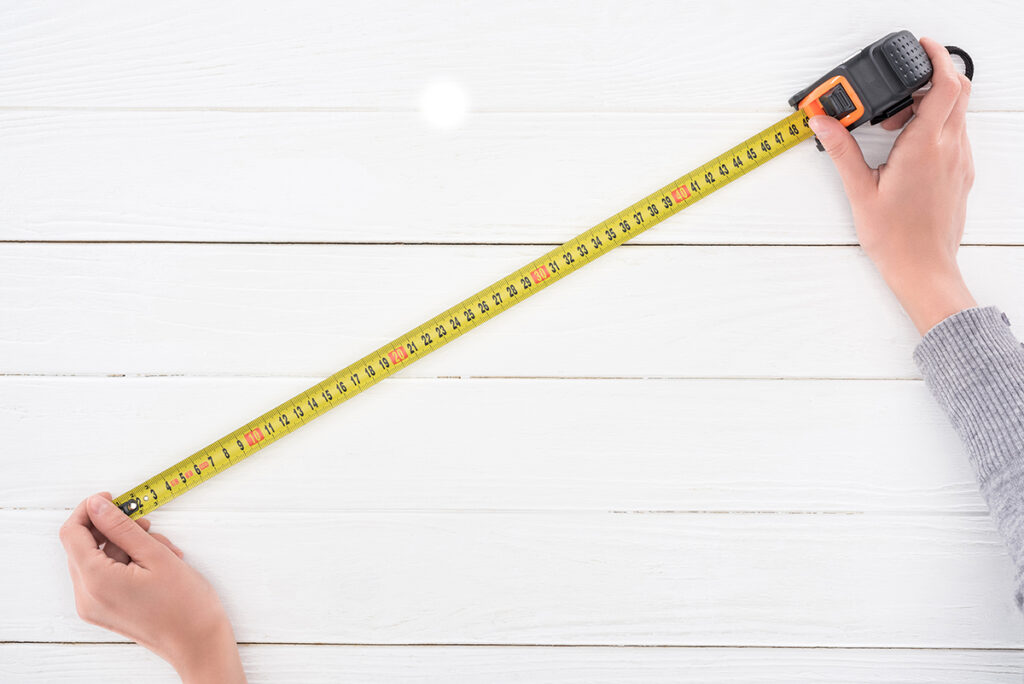
To determine how far your projector should be from your screen, you’ll have to figure out its throw distance, or the distance between the projector lens and the screen. All projectors have a throw ratio that lets you calculate this—this should be in your instruction manual. To calculate the distance your projector lens should be from your screen, use this formula:
Throw ratio x screen width = throw distance
For example, if you have a 100-inch screen and a throw ratio of 2.8:1, you would calculate this in the following way:
2.8 x 100 = 280 in
This formula will work with any unit of measurement! You can also change the formula around if you want to start by choosing a screen width:
Screen width = throw distance / throw ratio
To figure out the best measurements, work with your space. Always make sure the projector and screen you choose will work together in an optimized way, and calculate screen size and the projector’s distance from the screen before doing any drilling.
2. Find Out Your Projector’s Vertical Offset
Not sure what vertical offset is? Don’t fear! The vertical offset of your projector is how high or low it needs to be for the image to project at the proper screen height. Typically, it appears as a percentage in your user manual (for example, +96% or -96%). A positive offset means the image will project higher than the lens, and a negative offset means it will project lower.
Many projects have a vertical lens shift that lets you adjust the image height without having to move the projector. If your projector isn’t equipped with this feature, you’ll need to mount it at the exact recommended height for the image to appear with the proper aspect ratio.
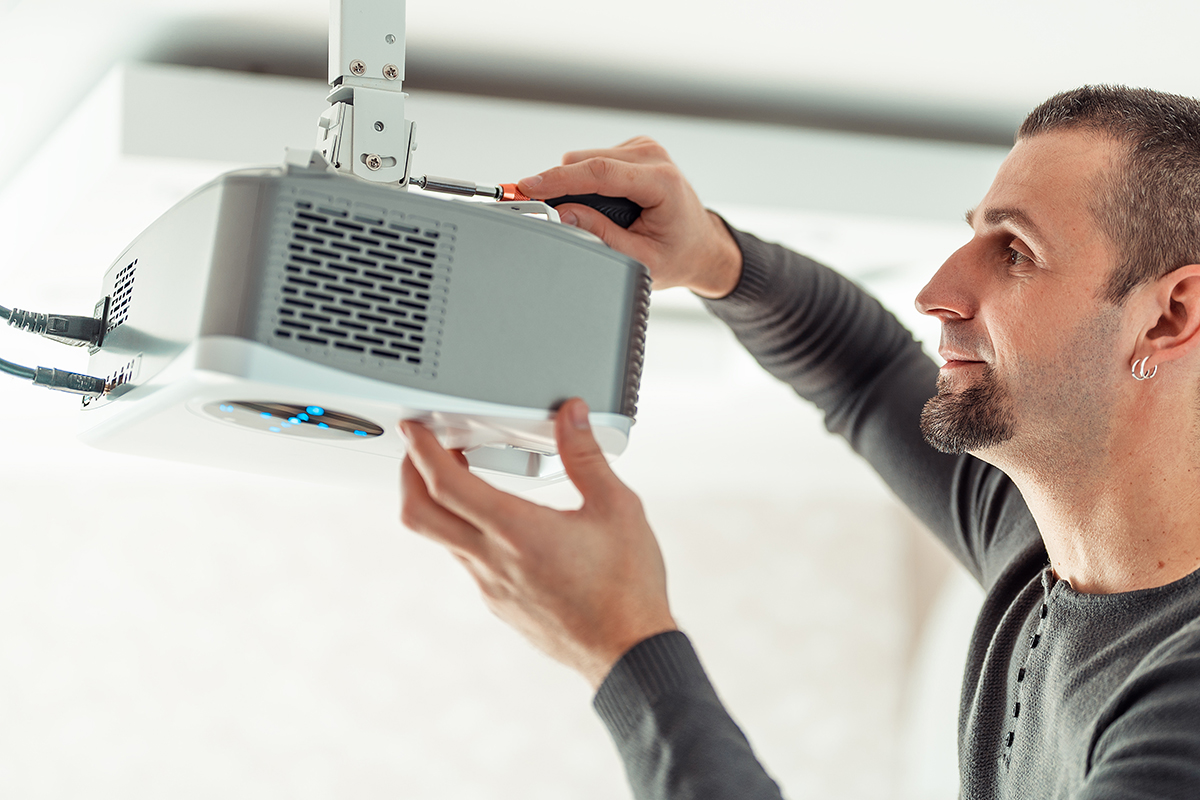
3. Mount Your Projector to the Ceiling
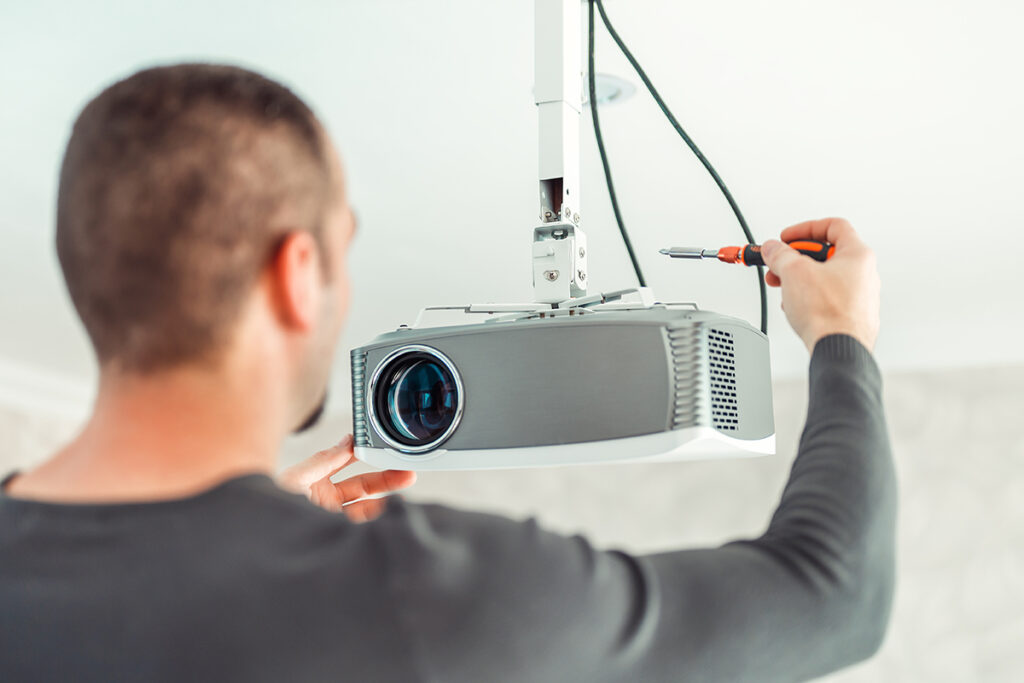
Using a stud finder, locate the ceiling joist or beam where you’ll be able to attach your projector. You’ll need to use the dimensions you figured out above to find out where you’ll drill when mounting the projector bracket. Using your drill and tools, mount the bracket to the ceiling so it’s completely sturdy.
Ideally, you’ll want to mount your projector exactly centered to your screen. If you’re not able to center it perfectly, you may have to determine the horizontal lens shift and make adjustments once you’ve mounted the projector.
If you’re installing a projector lift, you may need to hire professional carpentry services to make sure the installation goes smoothly.
4. Wire the Projector
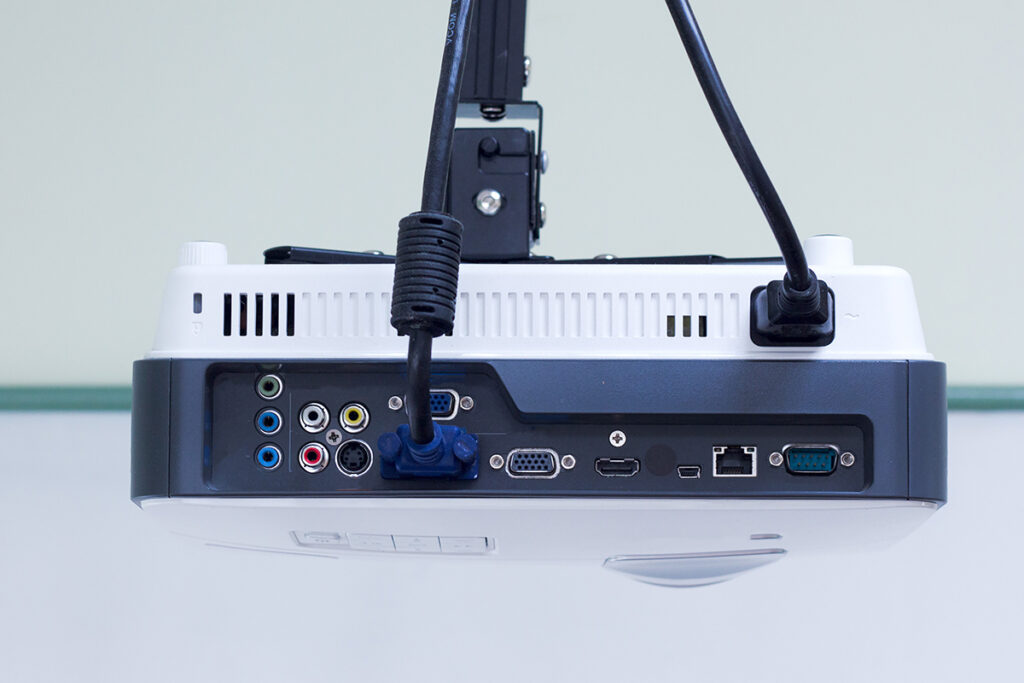
Once your projector is mounted to the ceiling, you’ll have to consider the power chord and the HDMI chords, one of which will be your video/audio input that connects to a video source, such as a Blu-ray player or Apple TV. You’ll also need to wire your media HDMI output, which will plug into your audio setup.
Don’t forget: you’ll need to make sure your wires will reach both your power source and your audio receiver. If you don’t have an easy way to hide these cables, consider using cable covers or some other solution that will keep them out of sight.
5. Alignment and Projector Setup
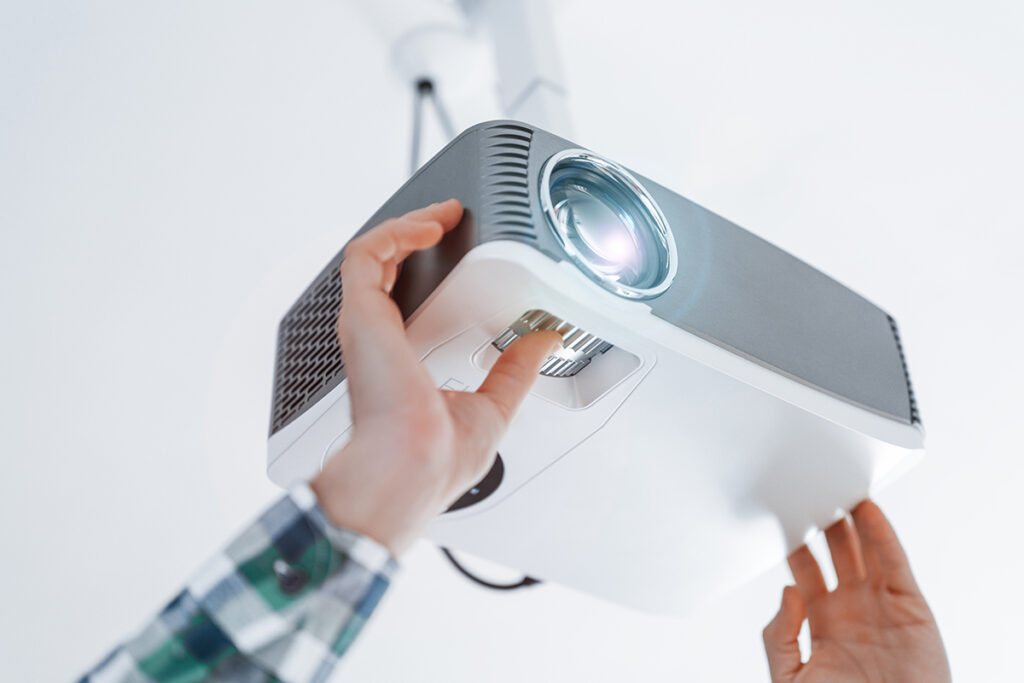
While your projector is at the optimal distance from your screen, you may need to make any final lens adjustments to ensure that the image will project with the proper dimensions without distortion.
6. Enjoy Your Hanging Projector

Now it’s time to power your projector on, make some popcorn, and watch a movie on your own personal big screen!
Cost of Mounting Projector to Ceiling
The cost of mounting a projector can be different from mounting a TV, and it may vary based on which method you choose and if you have to structurally change your room. A good projector can cost upwards of $3500, and projector mounts can cost anywhere from $20 for a basic mount to $700 for an entire mounting kit. A motorized project lift can run you up to $3,750.
When considering costs, you’ll want to consider how much you’re spending on the projector and how much you’re willing to pay to buy a mount that will properly protect it. If you can find a budget friendly option that will do the job, great! Just make sure your projector is securely mounted without any risk of detaching.
While hiring help will increase your costs further, it will likely also buy you some much-needed peace of mind!
Mounting a projector can truly elevate your home theater experience. We love the DIY spirit, but if you prefer to get the mounting job done without having to think too hard about it, consider hiring a Tasker today!
Last updated on October 6, 2023 by Matt Beier