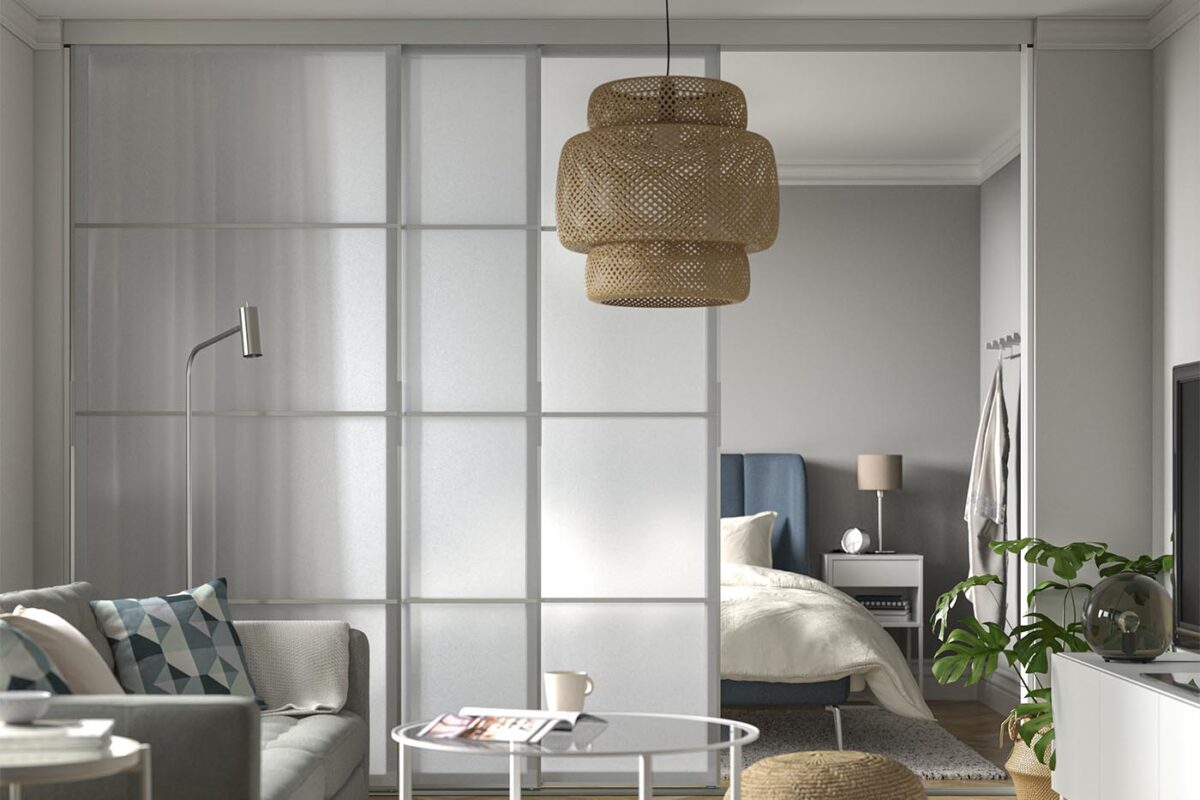
If you haven’t heard, IKEA has a powerful and dynamic room divider and sliding door system called SKYTTA. It pairs with HOKKSUND, SVARTISDAL, MEHAMN, and AULI door panels.
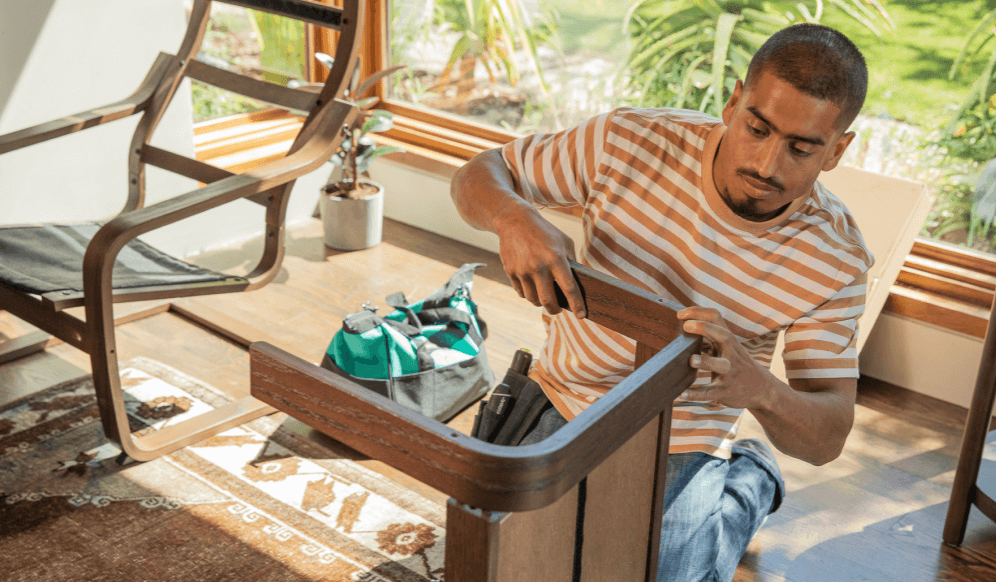
The SKYTTA can break up a large room, create walk-in closets, and give clients’ spaces an entirely new look. Much like the Pax Wardrobe, the SKYTTA can be a fun yet challenging piece to assemble—just ask our top Taskers, who’ve gathered some helpful tips below!
1. Confirm the SKYTTA Design
Experienced IKEA Assembly Taskers recommend that you first confirm a client’s SKYTTA design the IKEA Planning Tool (ideally using a computer, as mobile may be difficult to access). Simply click “Open Design” at the top-right corner of the page, and enter your client’s design number (which you can get from them while scoping the task).

Each SKYTTA is customized to a client’s space, and this information will tell you everything you need to know, including whether doors will need cutting/resizing, whether you’ll need to bring distance pieces (sold separately), or whether you’ll need a saw to cut any door panels.
2. Estimate the Time
While this approximation can vary depending on the client’s particularly design, IKEA estimates that it will take two Taskers an 1 hour and 15 minutes to install a SKYTTA with:
- 3 doors
- 2 rail packages
- No ceiling extensions*
*Please note that 1) the ceiling extension is to be installed before the rails, and 2) cutting the ceiling extension to size depending on the customer’s measurements requires carpentry skills and a wood saw.

3. Tools Needed for SKYTTA Assembly
Taskers with SKYTTA experience note that, to complete an installation successfully, the following tools are necessary:
- Flat screwdriver
- Hammer
- Pen
- Laser level and measure
- Electric drill / screwdriver
- Measuring tape
- Table saw or power hand saw
- Clamps (for cutting)
- Two ladders
- File
- Stackable spacers/distance pieces (to add height to a wall depending on ceiling height)
The following tools can also be very helpful:
- Miter saw
- Large spirit level
- Multi-cutter
4. Prepare For Your SKYTTA Assembly
According to top SKYTTA assembly Taskers, you’ll need to be able to do a few things before putting the piece together, including:
- Measuring the room’s dimensions and the straightness/angles of the walls, ceiling, and floor. This will help you evaluate how these factors might impact the assembly process.
- Evaluating whether molding, crown molding, exterior piping, or floor material are needed and how much extra work it will require.
- Evaluating the ceiling to decide the most suitable fixation method based on the space, including whether you’ll need to use a ceiling height reducer or distance pieces.
- Secure a working environment for cutting that follows any local building rules and protects your client’s property from chips and dust.
5. Consult IKEA’s SKYTTA Assembly Directions
For IKEA’s full assembly instructions based on the SKYTTA setup, click on the following links:
- SKYTTA Sliding door frame
- SKYTTA Hardware pack triple track rail
- SKYTTA Stop bar, 3 tracks, set of 3
- SKYTTA Ceiling height reducer

6. Follow These Steps to Assemble the SKYTTA
While the documents linked above will help you assemble the SKYTTA, here are the general steps other Taskers who have assembled the SKYTTA take when setting it up for their clients:
- Cut and assemble the ceiling height reducer (if necessary). If the ceiling height is higher than the original SKYTTA specification and within the range allowed by the ceiling height reducer, you can assemble the ceiling height reducer and cover panels to fill in any remaining space between the SKYTTA and the ceiling. You can also cut them to fit the client’s space if needed. Note that the cover panel surface is untreated so that it can be painted later to match the other walls.
- Attach the ceiling height reducer to the wall/ceiling (if necessary). You can attach the cover panel with countersunk screws. Wood screws could be used to attach the ceiling height reducer to the ceiling and wall. Screws on the bottom will be covered by the top rail, and screws on top can be covered by crown molding. Note that attaching this item to concrete or plasterboard may take longer.
- Cut the SKYTTA rails. When joining the two rails, any cuts you make should face the wall, as this will give you more flexibility when cutting for straightness or navigating the space.
- Use the rails to confirm straightness. When joining the rails, there are several points at which they can be used as a large level to make sure the joint is straight.
- Cut or extend the setup to account for ceiling height. When the ceiling height is higher than the doors and too low for the ceiling height reducer, you’ll need to fill the gap using the spacers/distance pieces listed above. Note that you’ll need to bring these pieces to the task. You can also cover them up with a small strip of molding if your client has provided it!
- Cut the aluminum doors/panels if necessary. If the ceiling height is higher than the SKYTTA, the doors and panels can be cut to the specific height. This requires tools to make a precise cut, such as a miter or track saw—particularly ones capable of cutting aluminum. Note that it will be important to protect both your eyes and your client’s property from chips and dust!
- Arrange glass and mirror panels accordingly. Since glass and mirror panels can’t be cut, you’ll need to arrange them on the door panels in a way that will work with any portions you’ve had to cut. Small clips are included to secure the panel door rails in place, so don’t forget to place these!
Finishing a SKYTTA Task
Top Taskers recommend that you clean up your work area thoroughly after assembling your client’s SKYTTA sliding door system. You can also offer to return for another task to help with other tangential tasks (like putting up molding or painting the ceiling height reducer cover panel to match their wall). Successfully installing an IKEA SKYTTA is a great opportunity to let your skills shine!